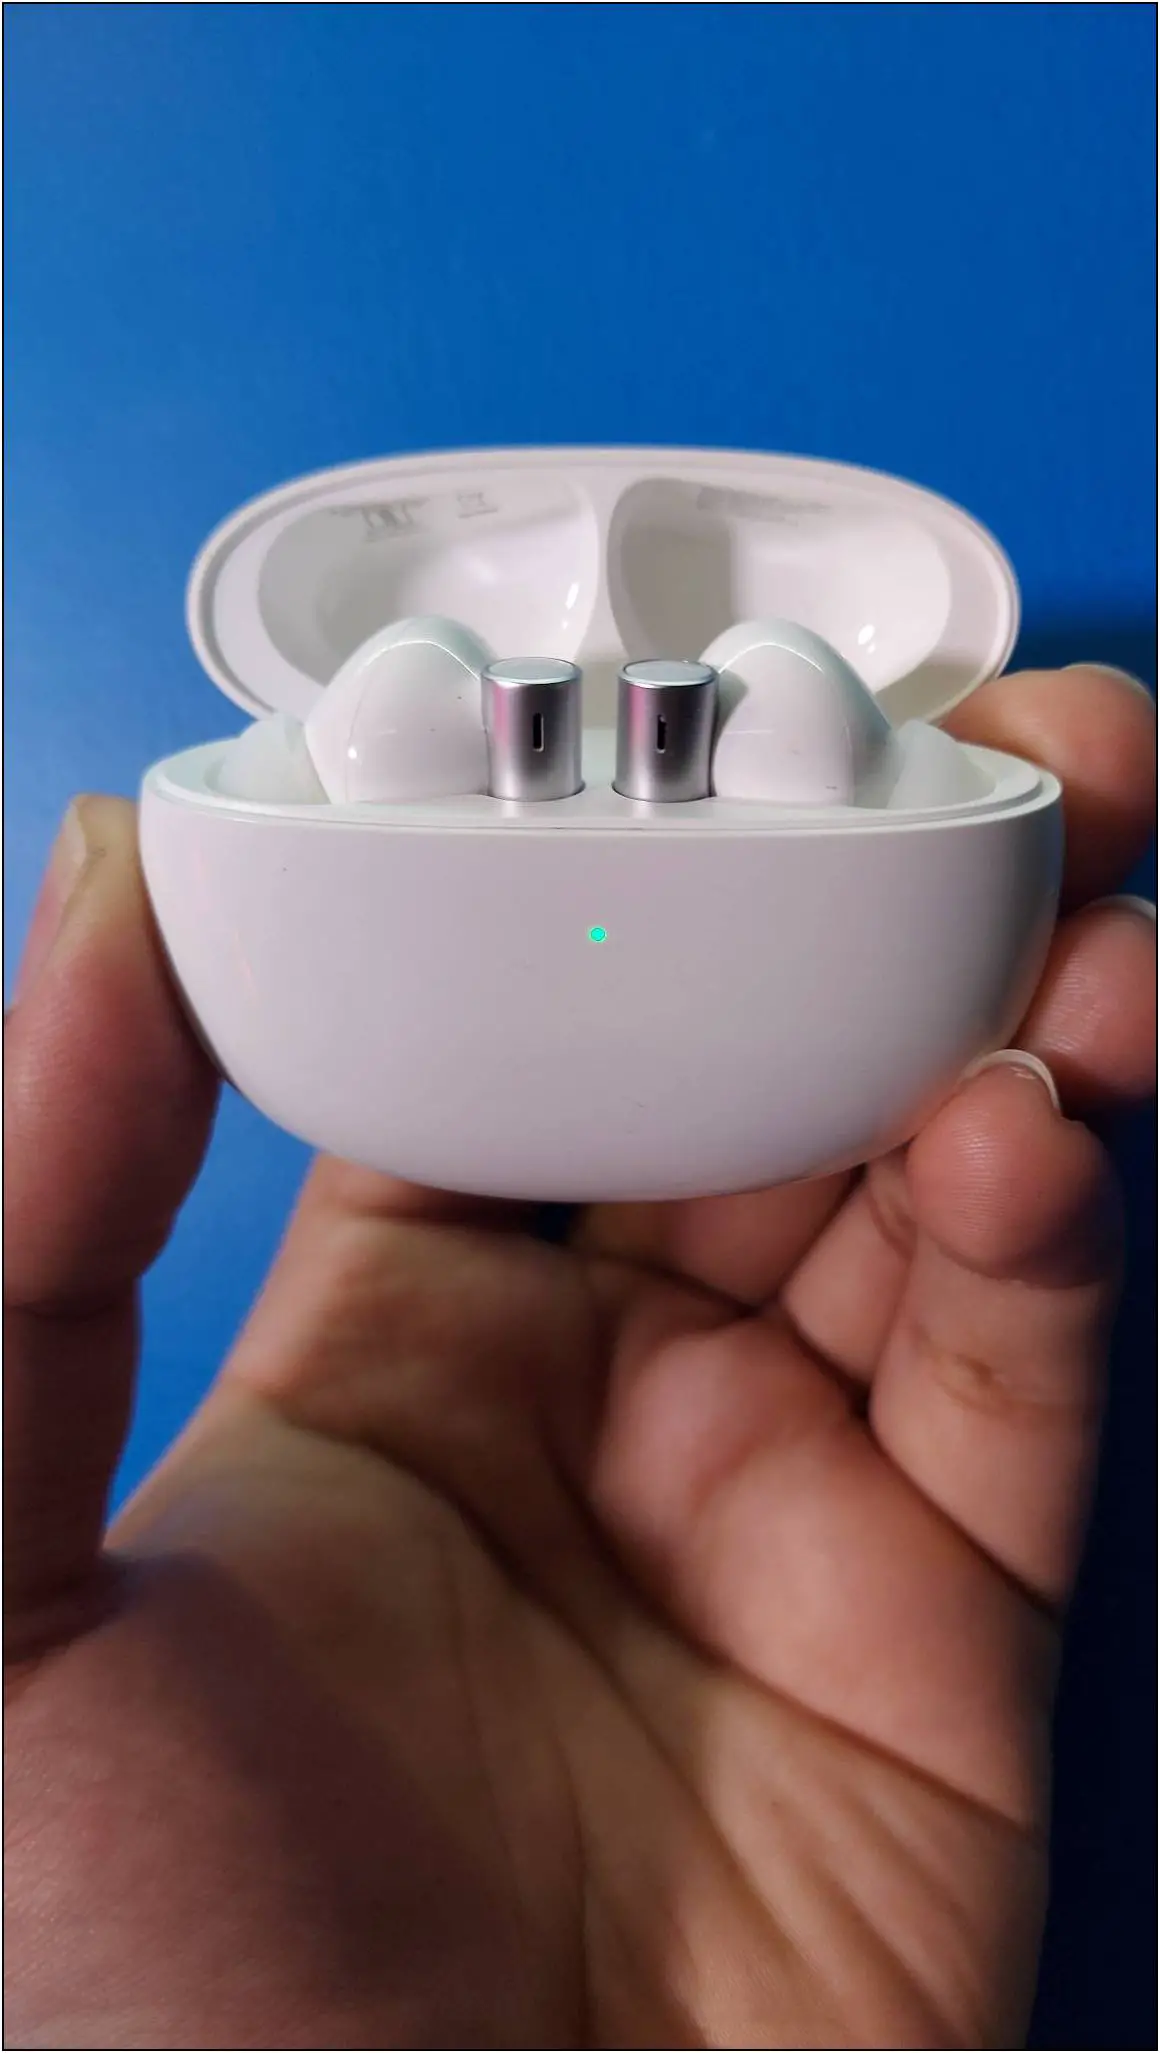
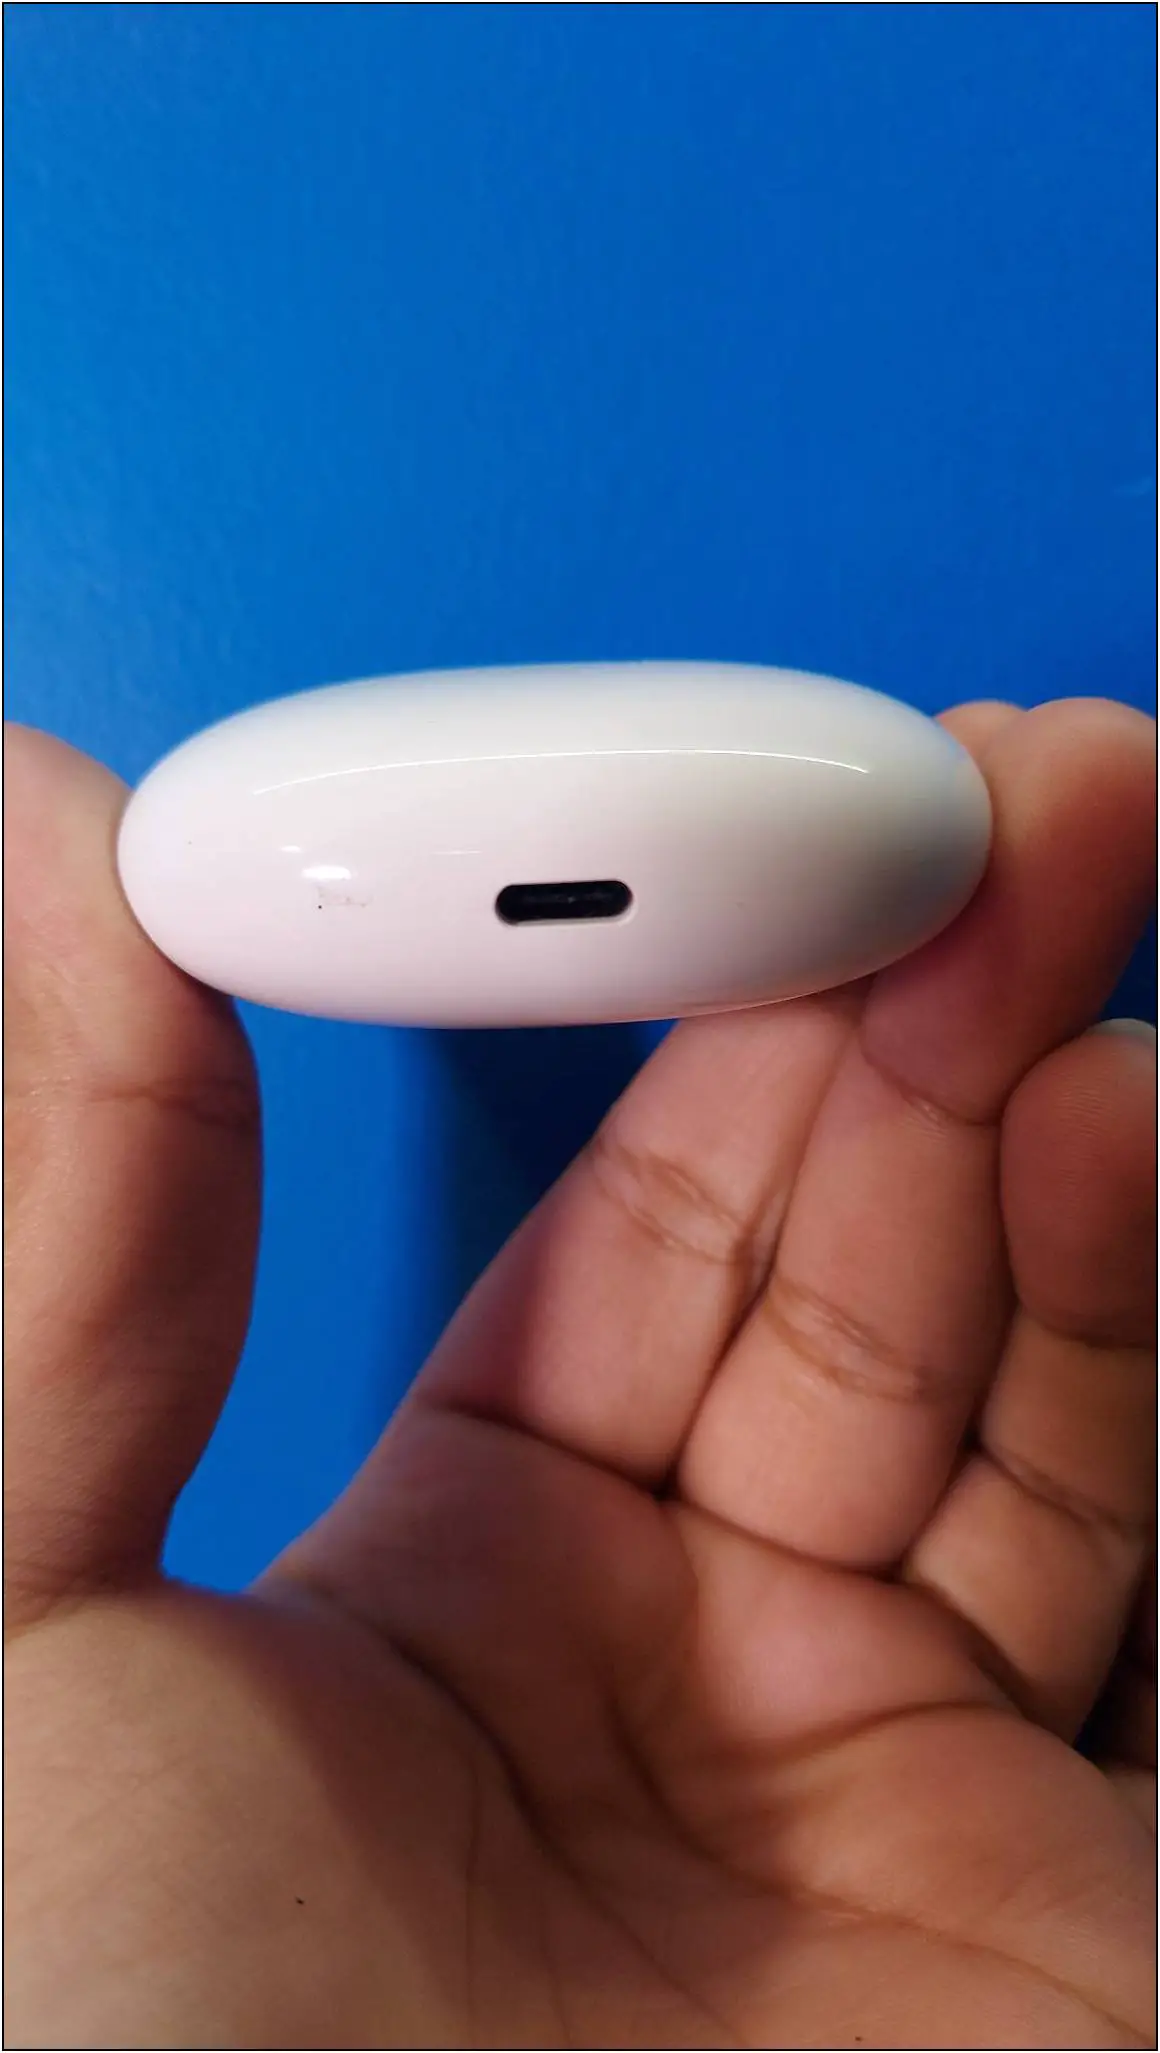
Realme has recently expanded its TWS portfolio by introducing the Realme Buds Air 3. This is the upgraded version of the Realme Buds Air 2 that comes with many new features. This includes an improved ANC technology along with a new sleek box design. But do you know about the features and how you can connect it with your smartphone and use it? Well, in this article, we will see how to connect Realme Buds Air 3 with a phone and will discuss its features.
Also, Read | 6 Ways to Fix Realme Buds Left Side Not Working
How to Connect Realme Buds Air 3 with Phone
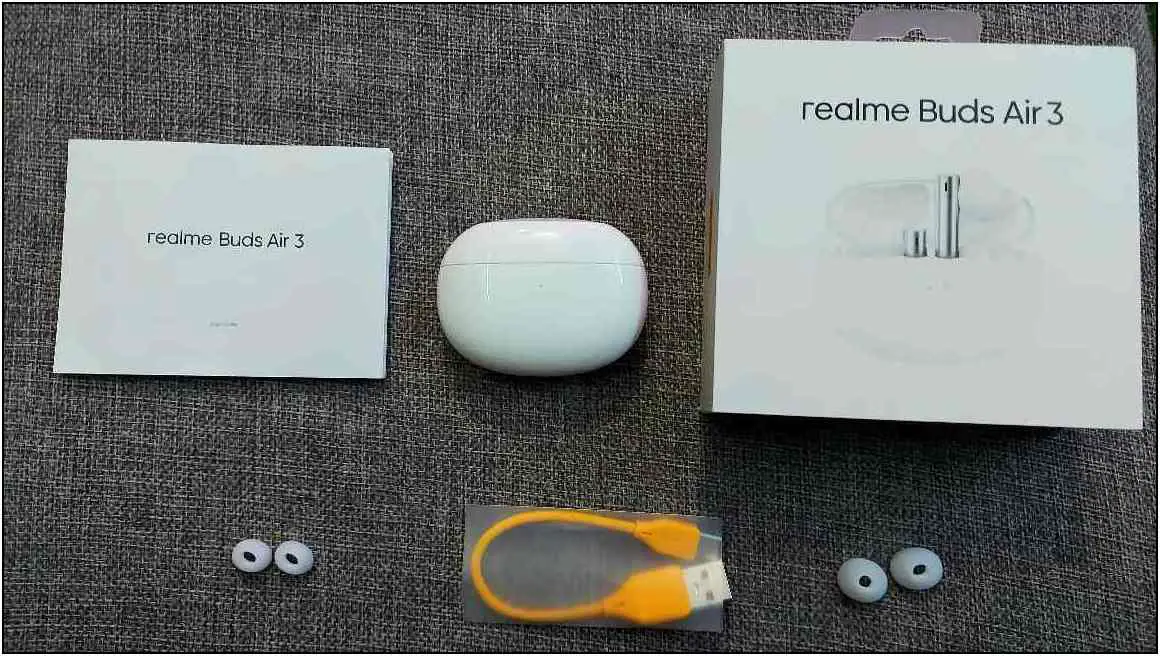
You can connect the Realme Buds Air 3 with both Android and iPhone via Realme Link app. Follow the steps mentioned below to connect it with your smartphone:
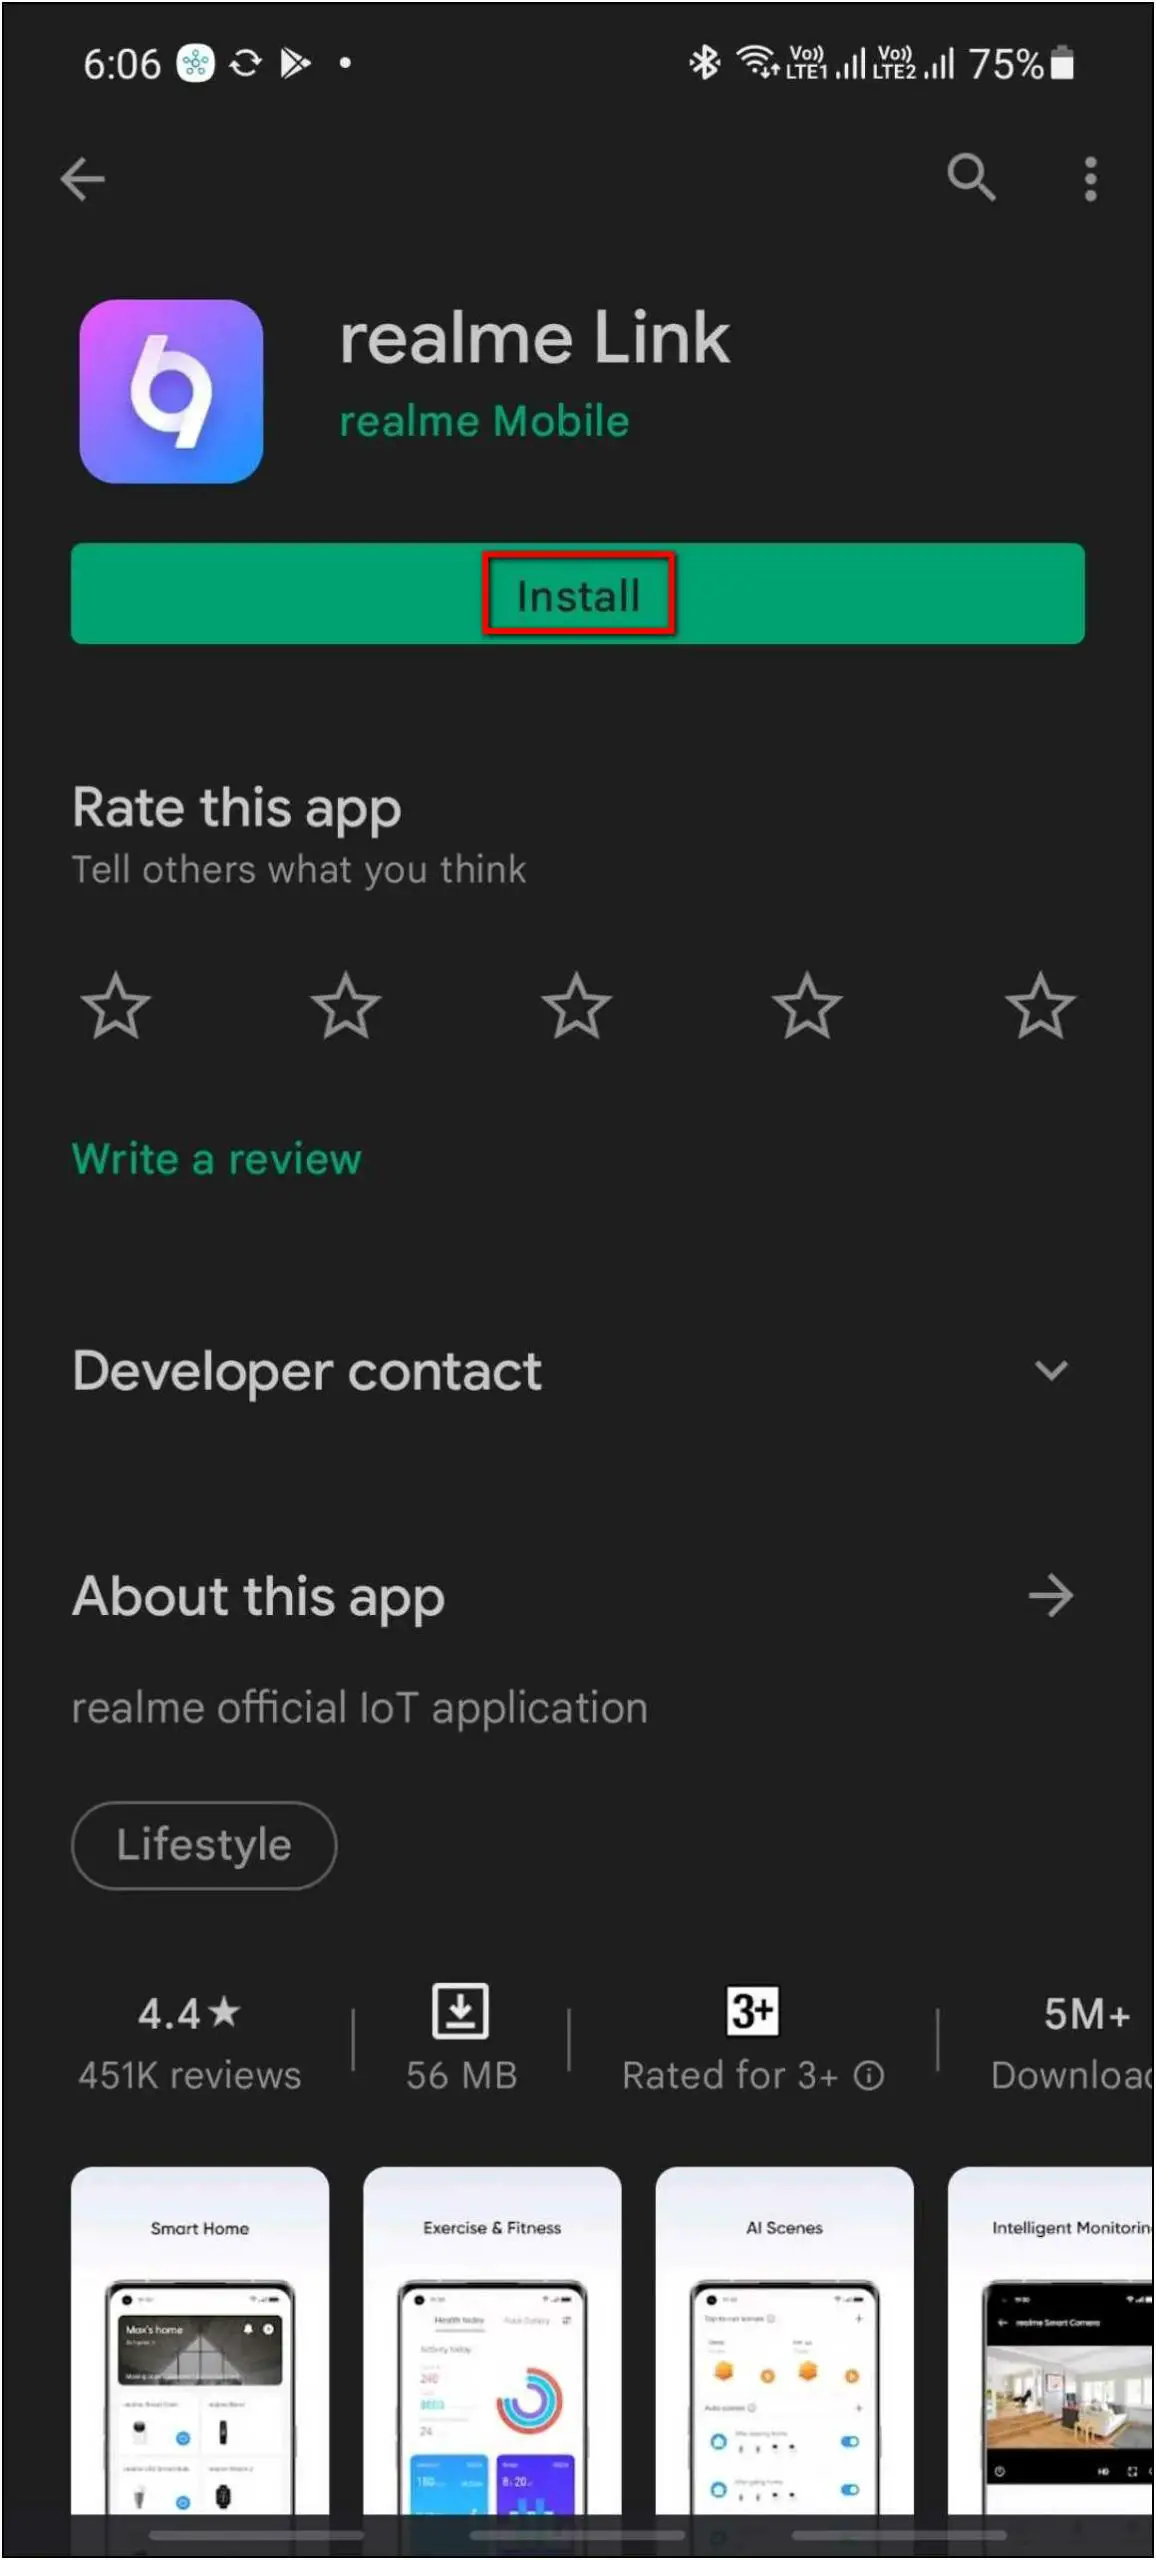
Step 1: Install the Realme Link app from Google Play Store or App Store.
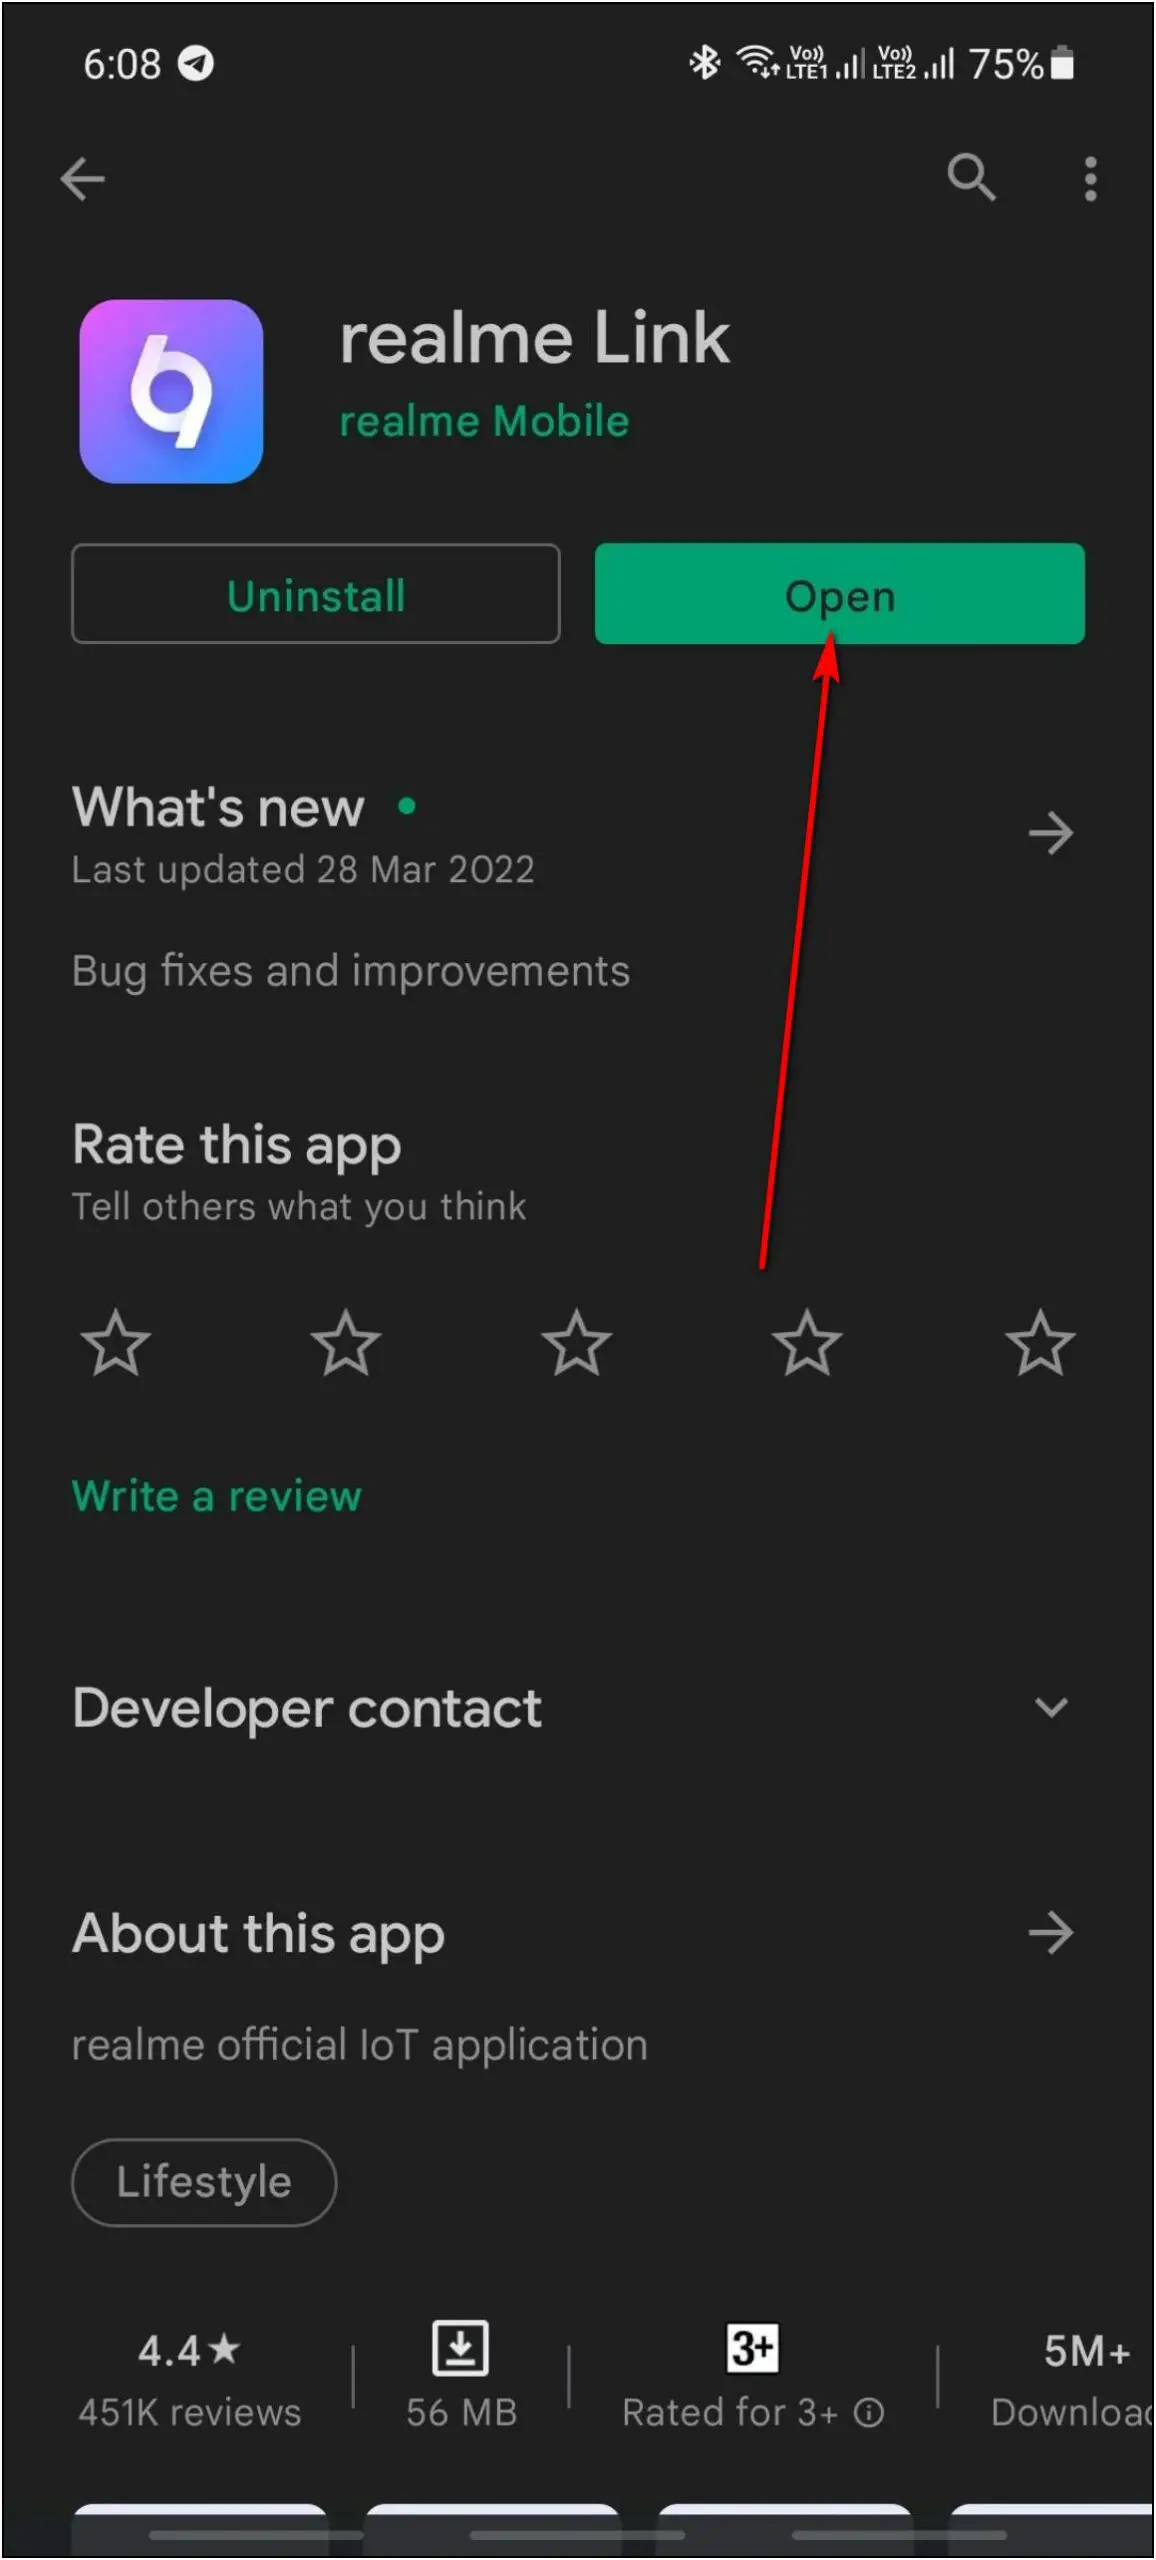
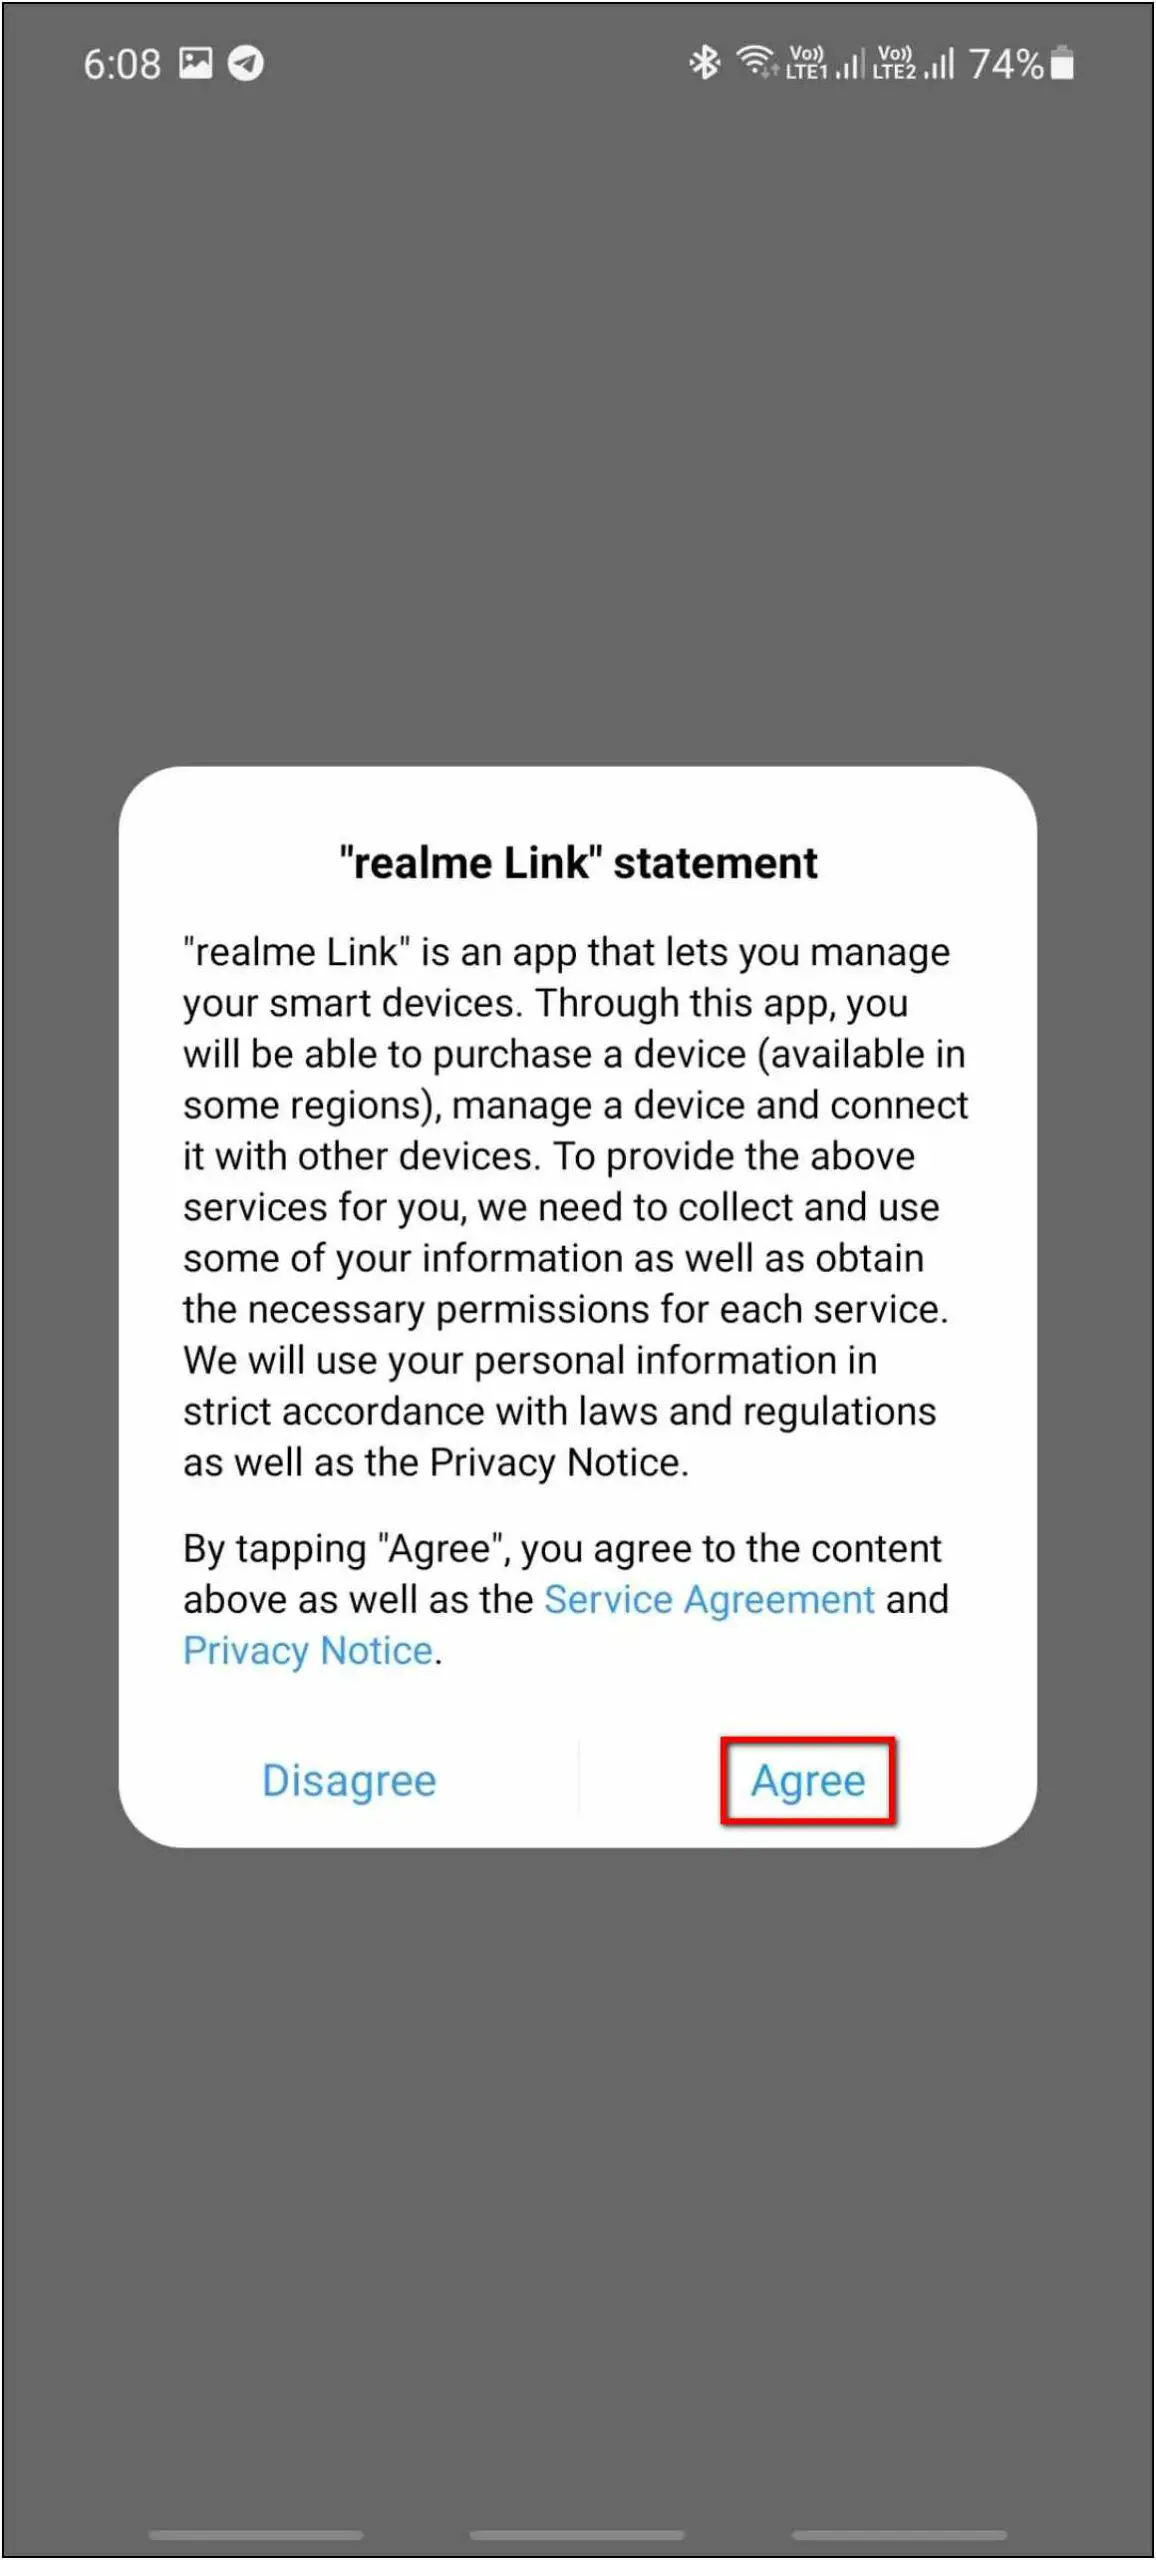
Step 2: Open the app and click on the Agree button.
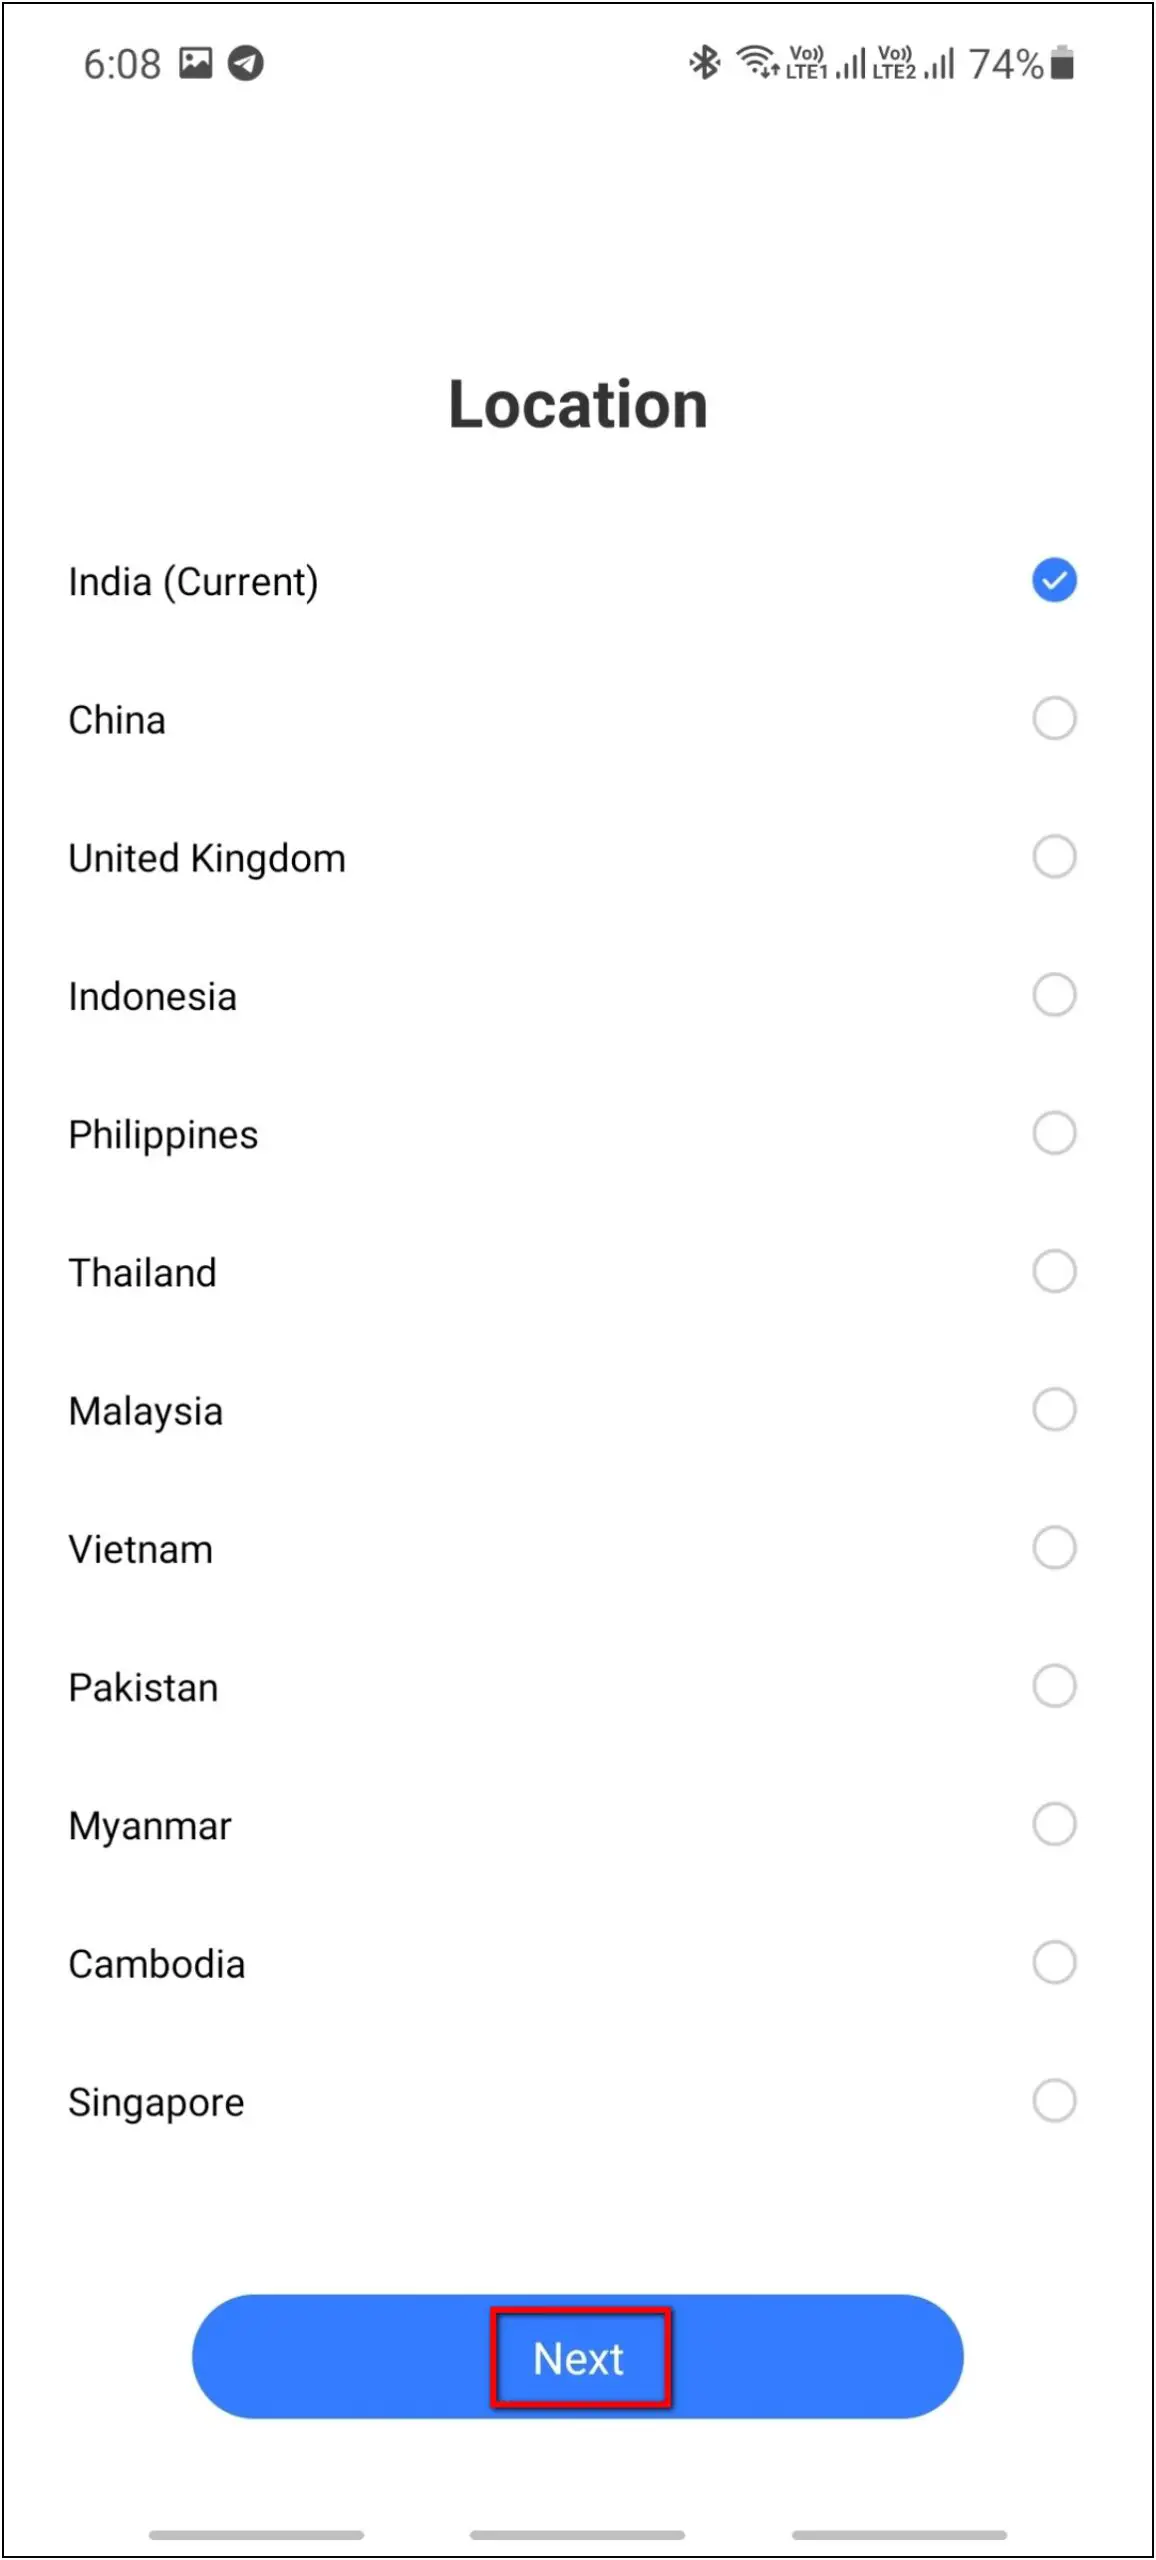
Step 3: Select your Location and click on Next.
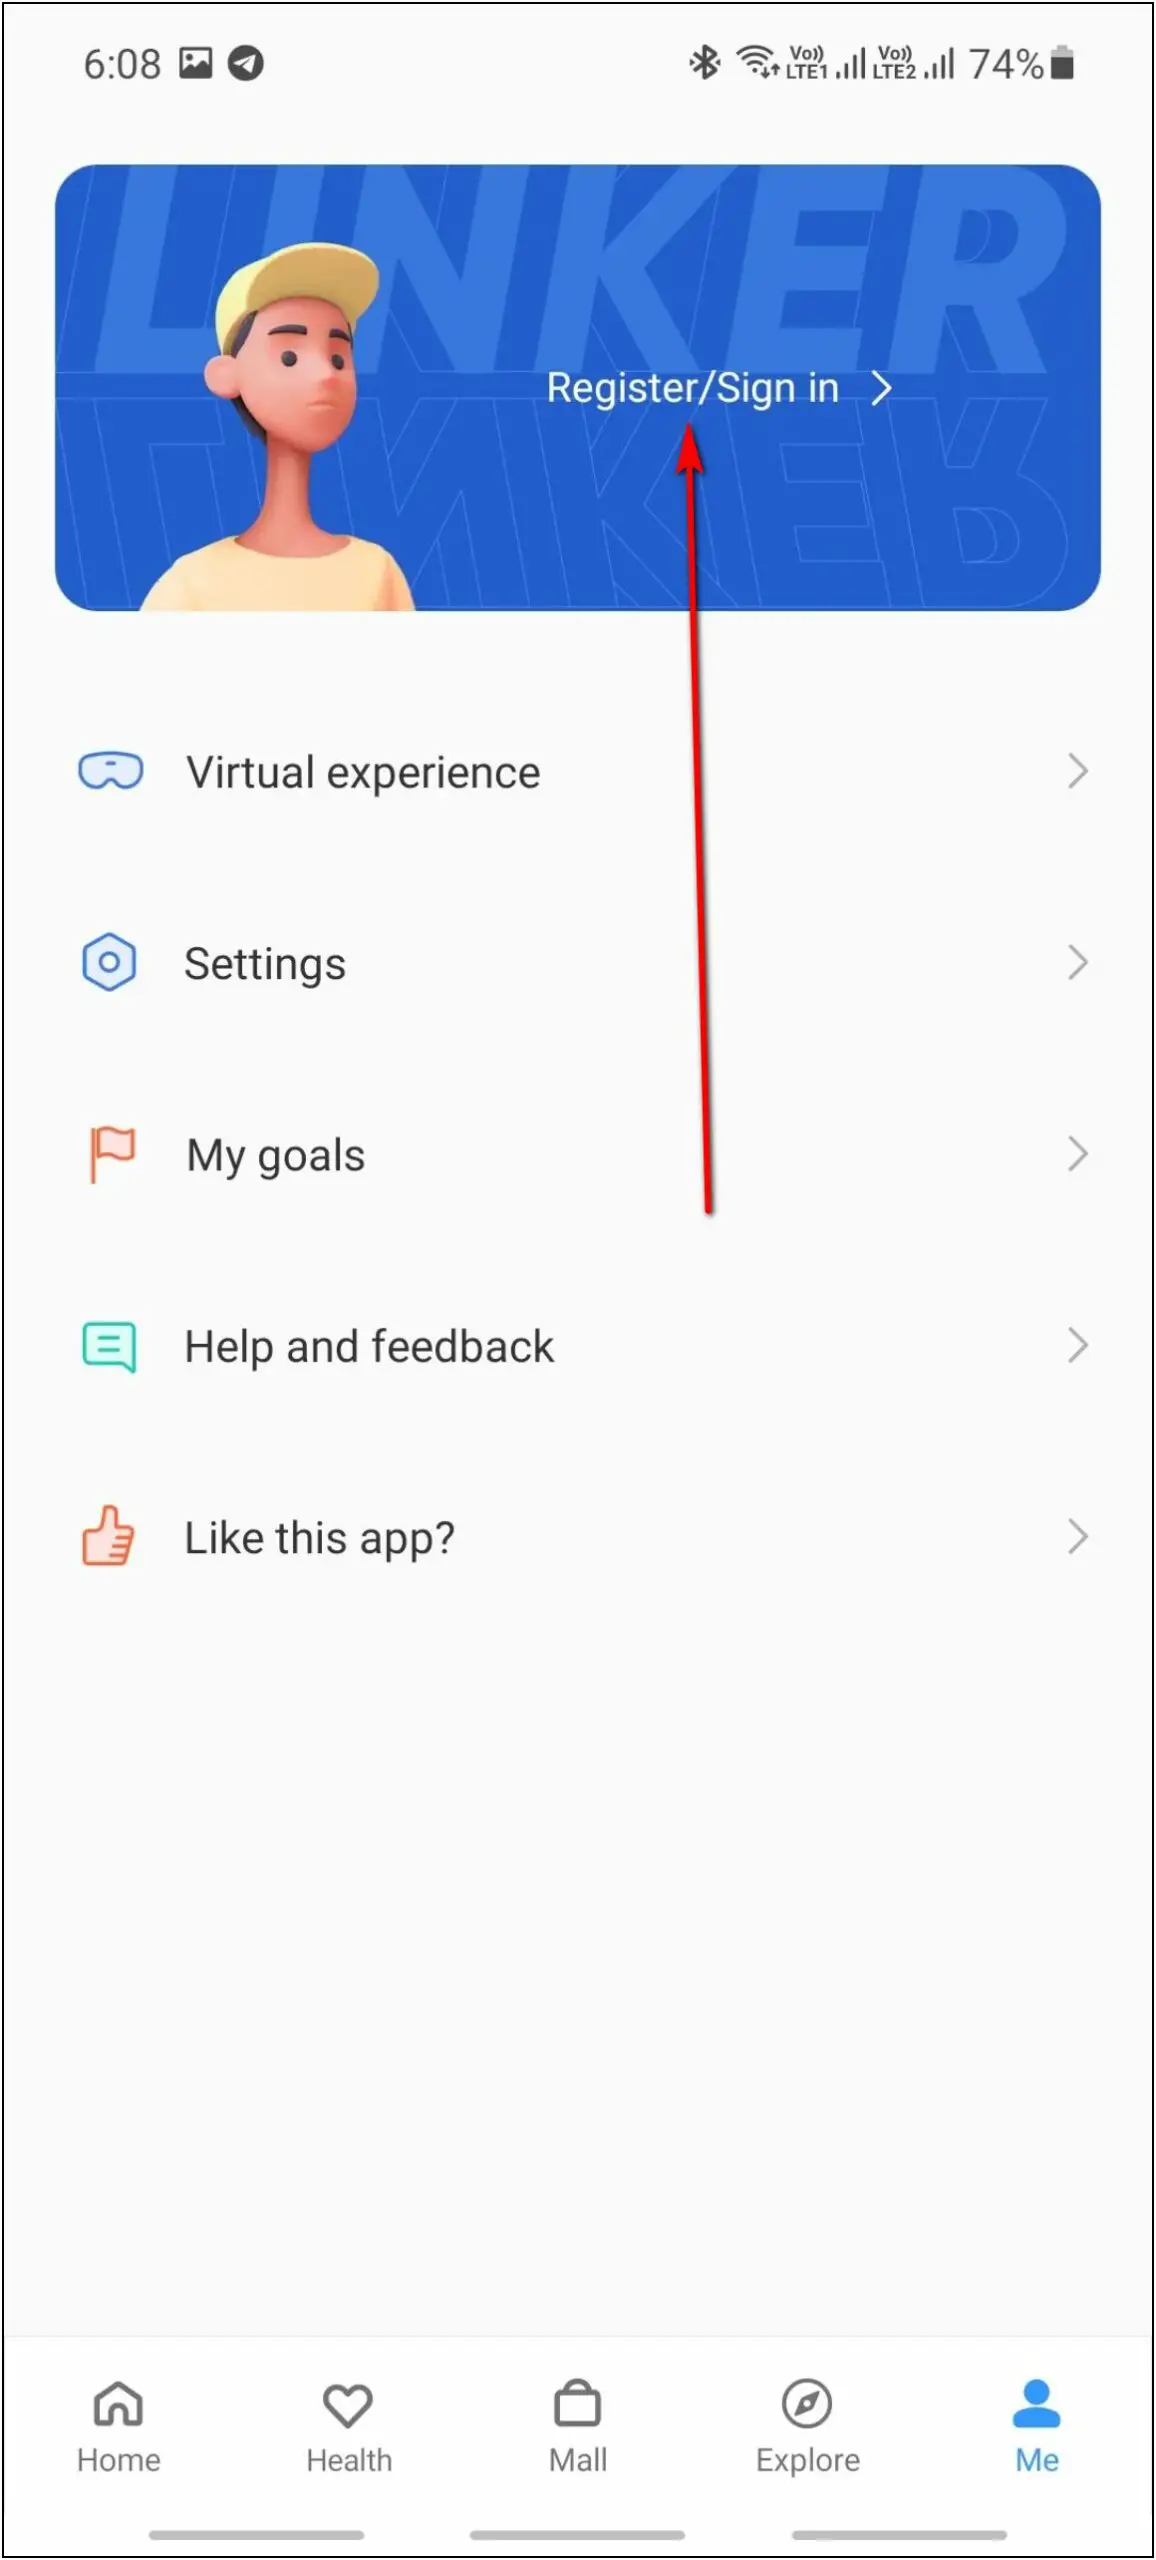
Step 4: After that, go to the Profile section and click on Register/Sign in.
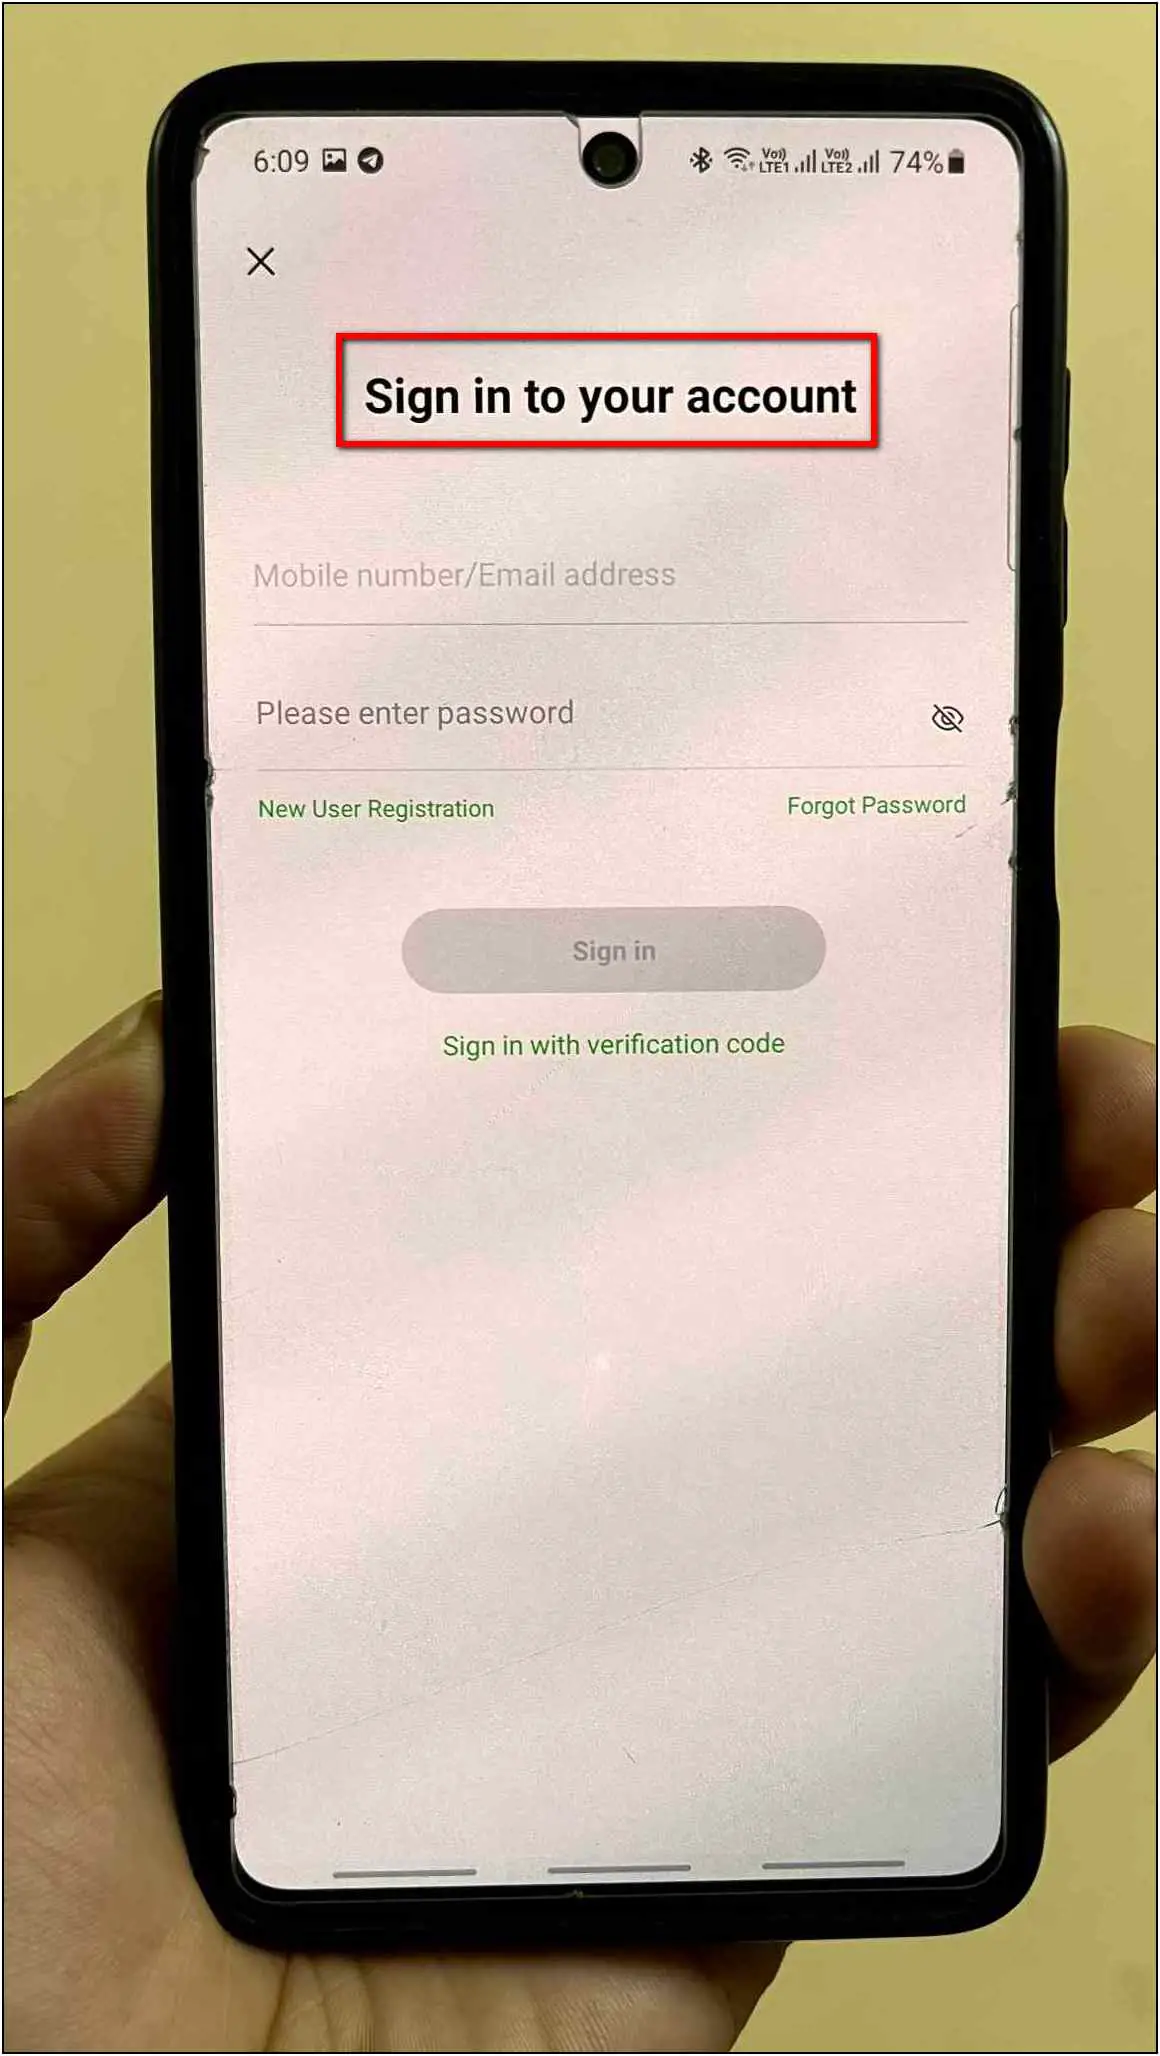
Step 5: Here, sign in with your realme account or create a new one.
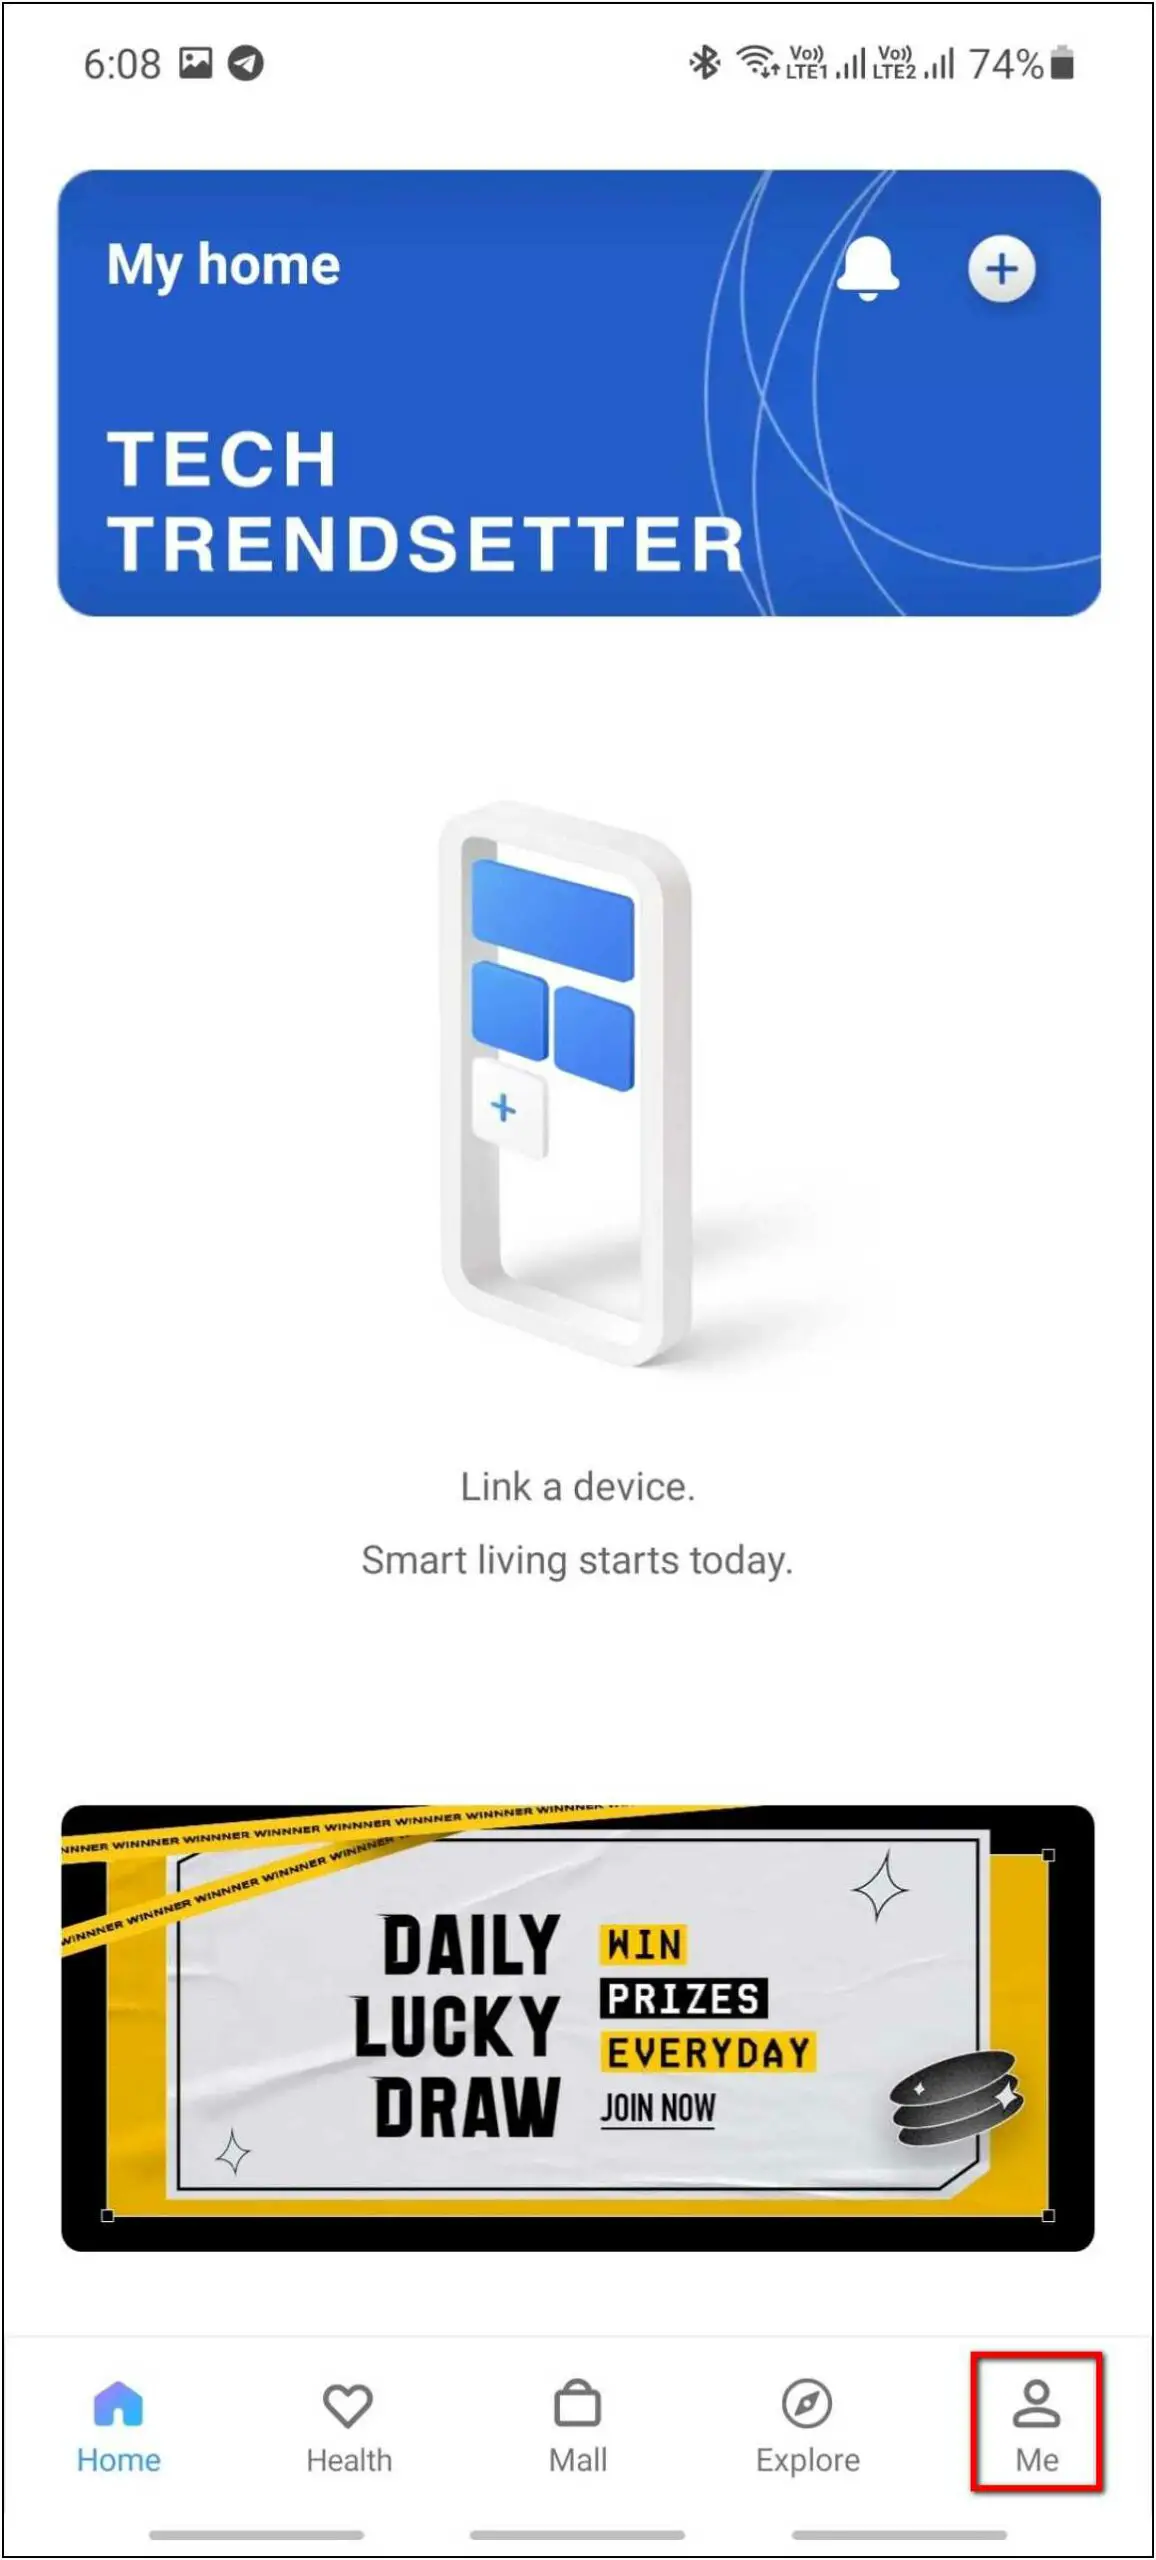
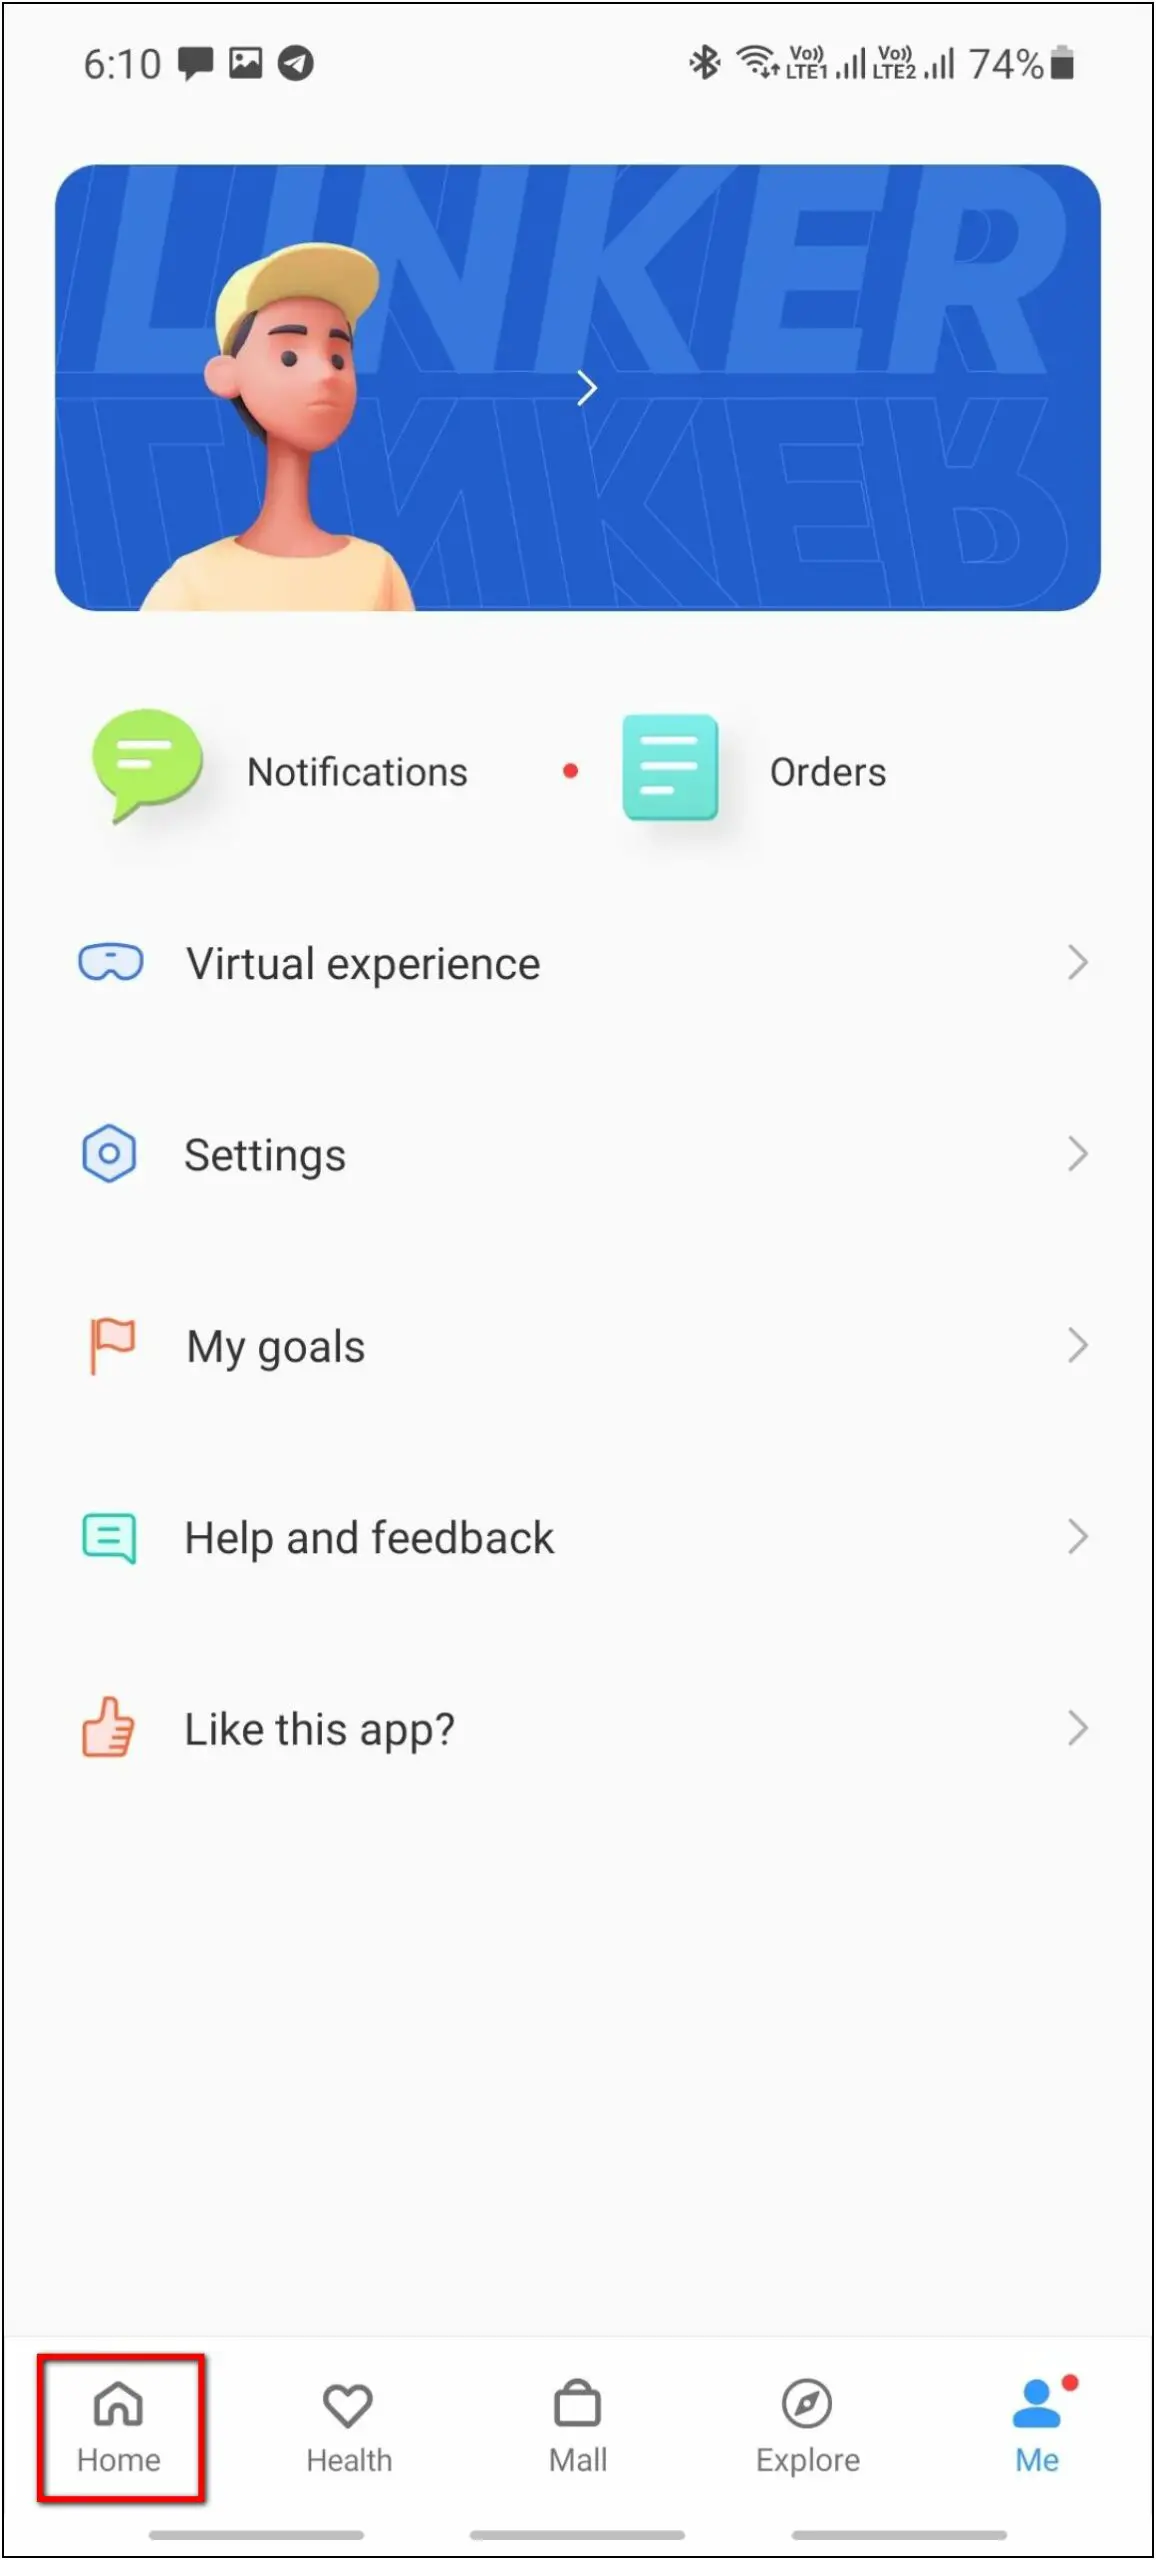
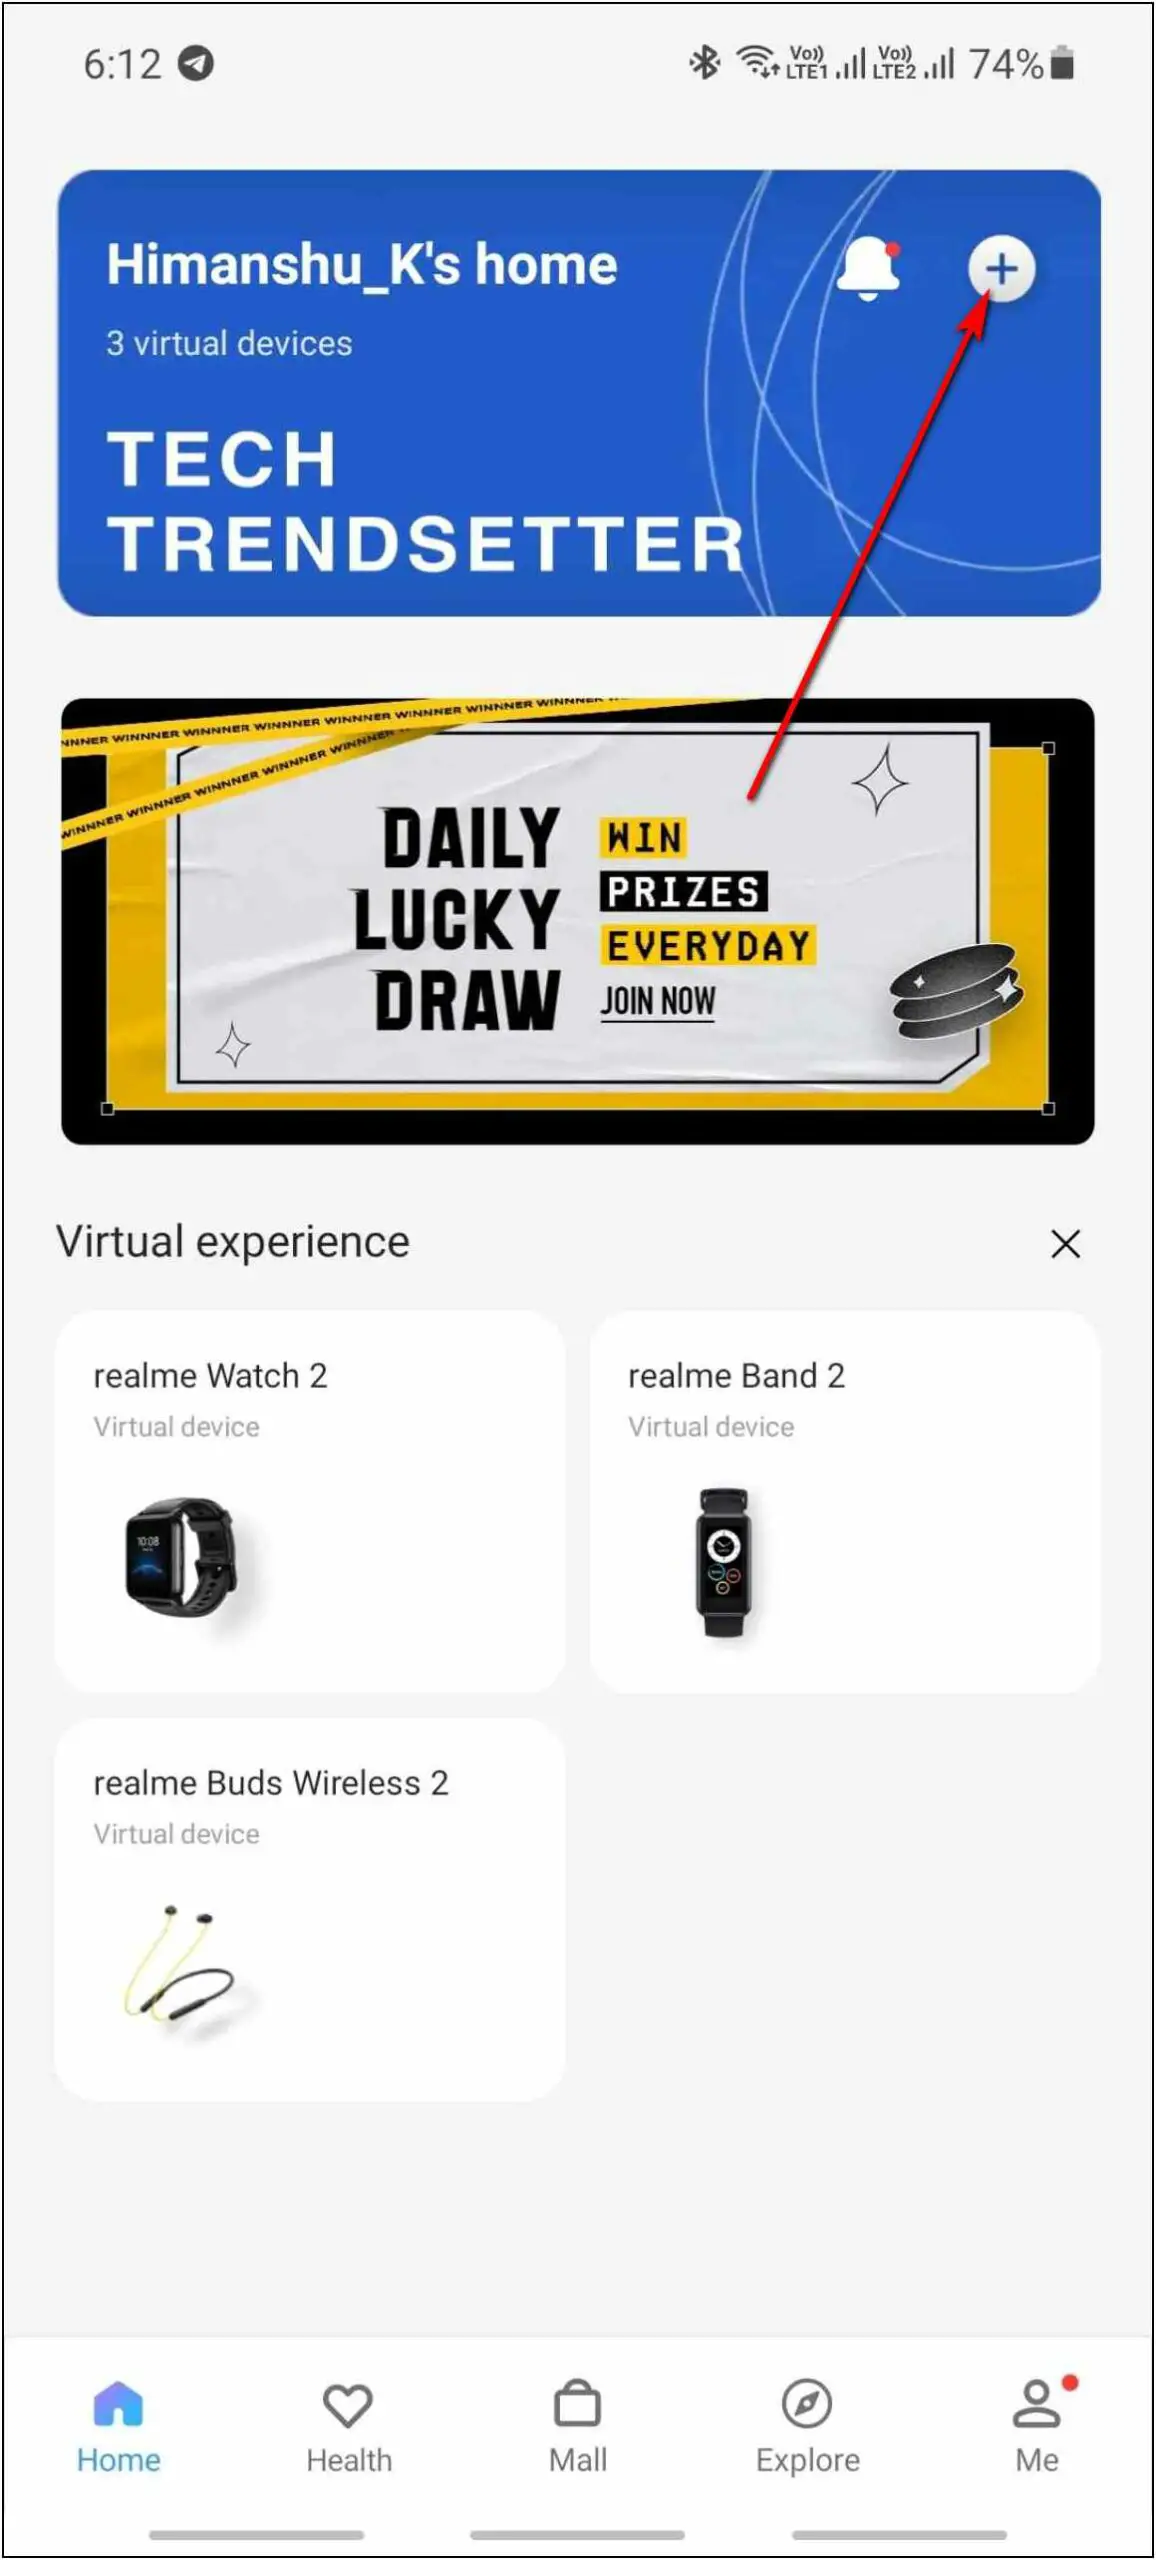
Step 6: Now, go to Home and click on the (+) icon to add a device.
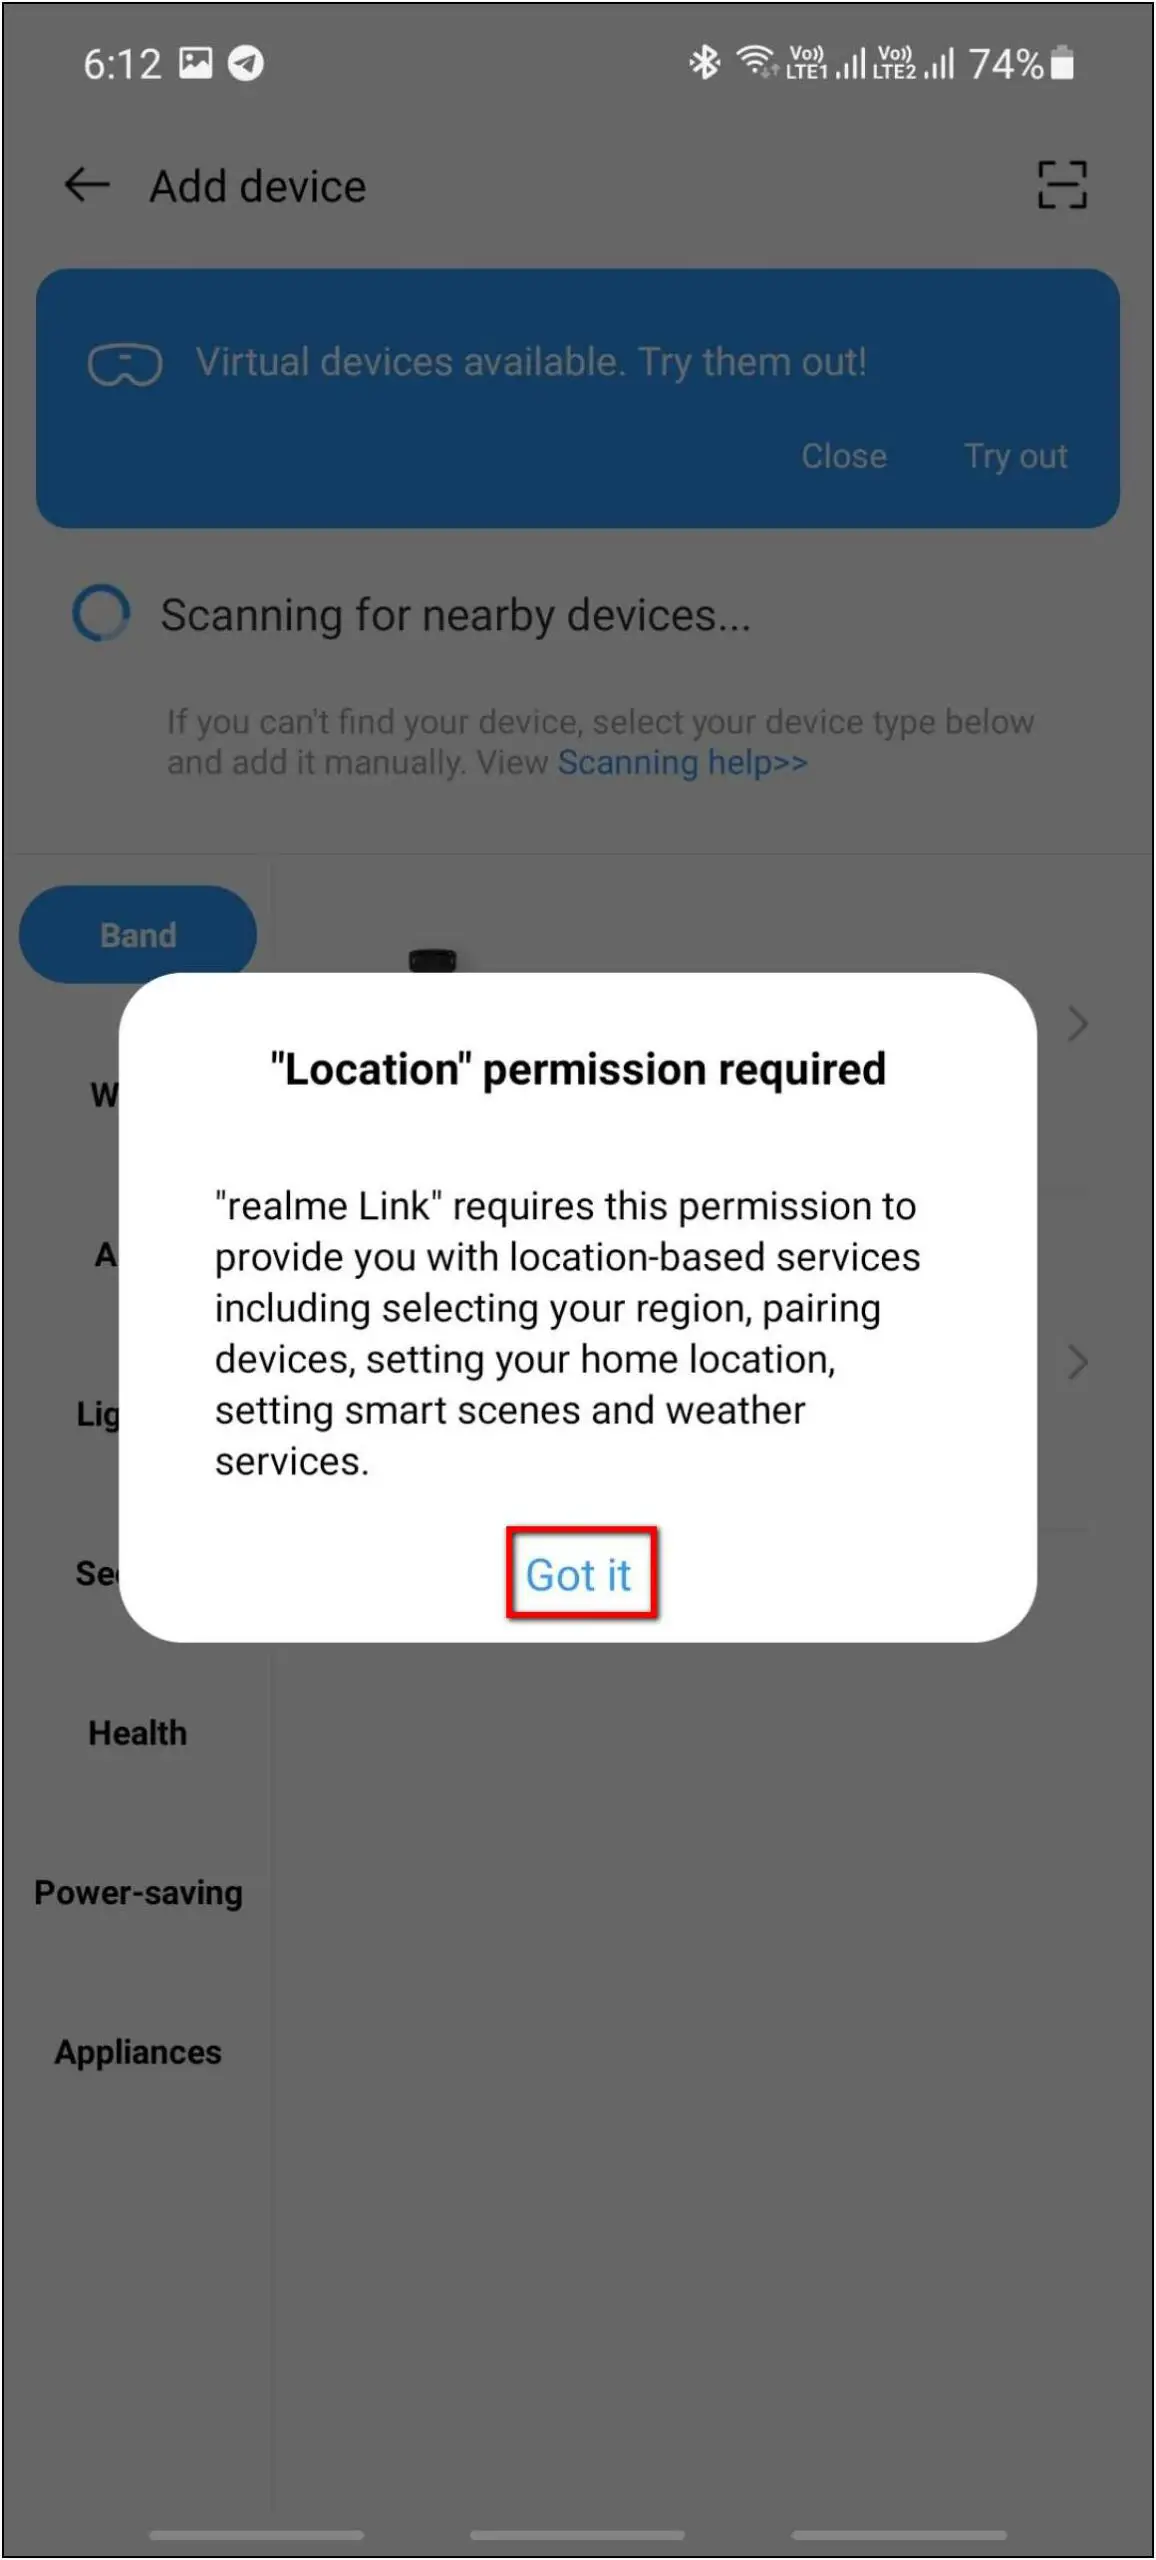
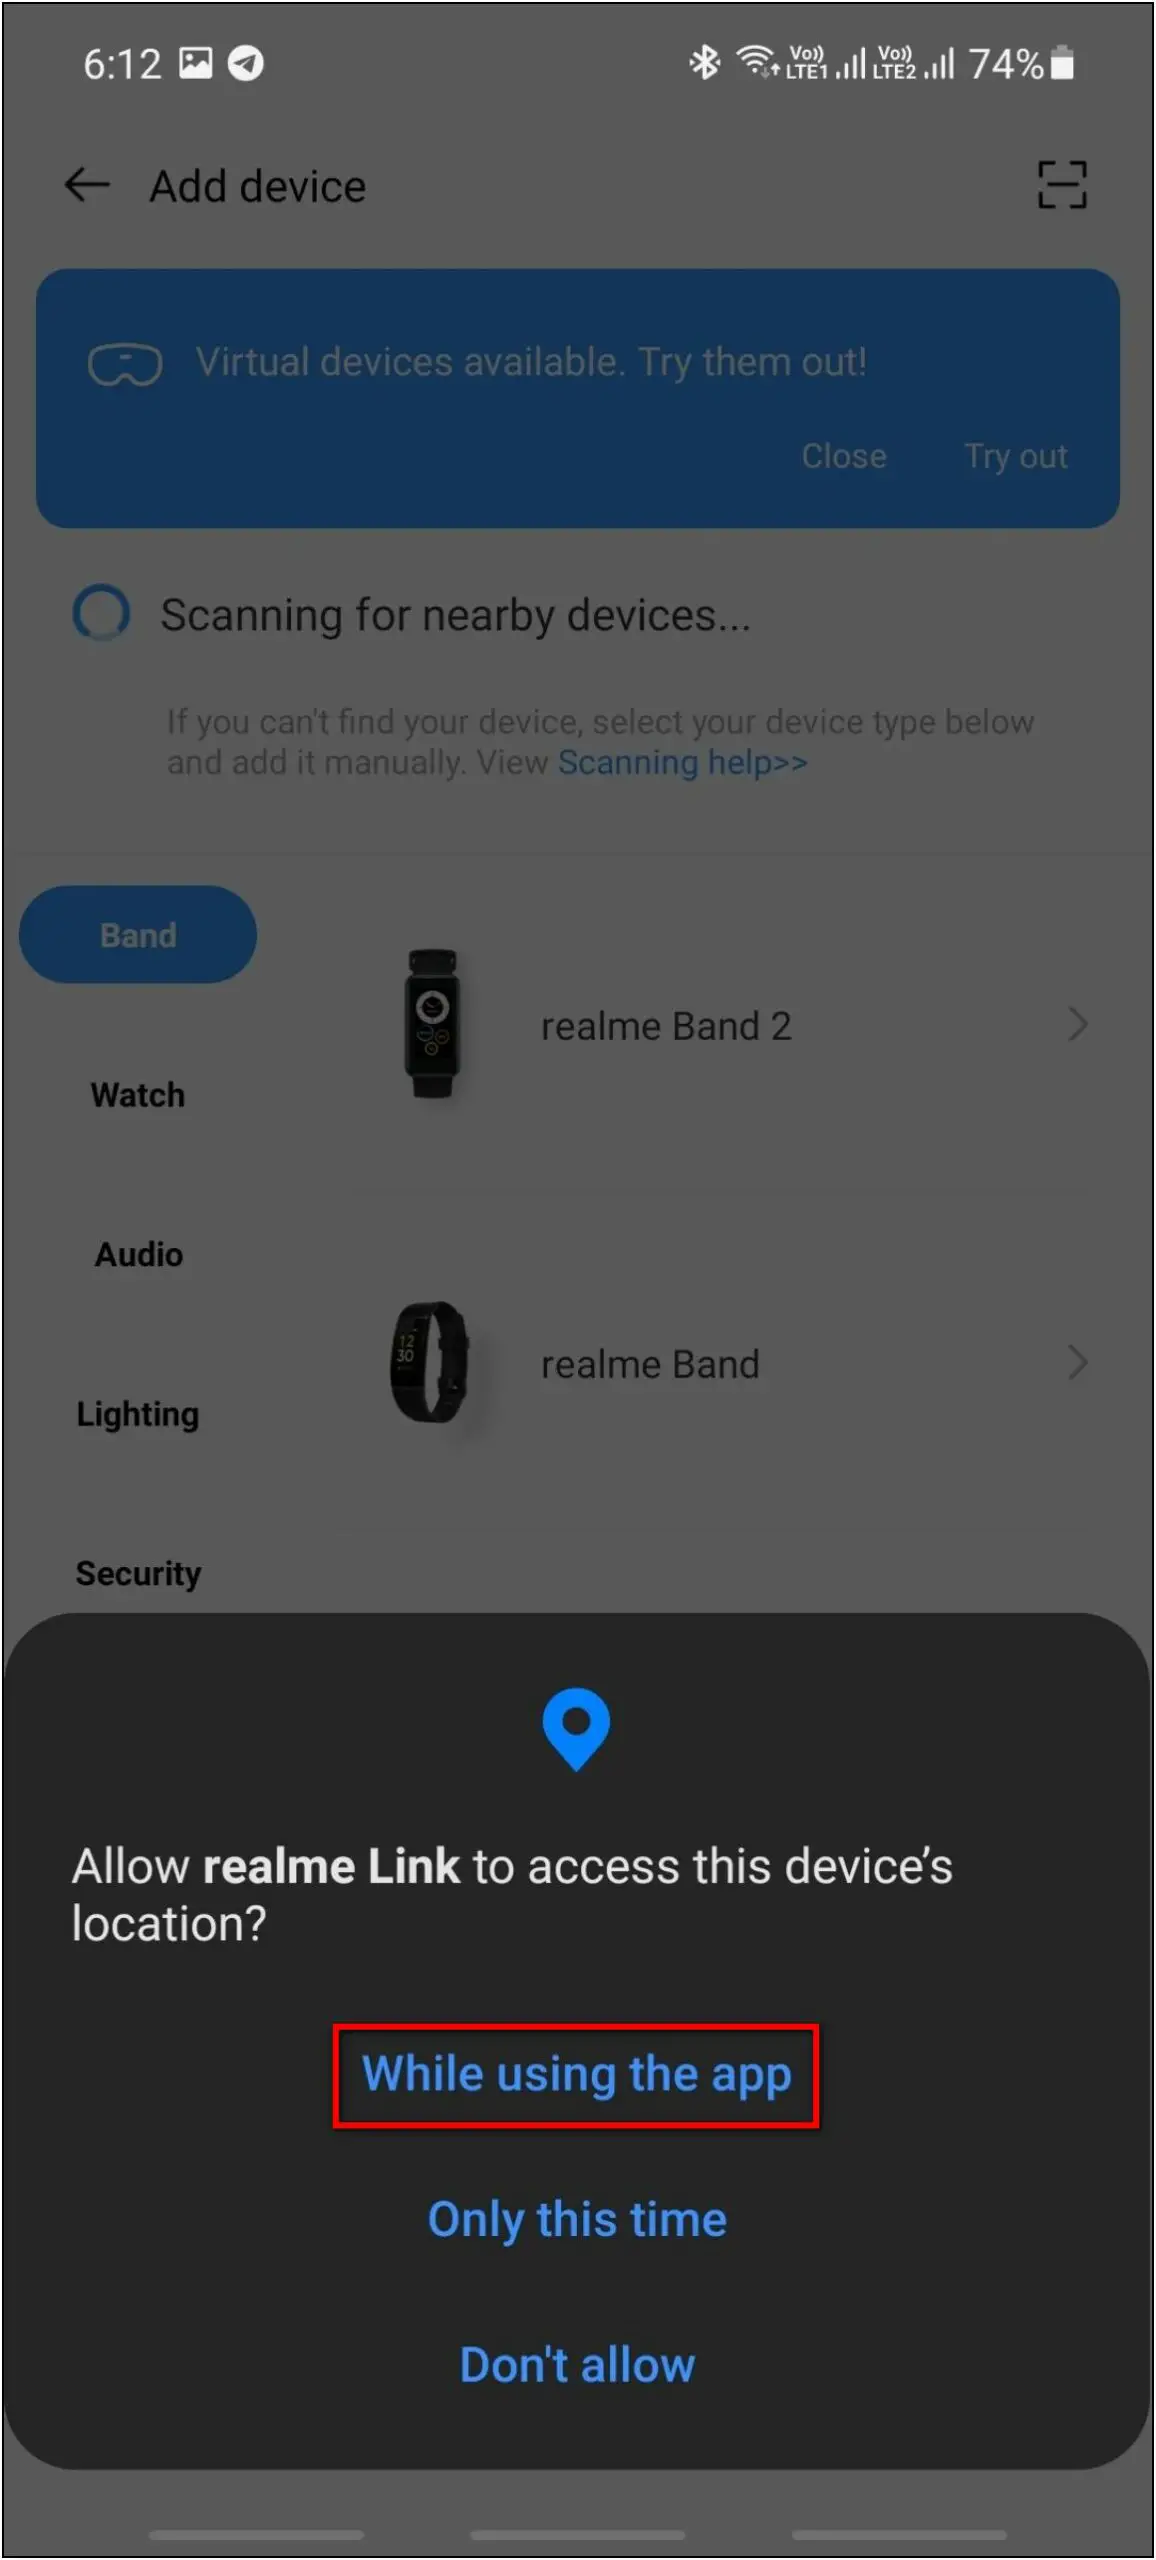
Step 7: Click on Got it and allow the location permission.
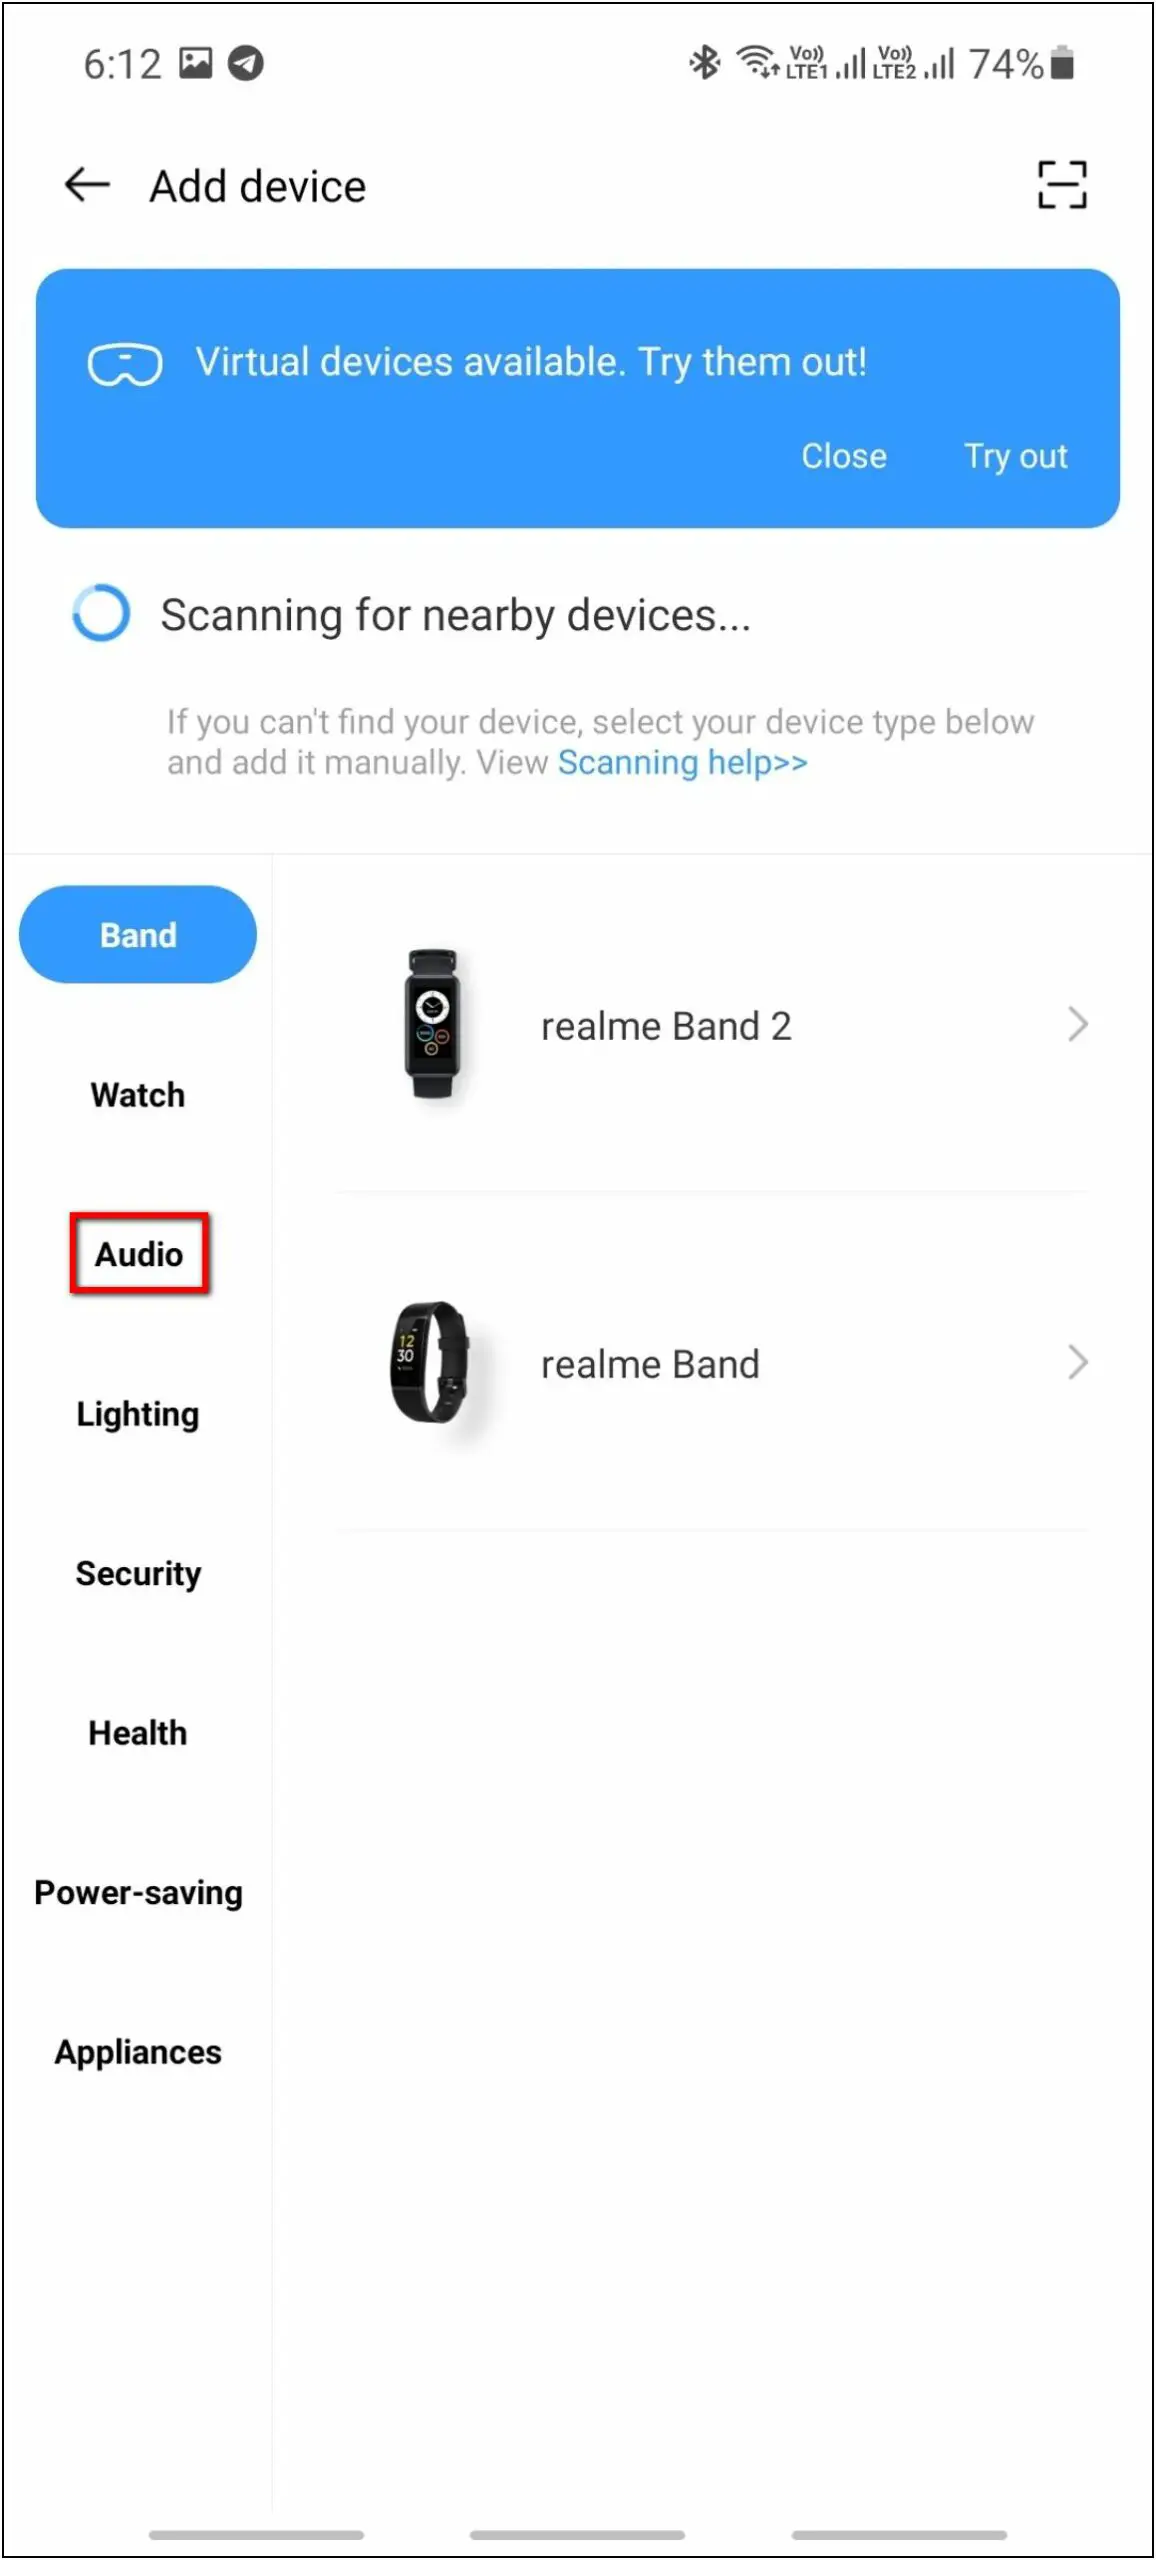
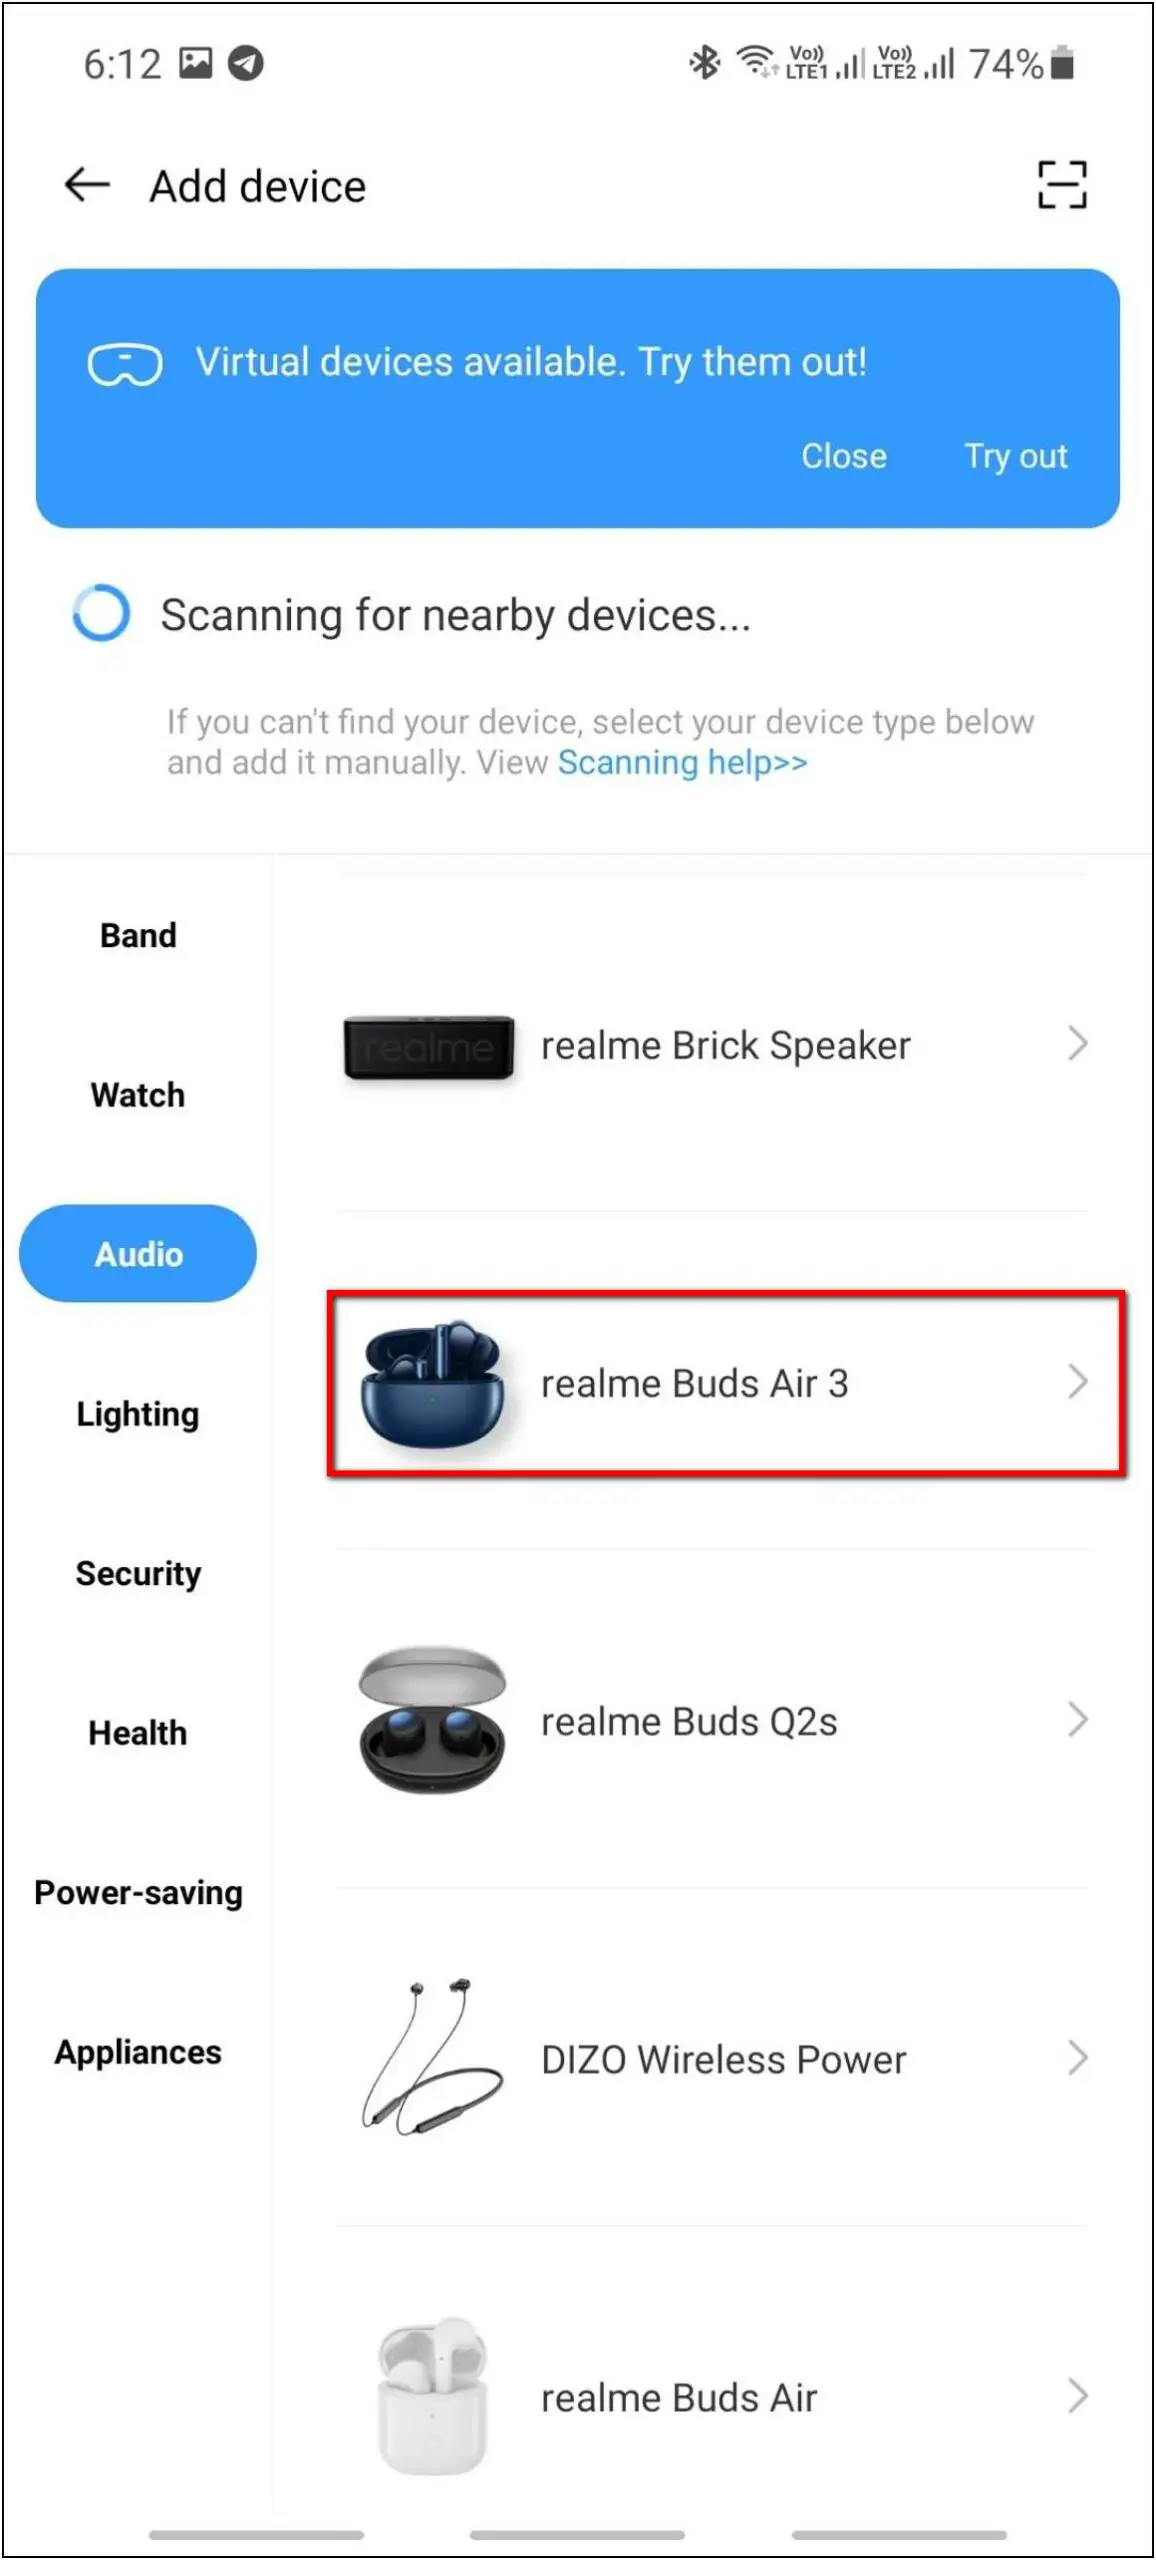
Step 8: Click on Audio and select Realme Buds Air 3.
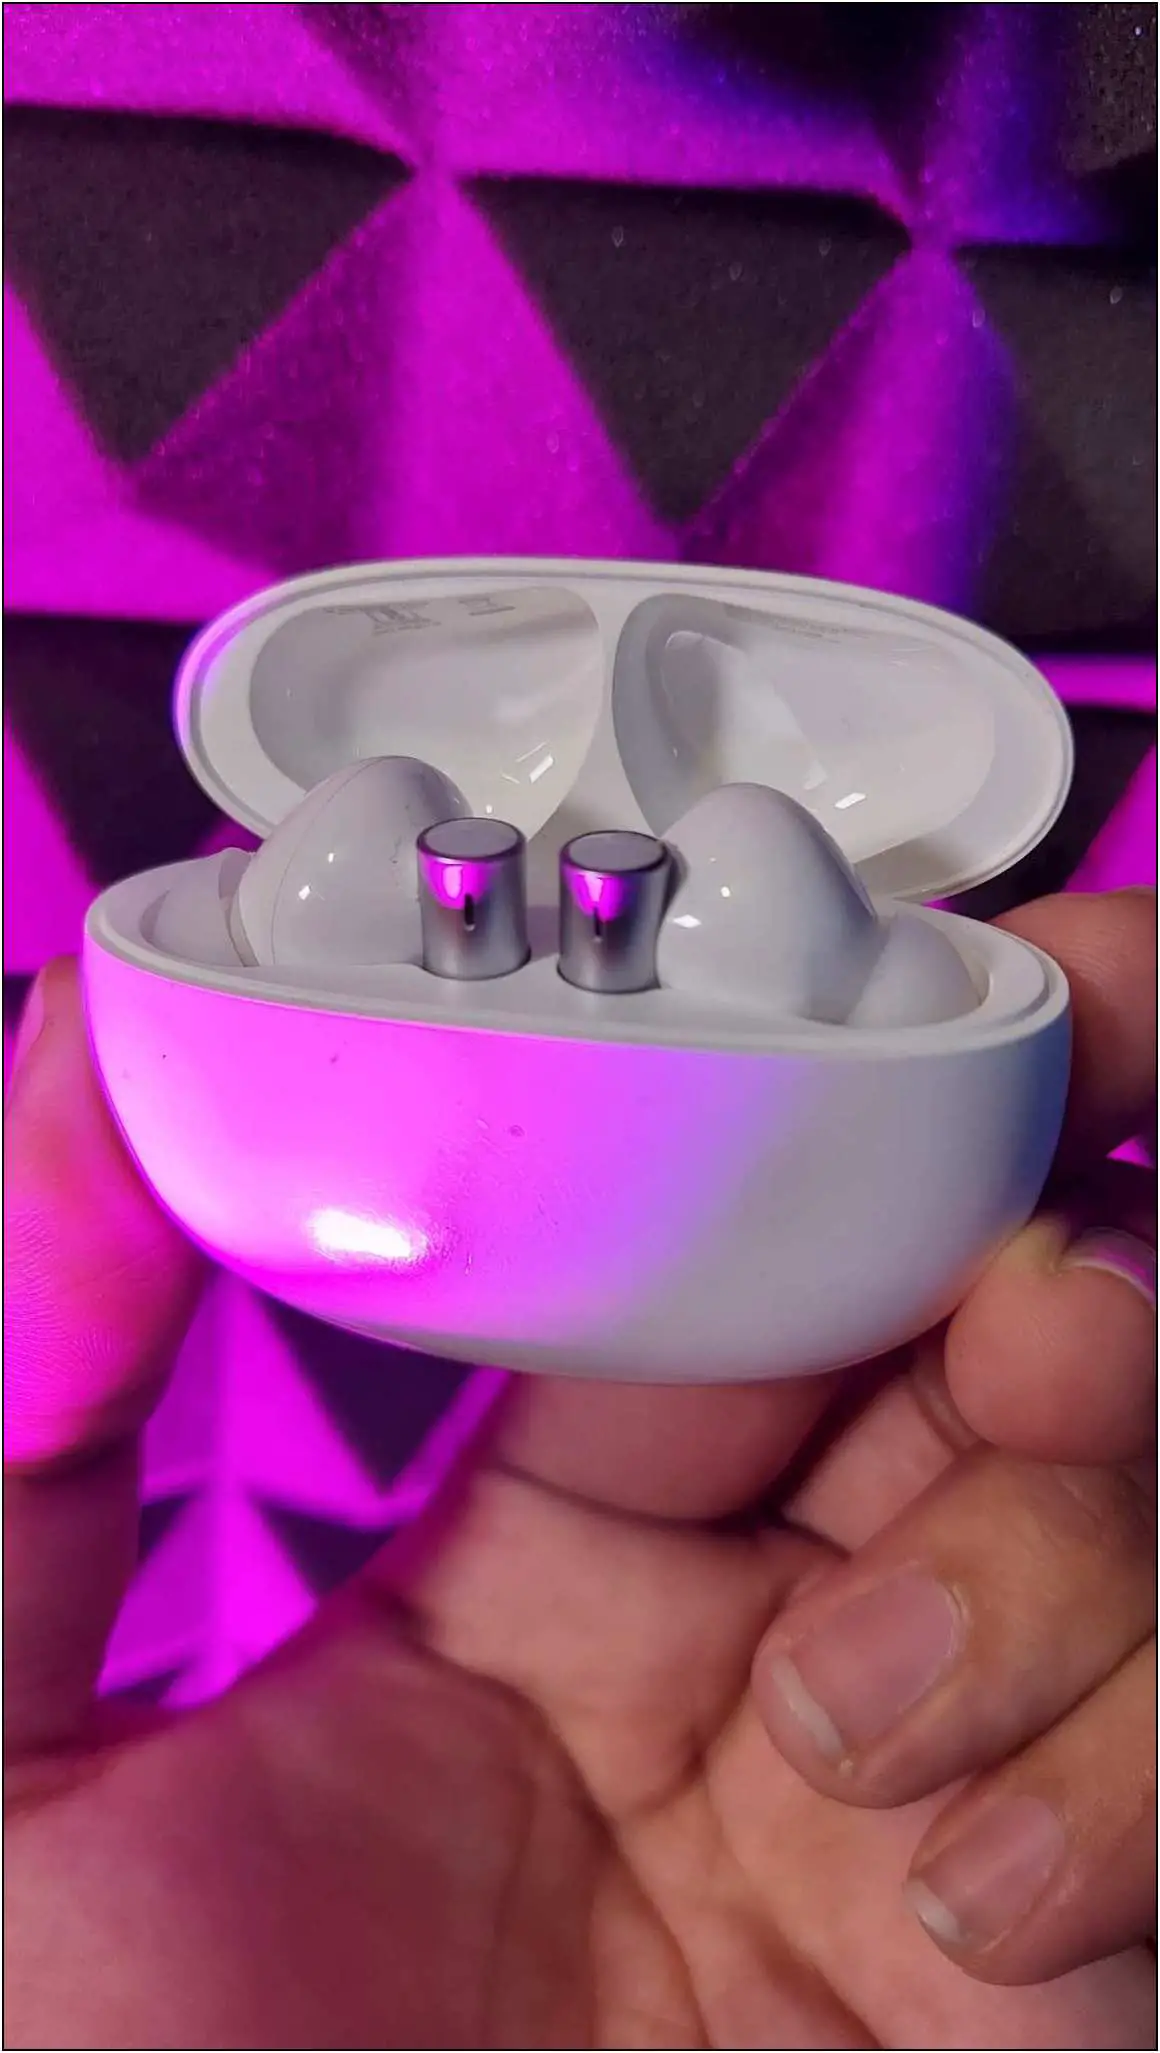
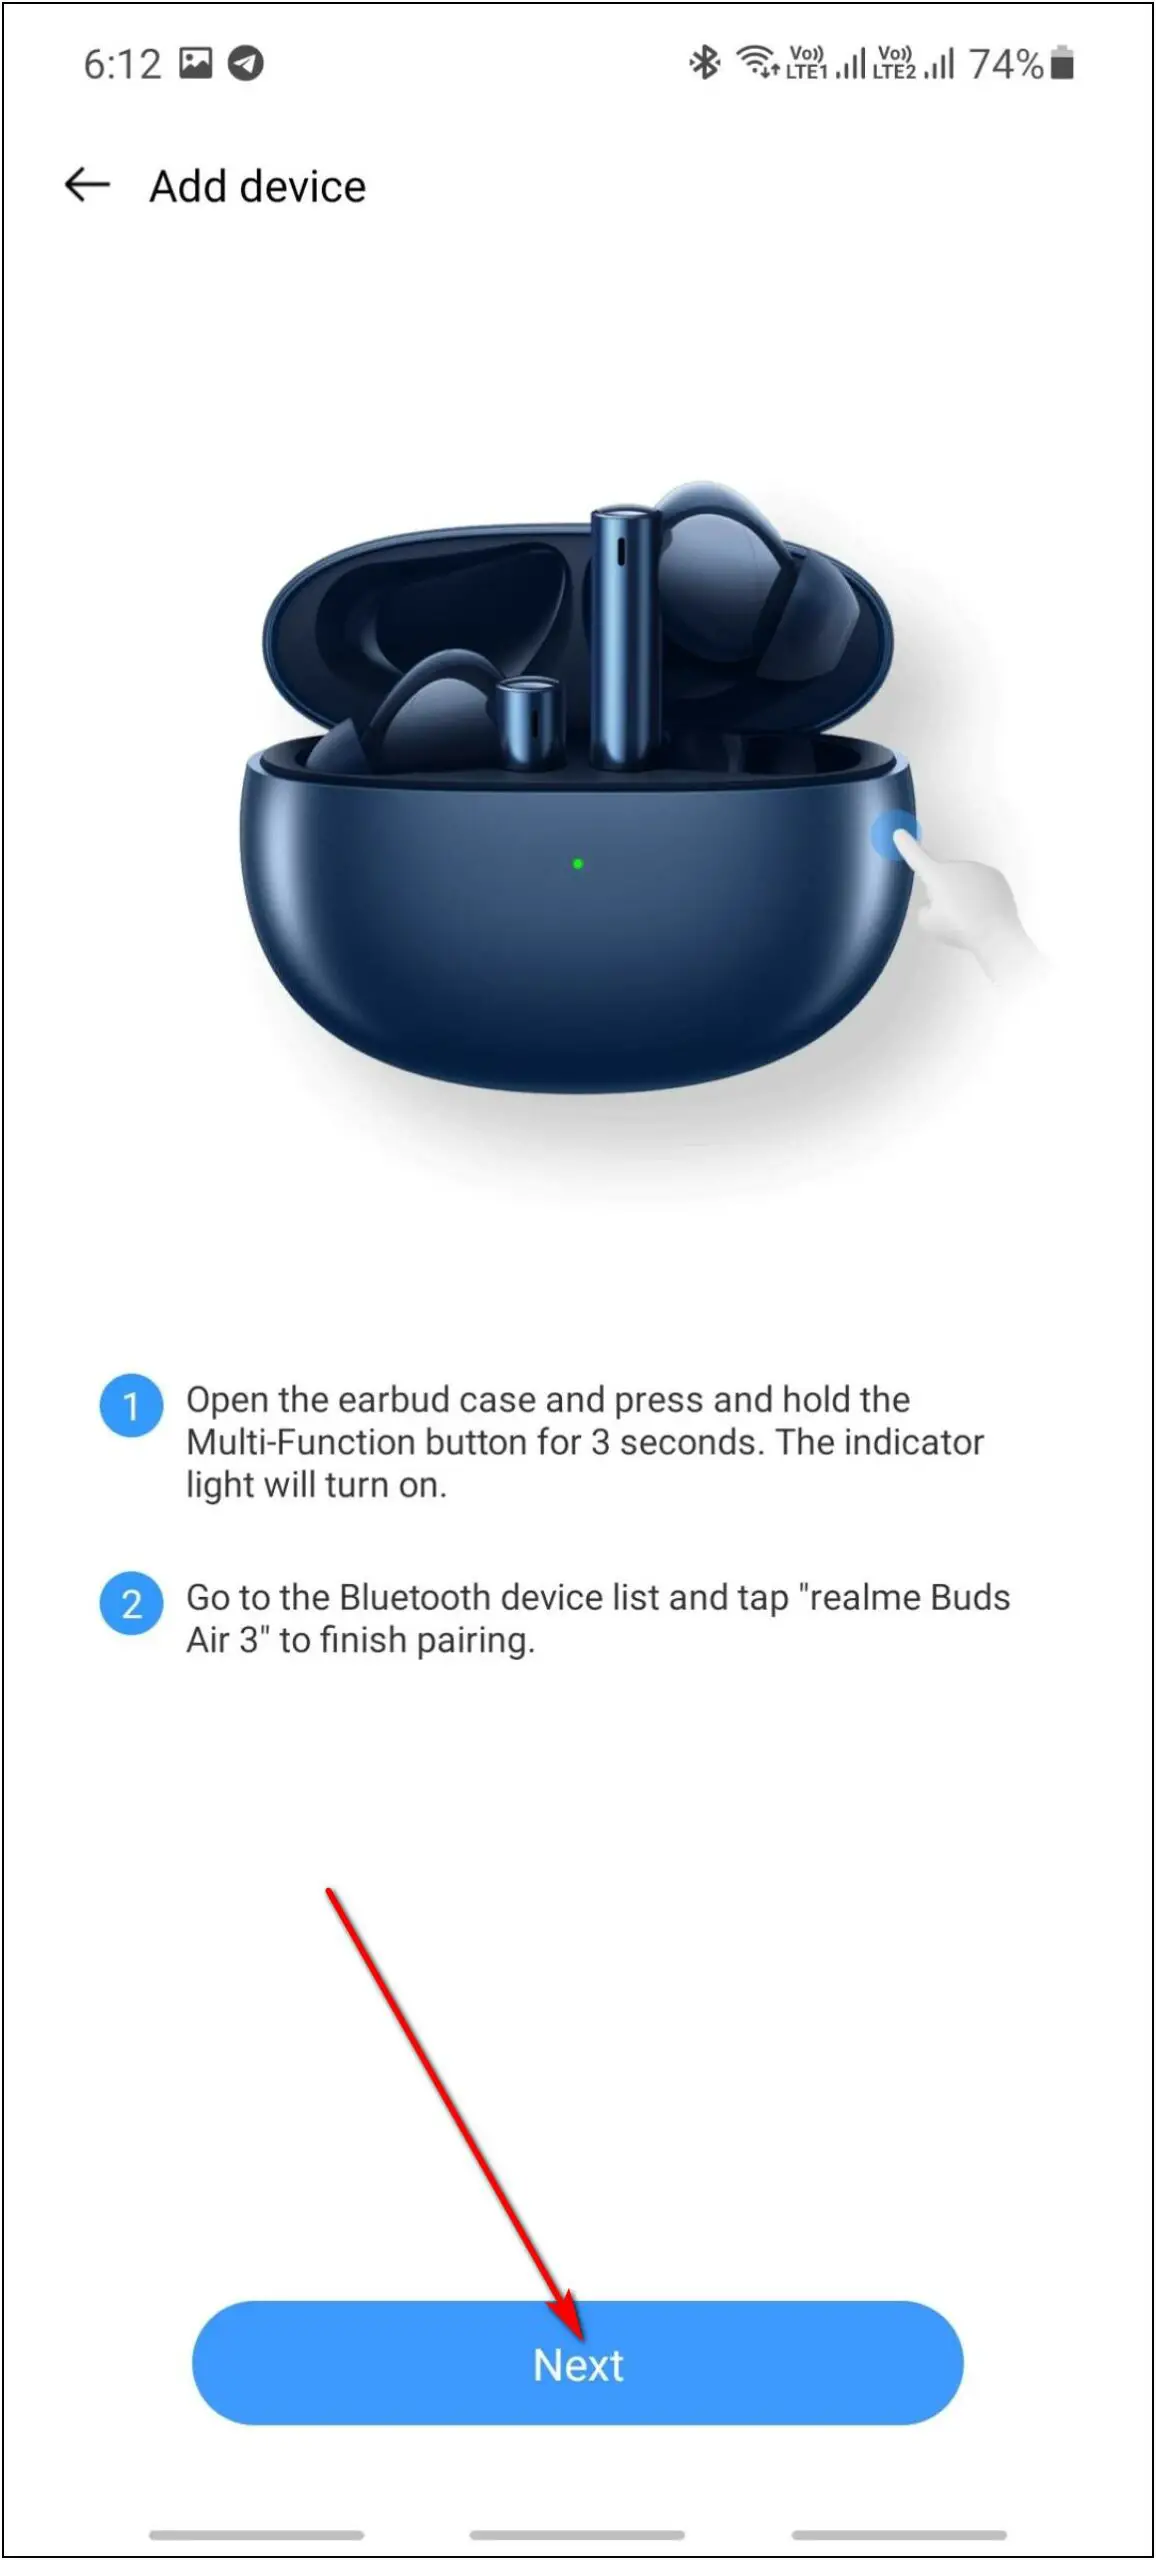
Step 9: Open the TWS case to bring it into pairing mode (if not the first time, press and hold the button to enter pairing mode) and click on the Next button.
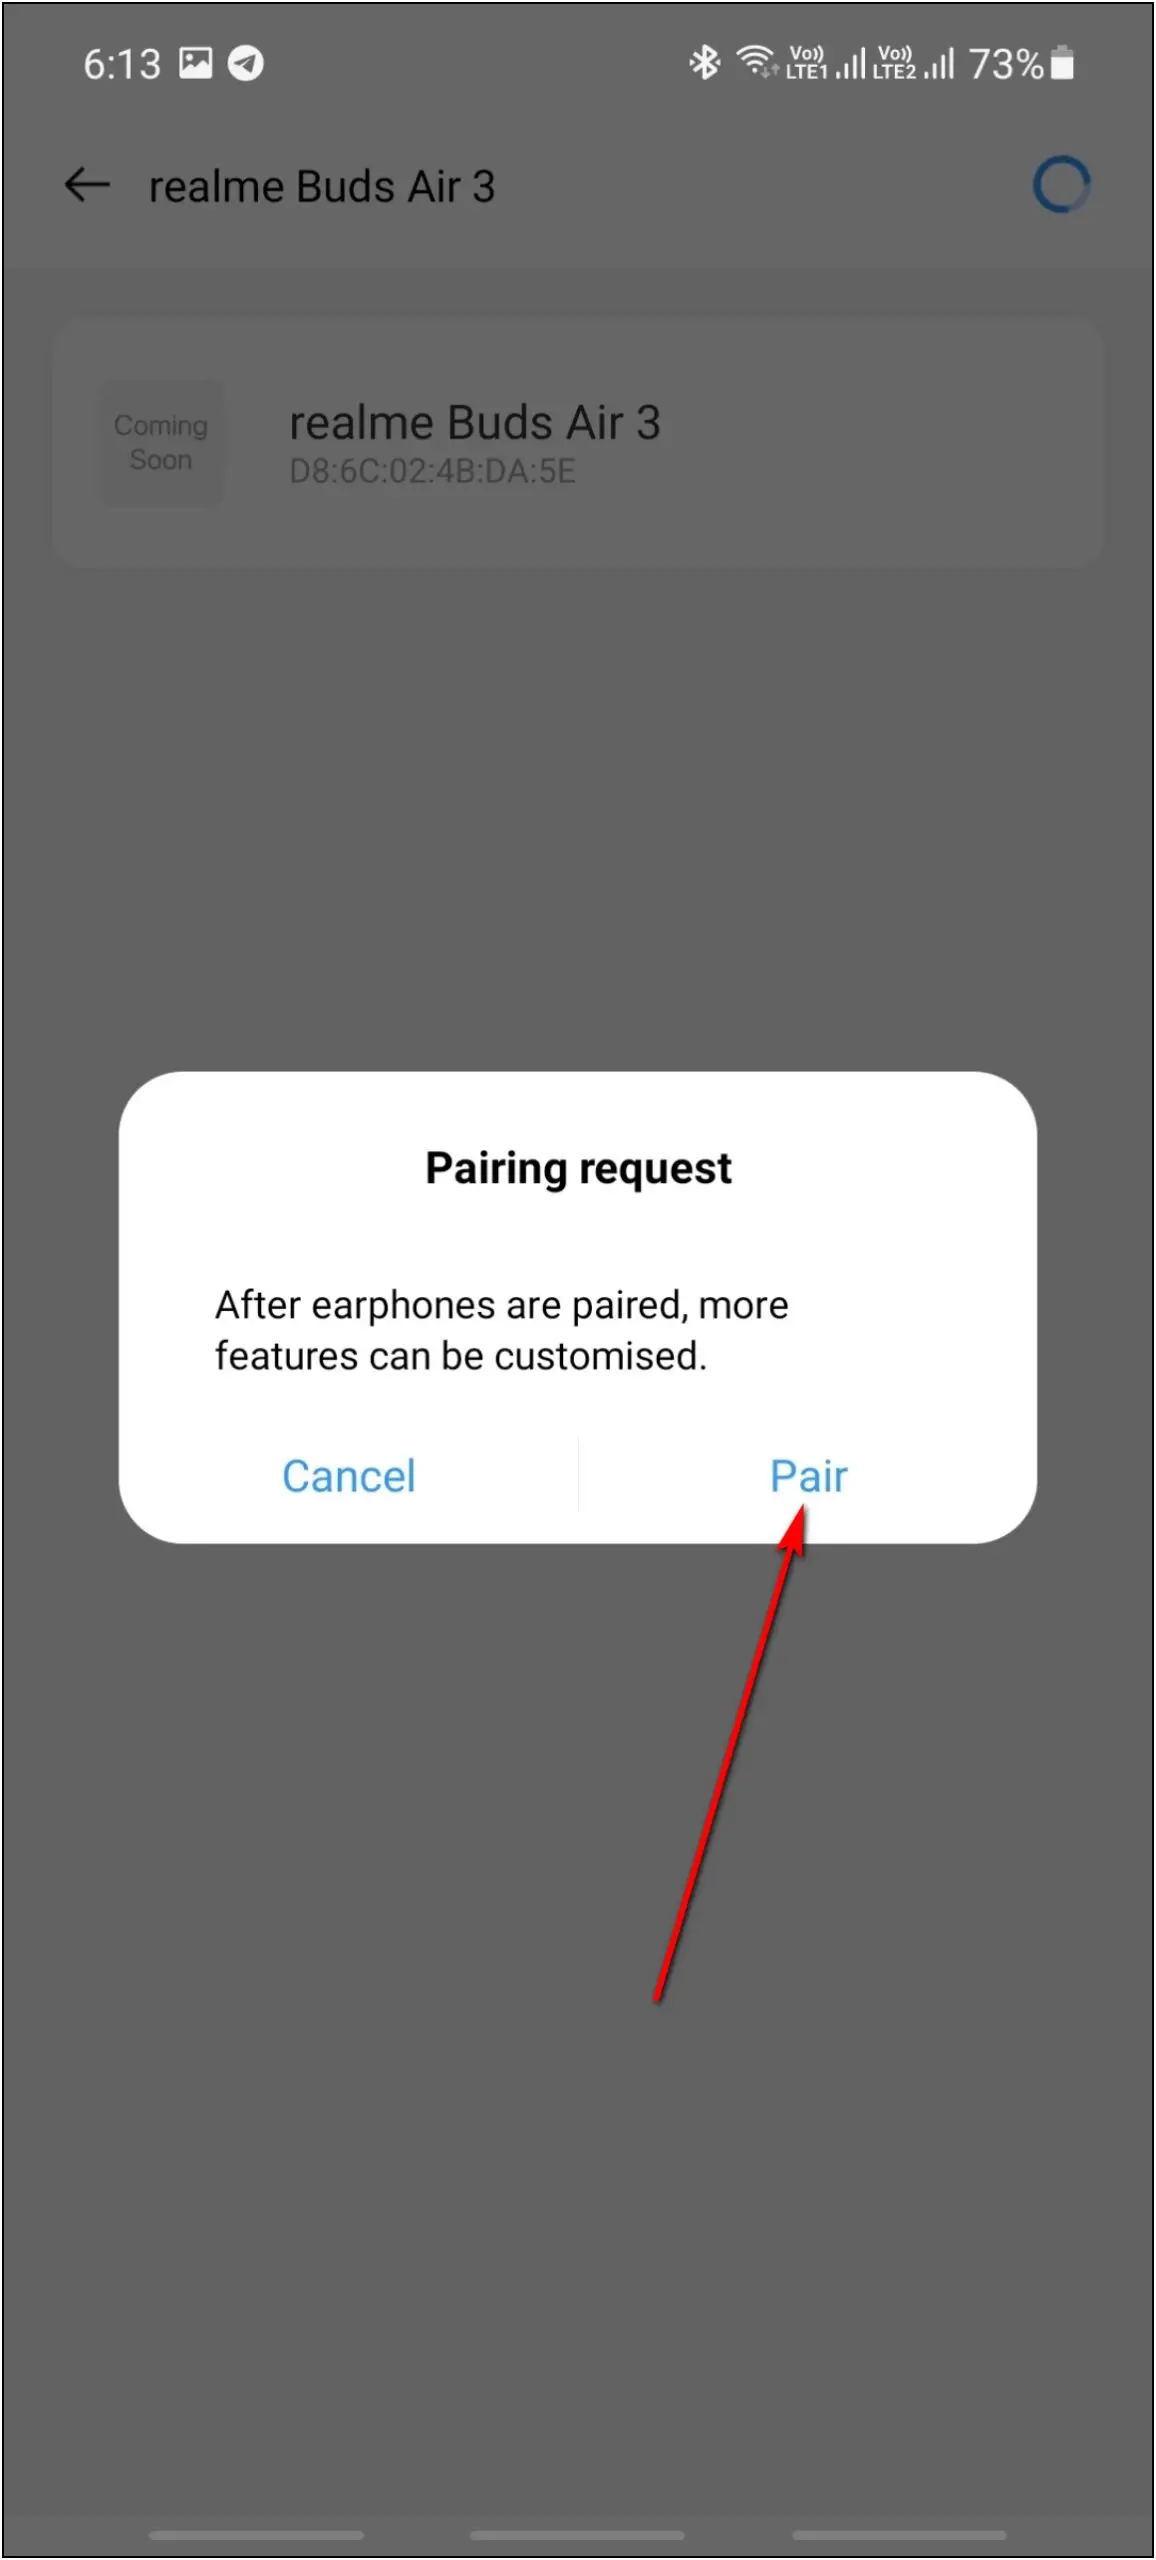
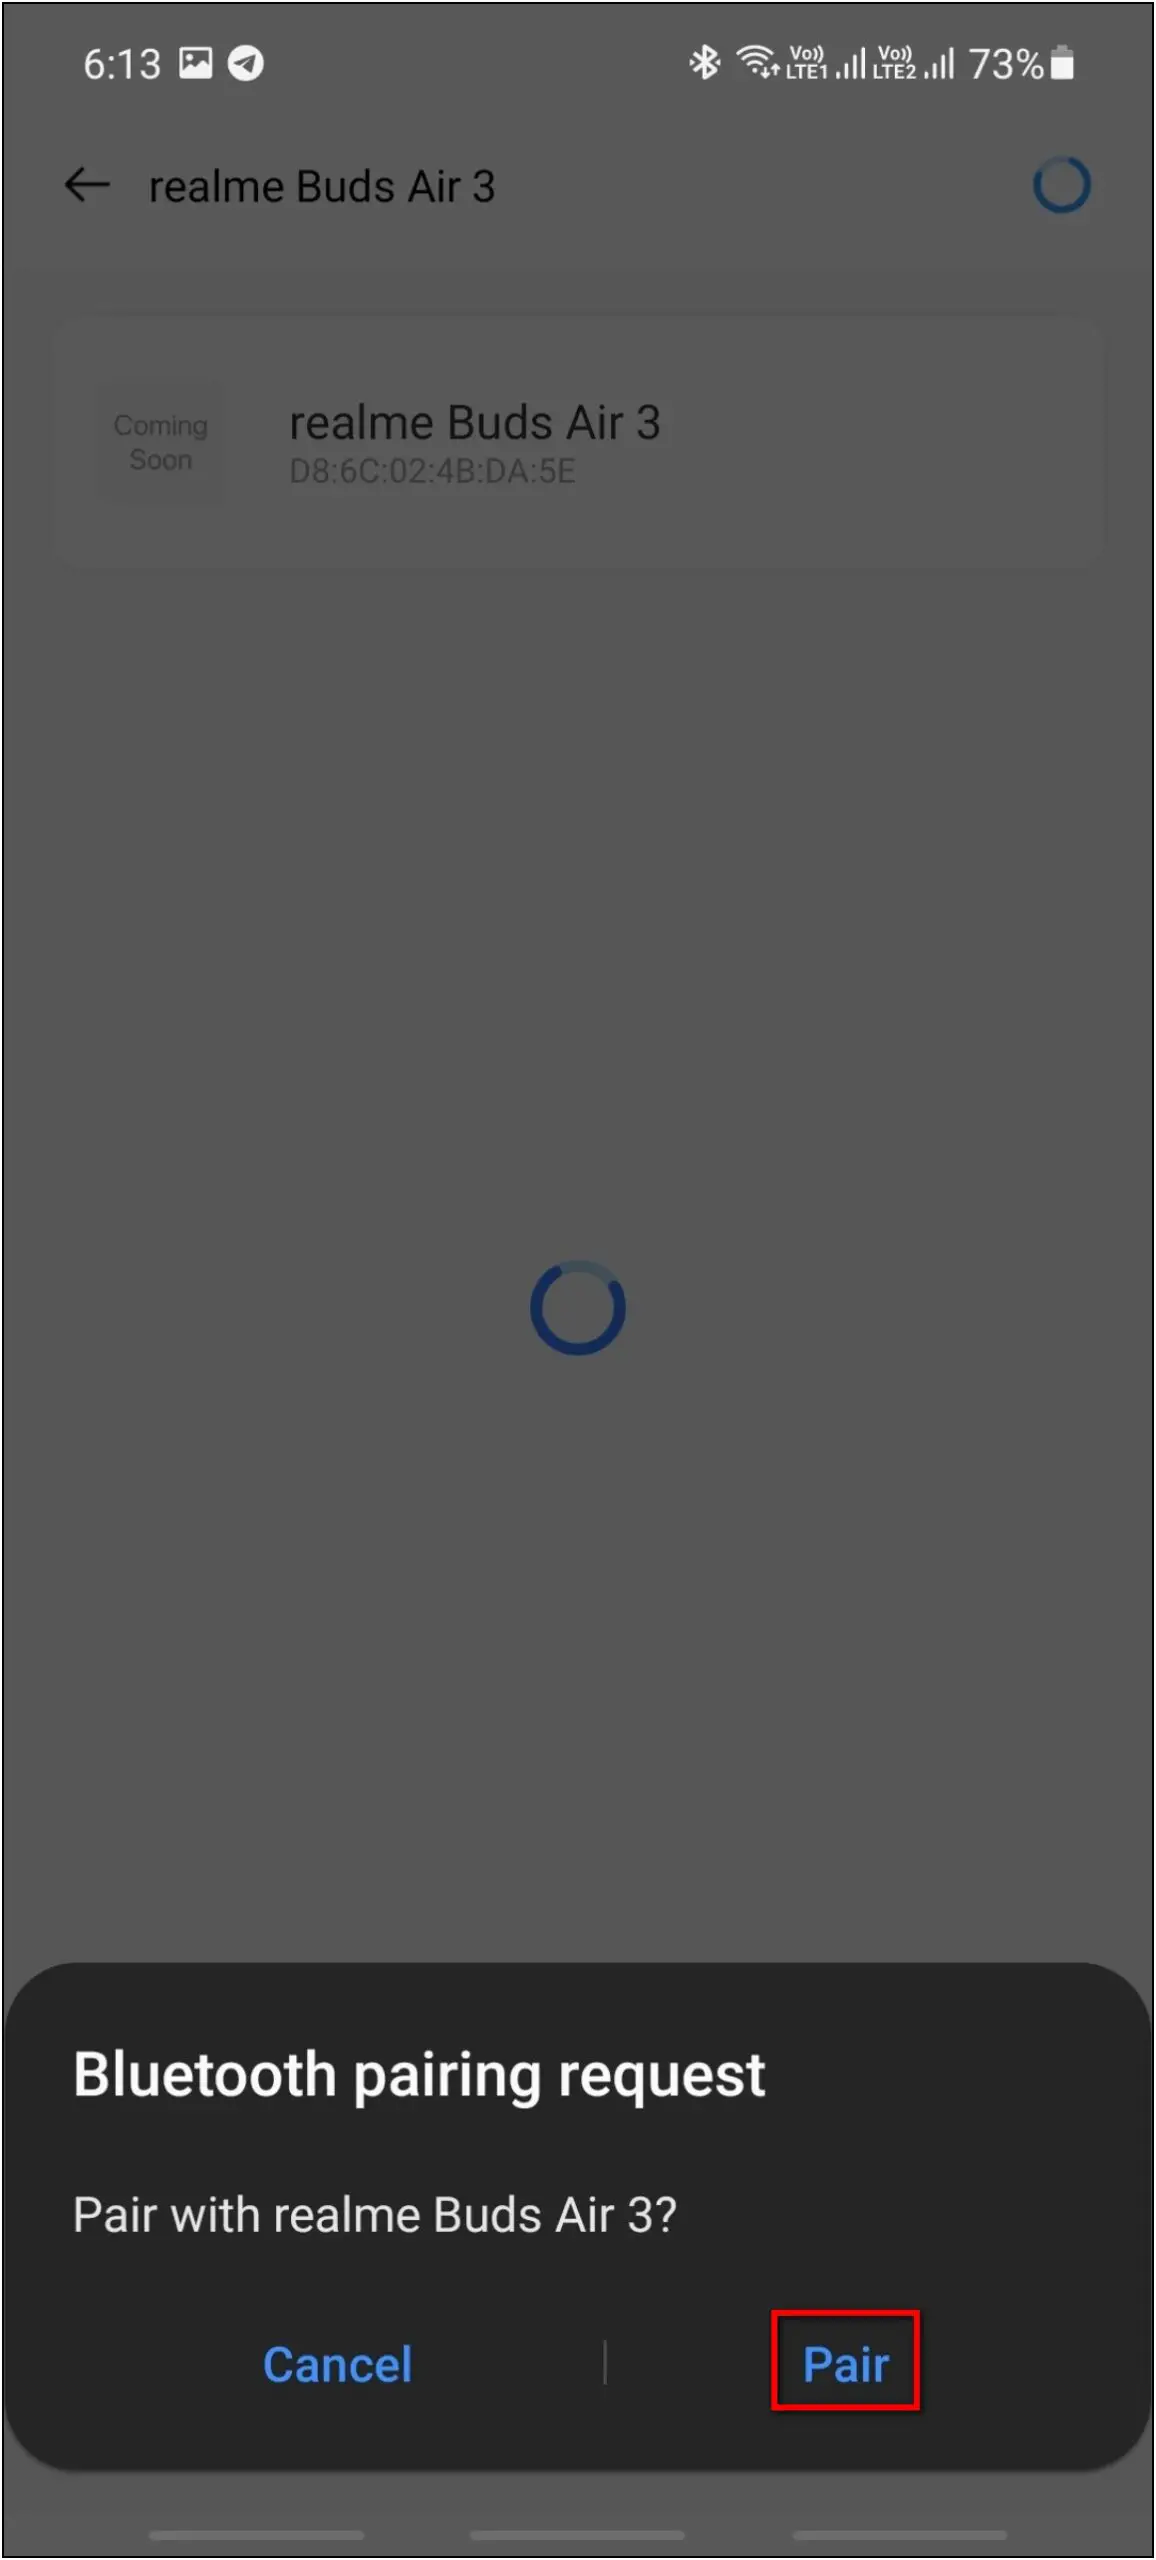
Step 10: Select the device name and confirm the Bluetooth Pairing Request.
The Realme Buds Air 3 is successfully connected to your phone now. Follow up on the article to check everything about its features and customizations below.
Realme Buds Air 3 Features Overview
After connecting the Realme Buds Air 3 with your phone, let’s talk about the features you get in the app to control and customize the buds.
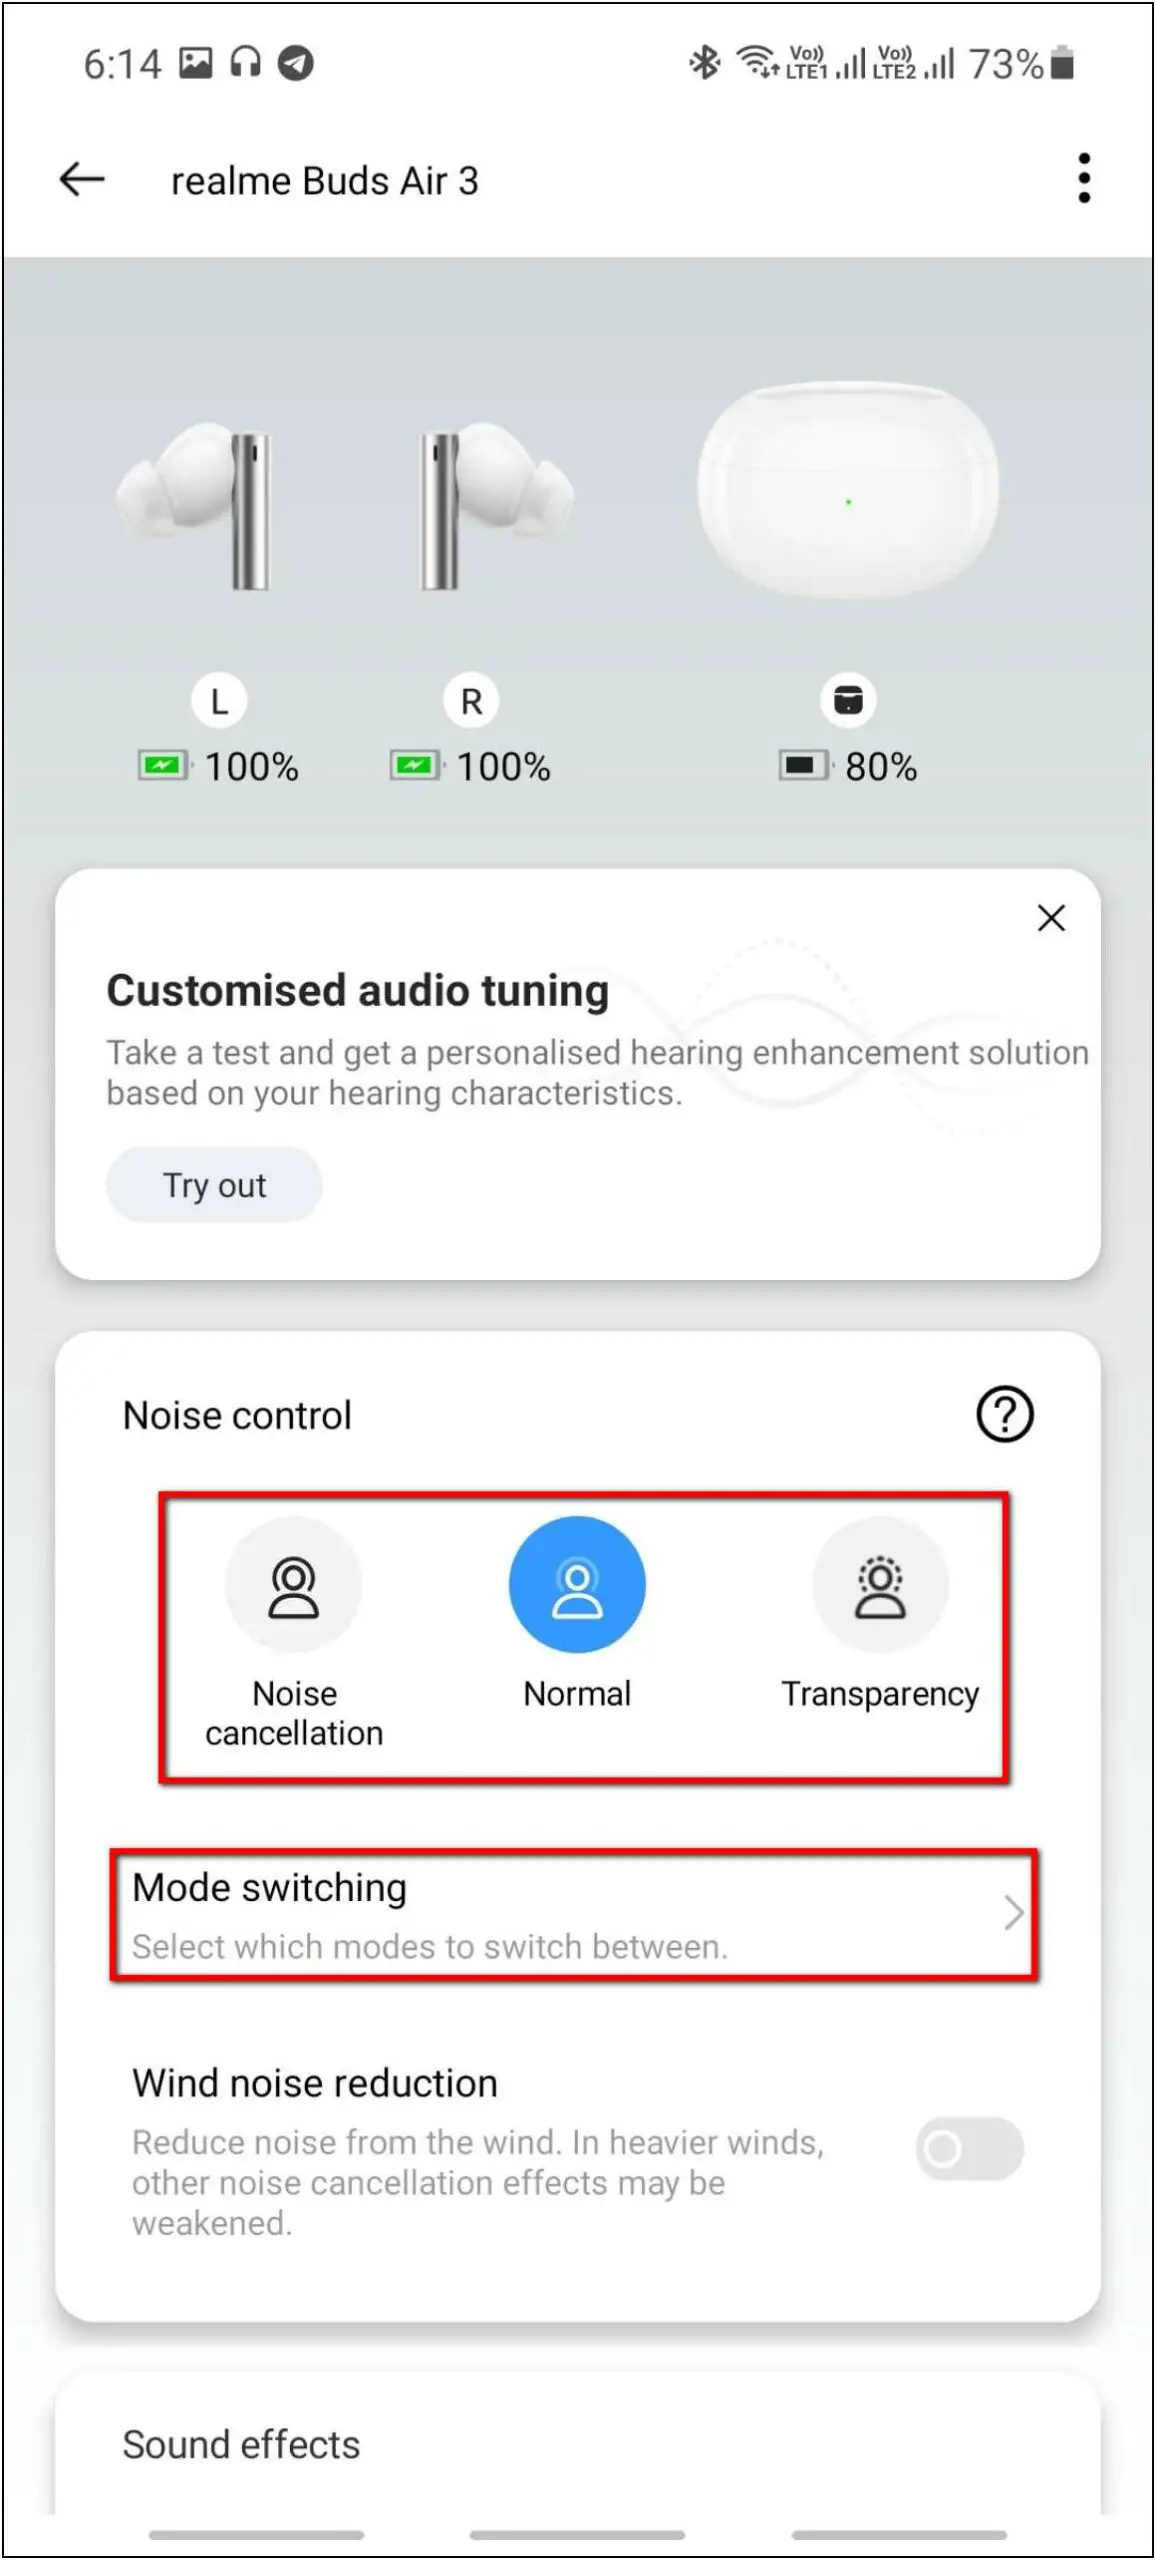
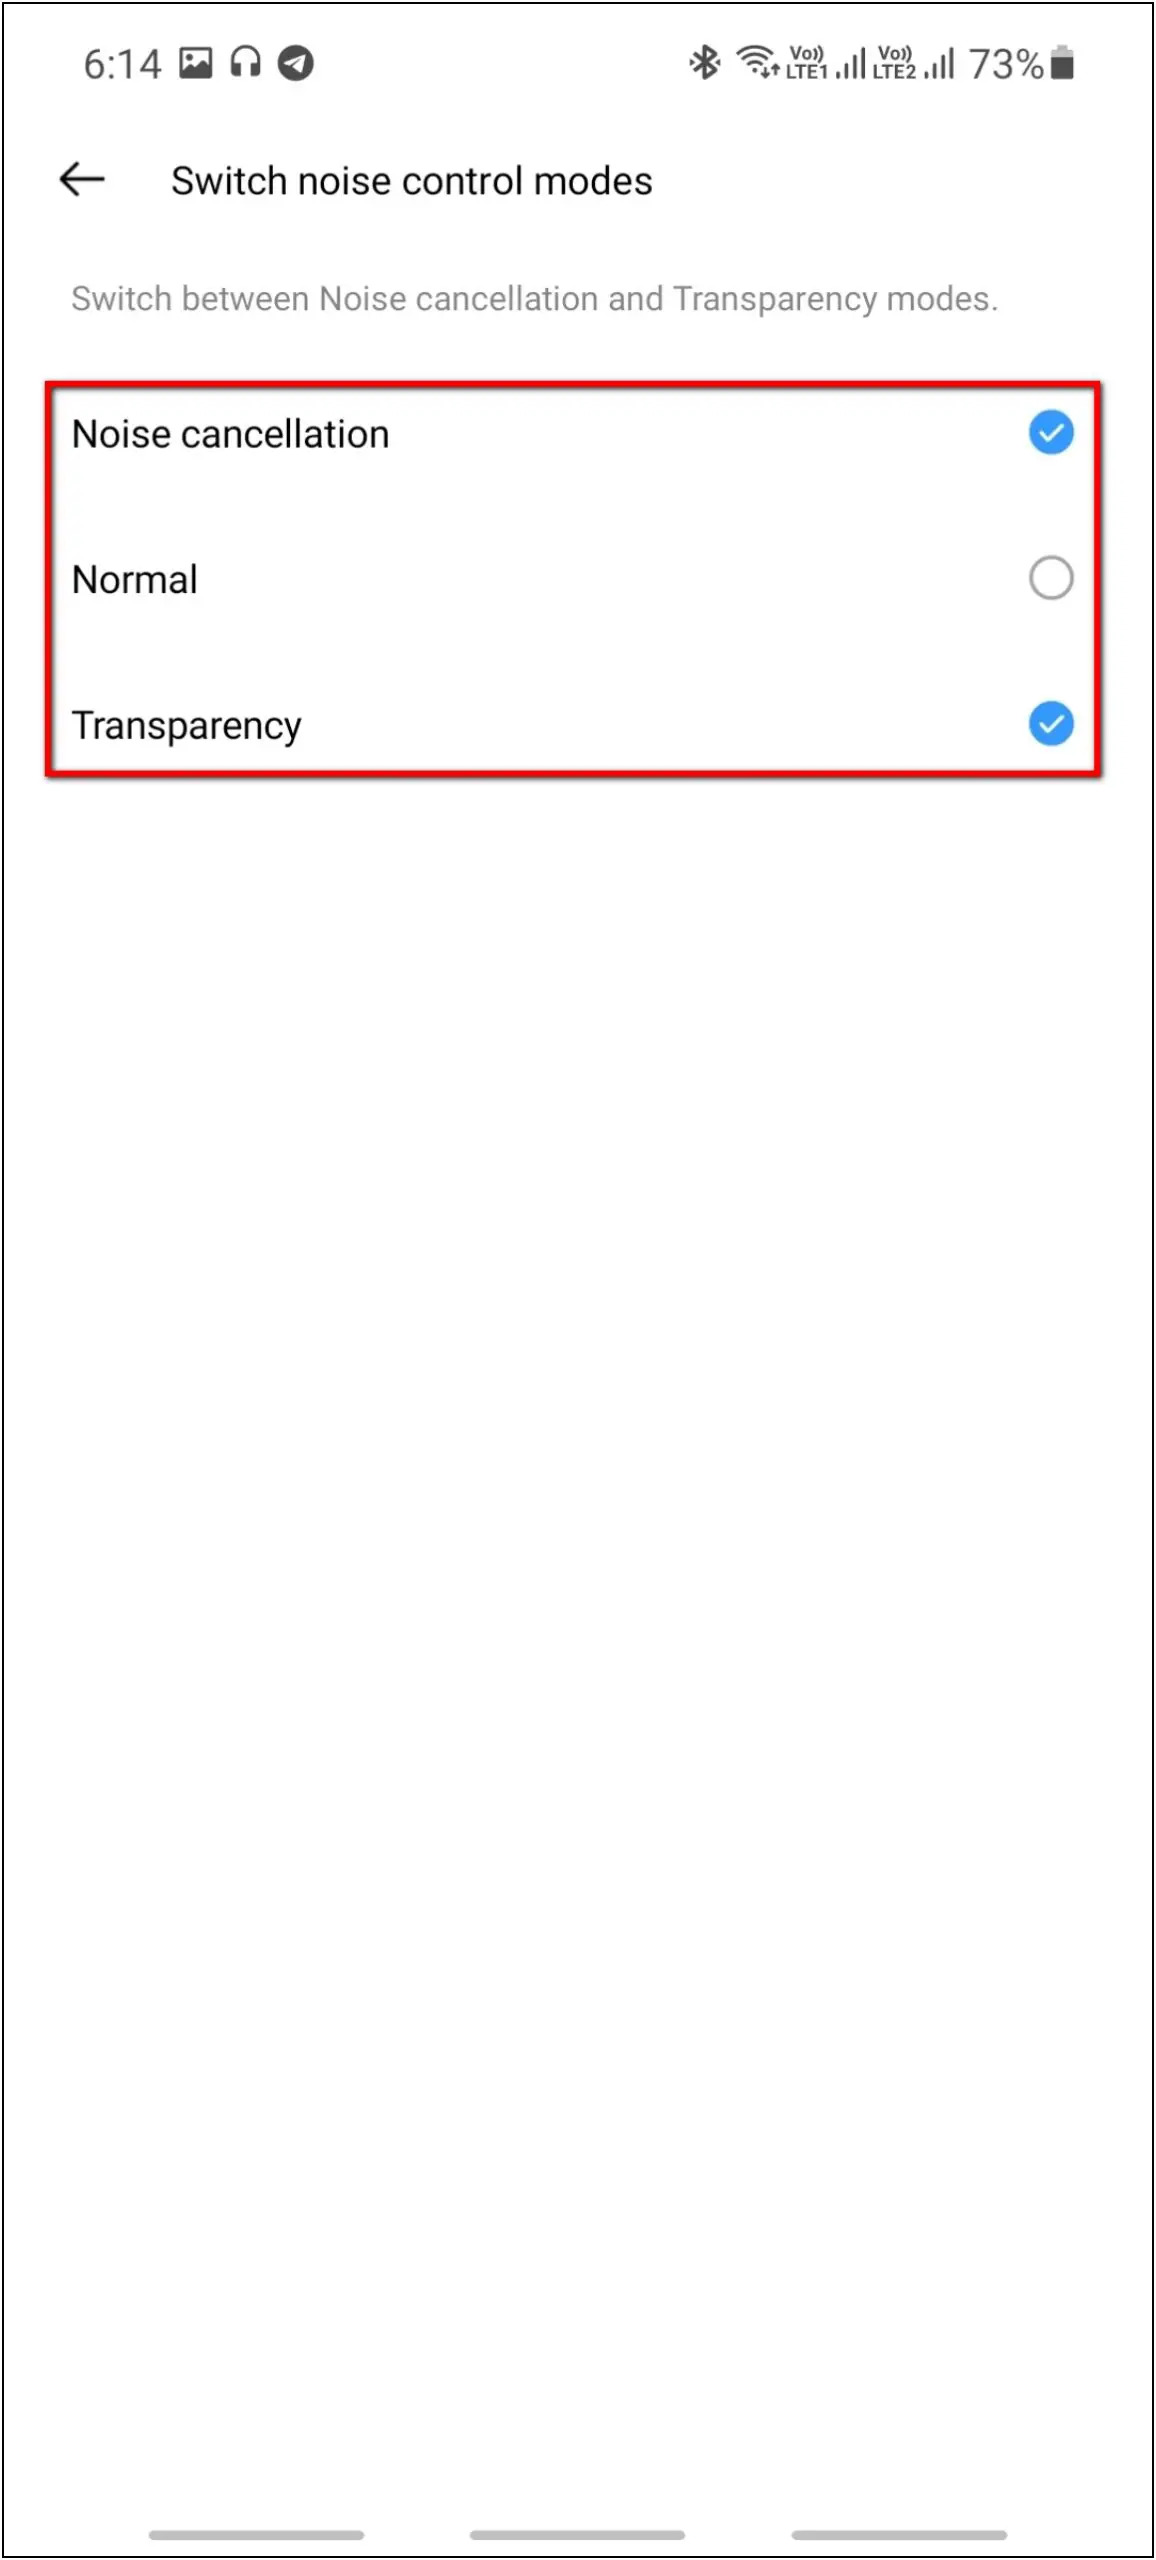
Noise Control Modes: The first feature you will see in the app is noise control. In this, you can change the noise cancellation mode in one tap with normal and transparency mode. You can also select between the three modes to change with touch controls.
Wind Noise Reduction: This feature reduces the wind noise when you riding on a bike or in an environment with high-speed winds. It will cut out a good amount of wind noise so that you can listen to the music or answer a call without hassle.
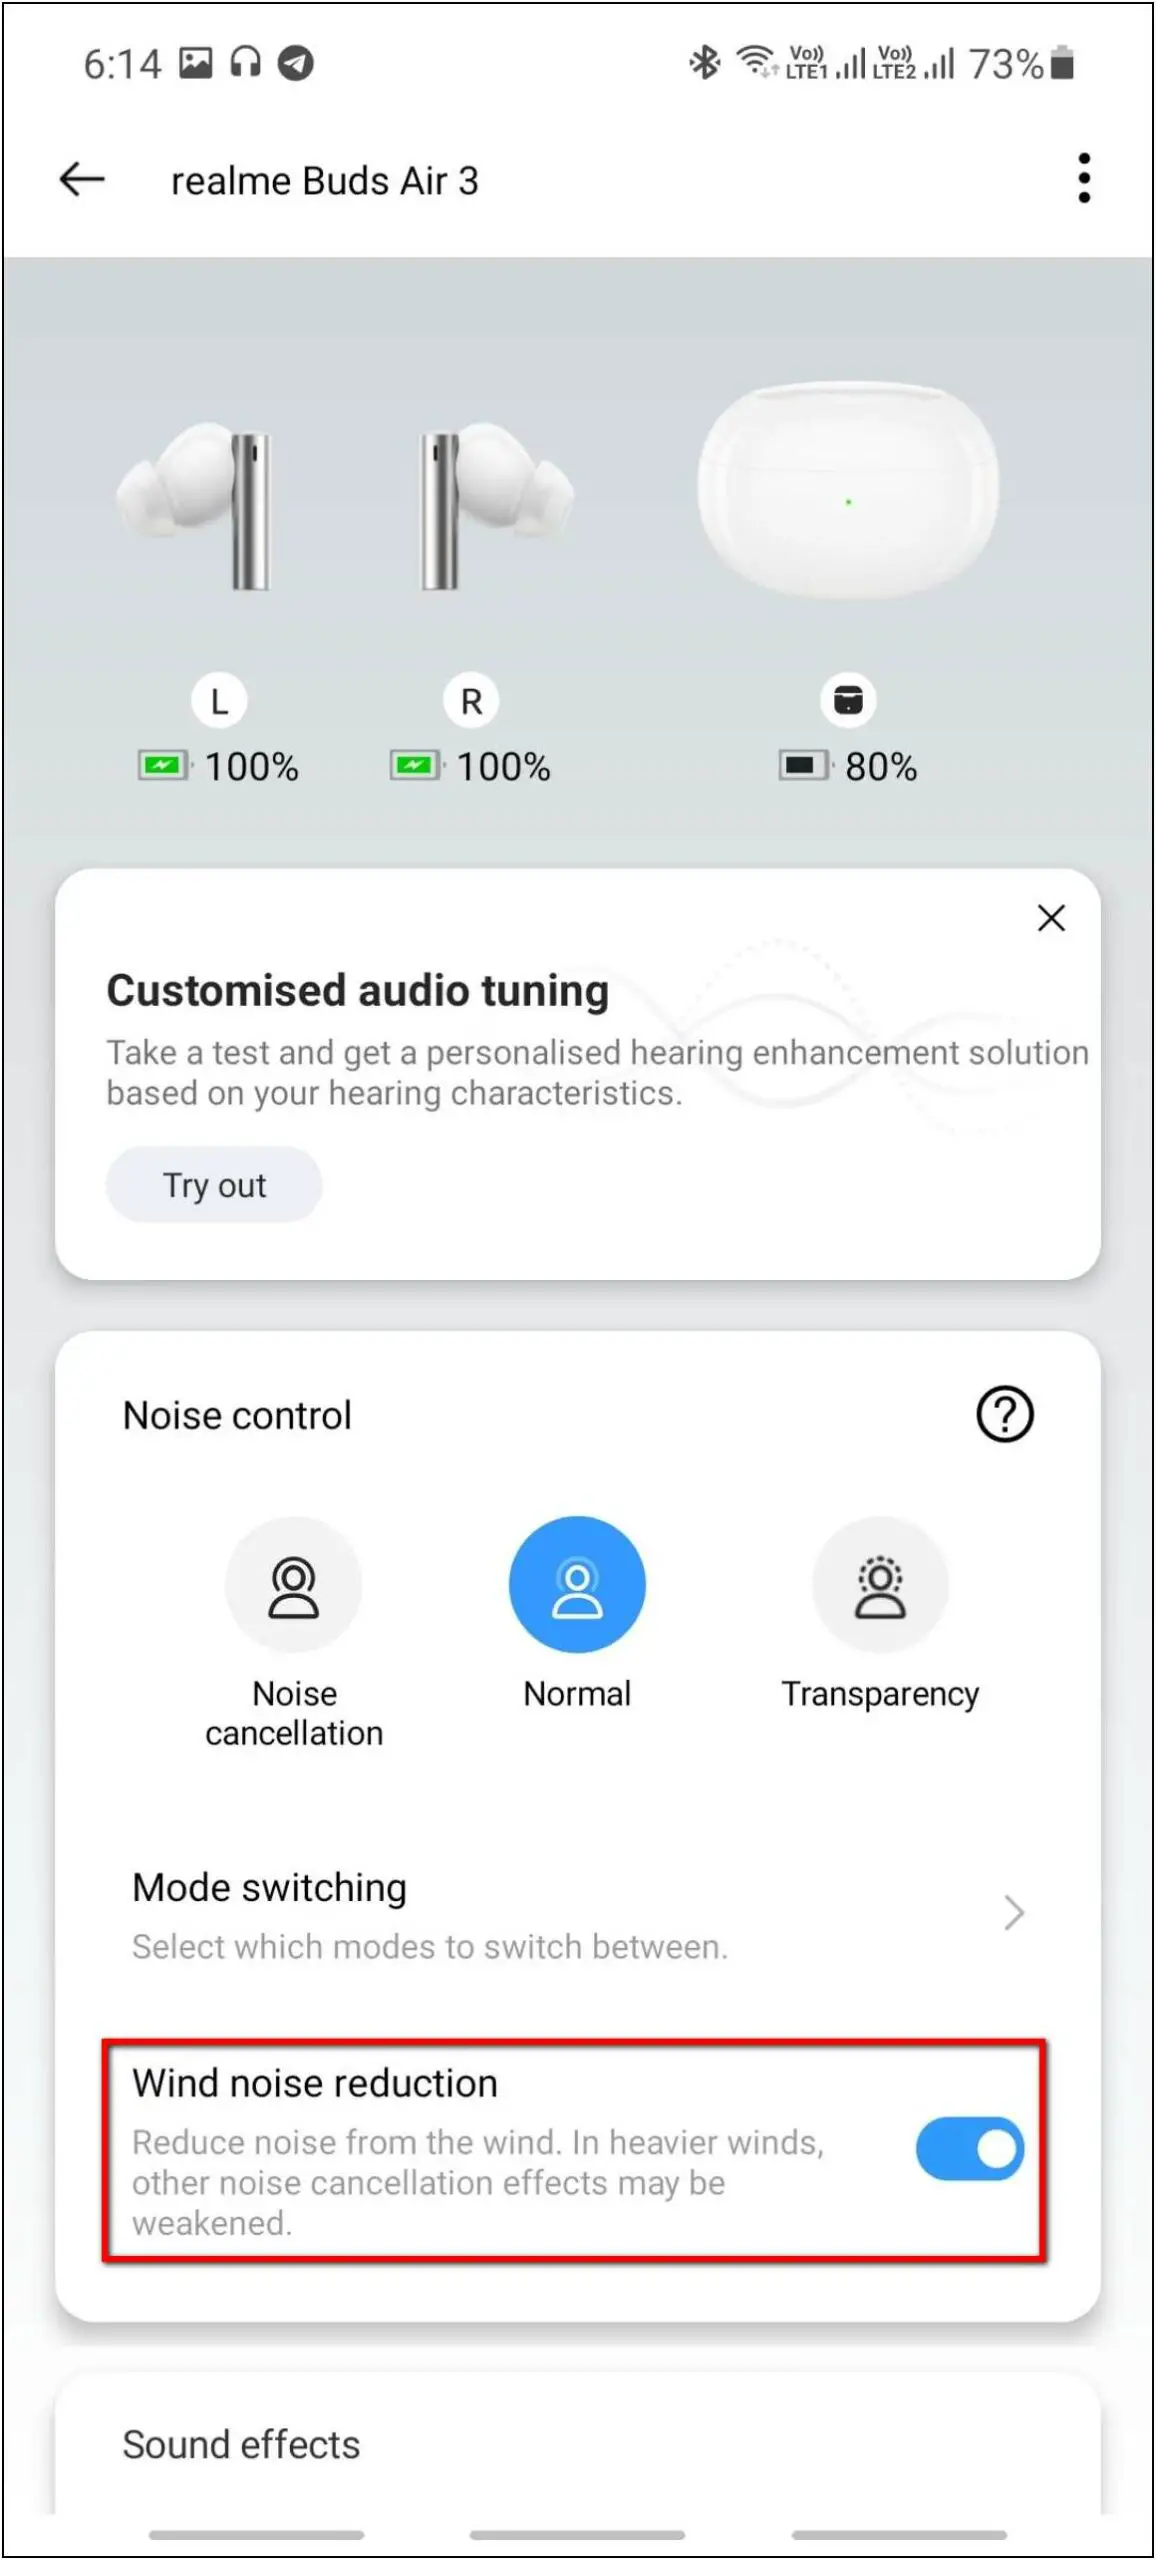
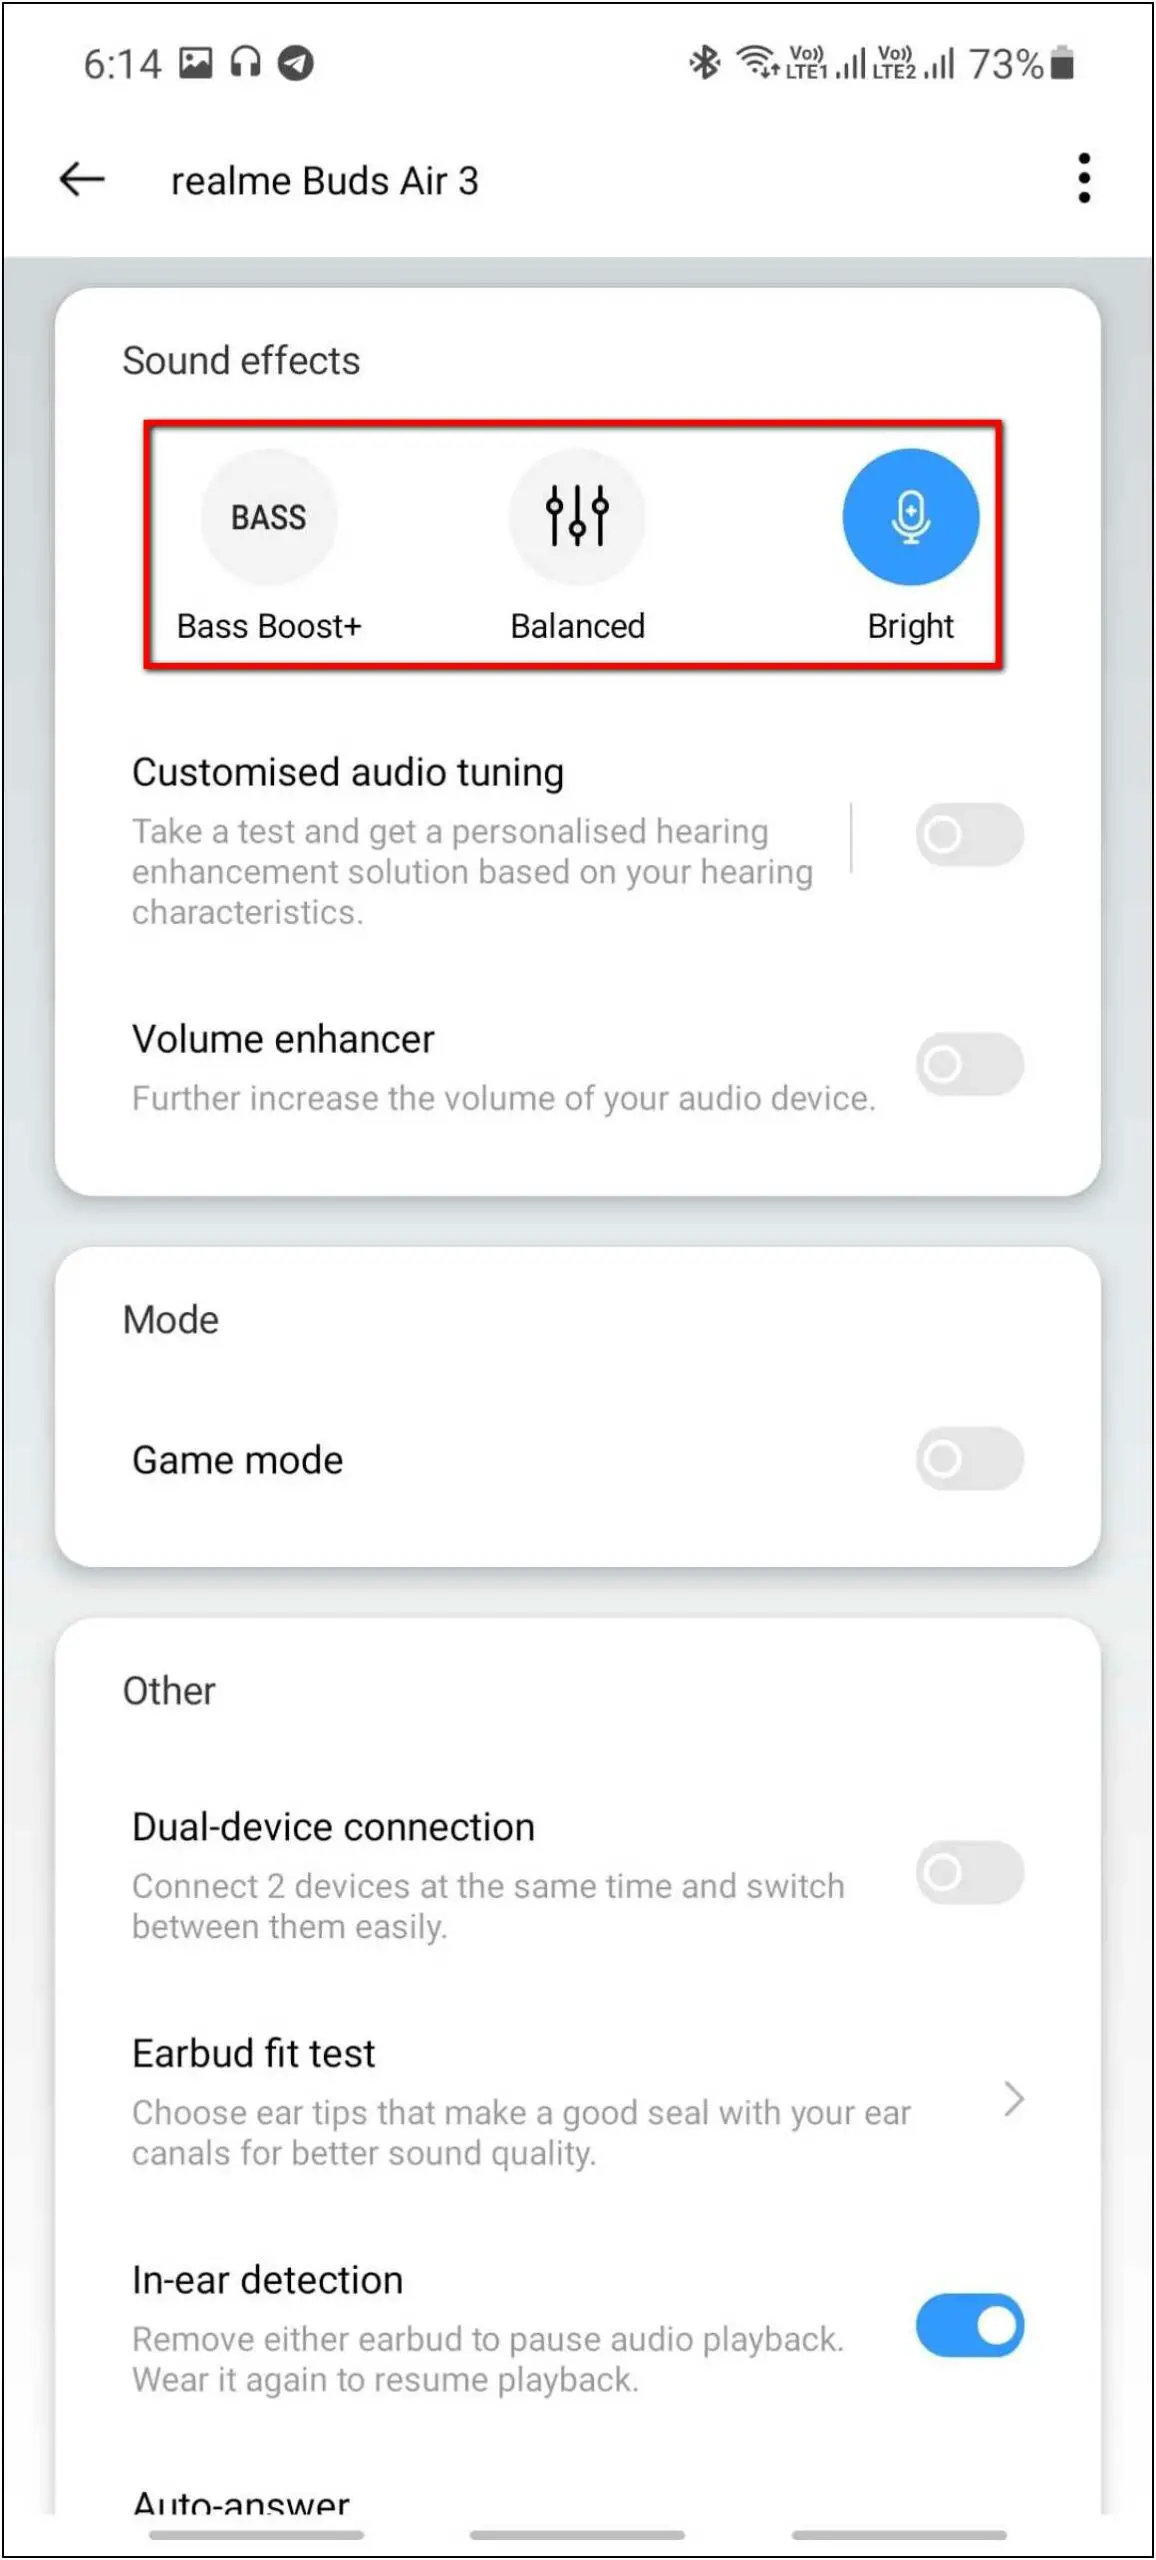
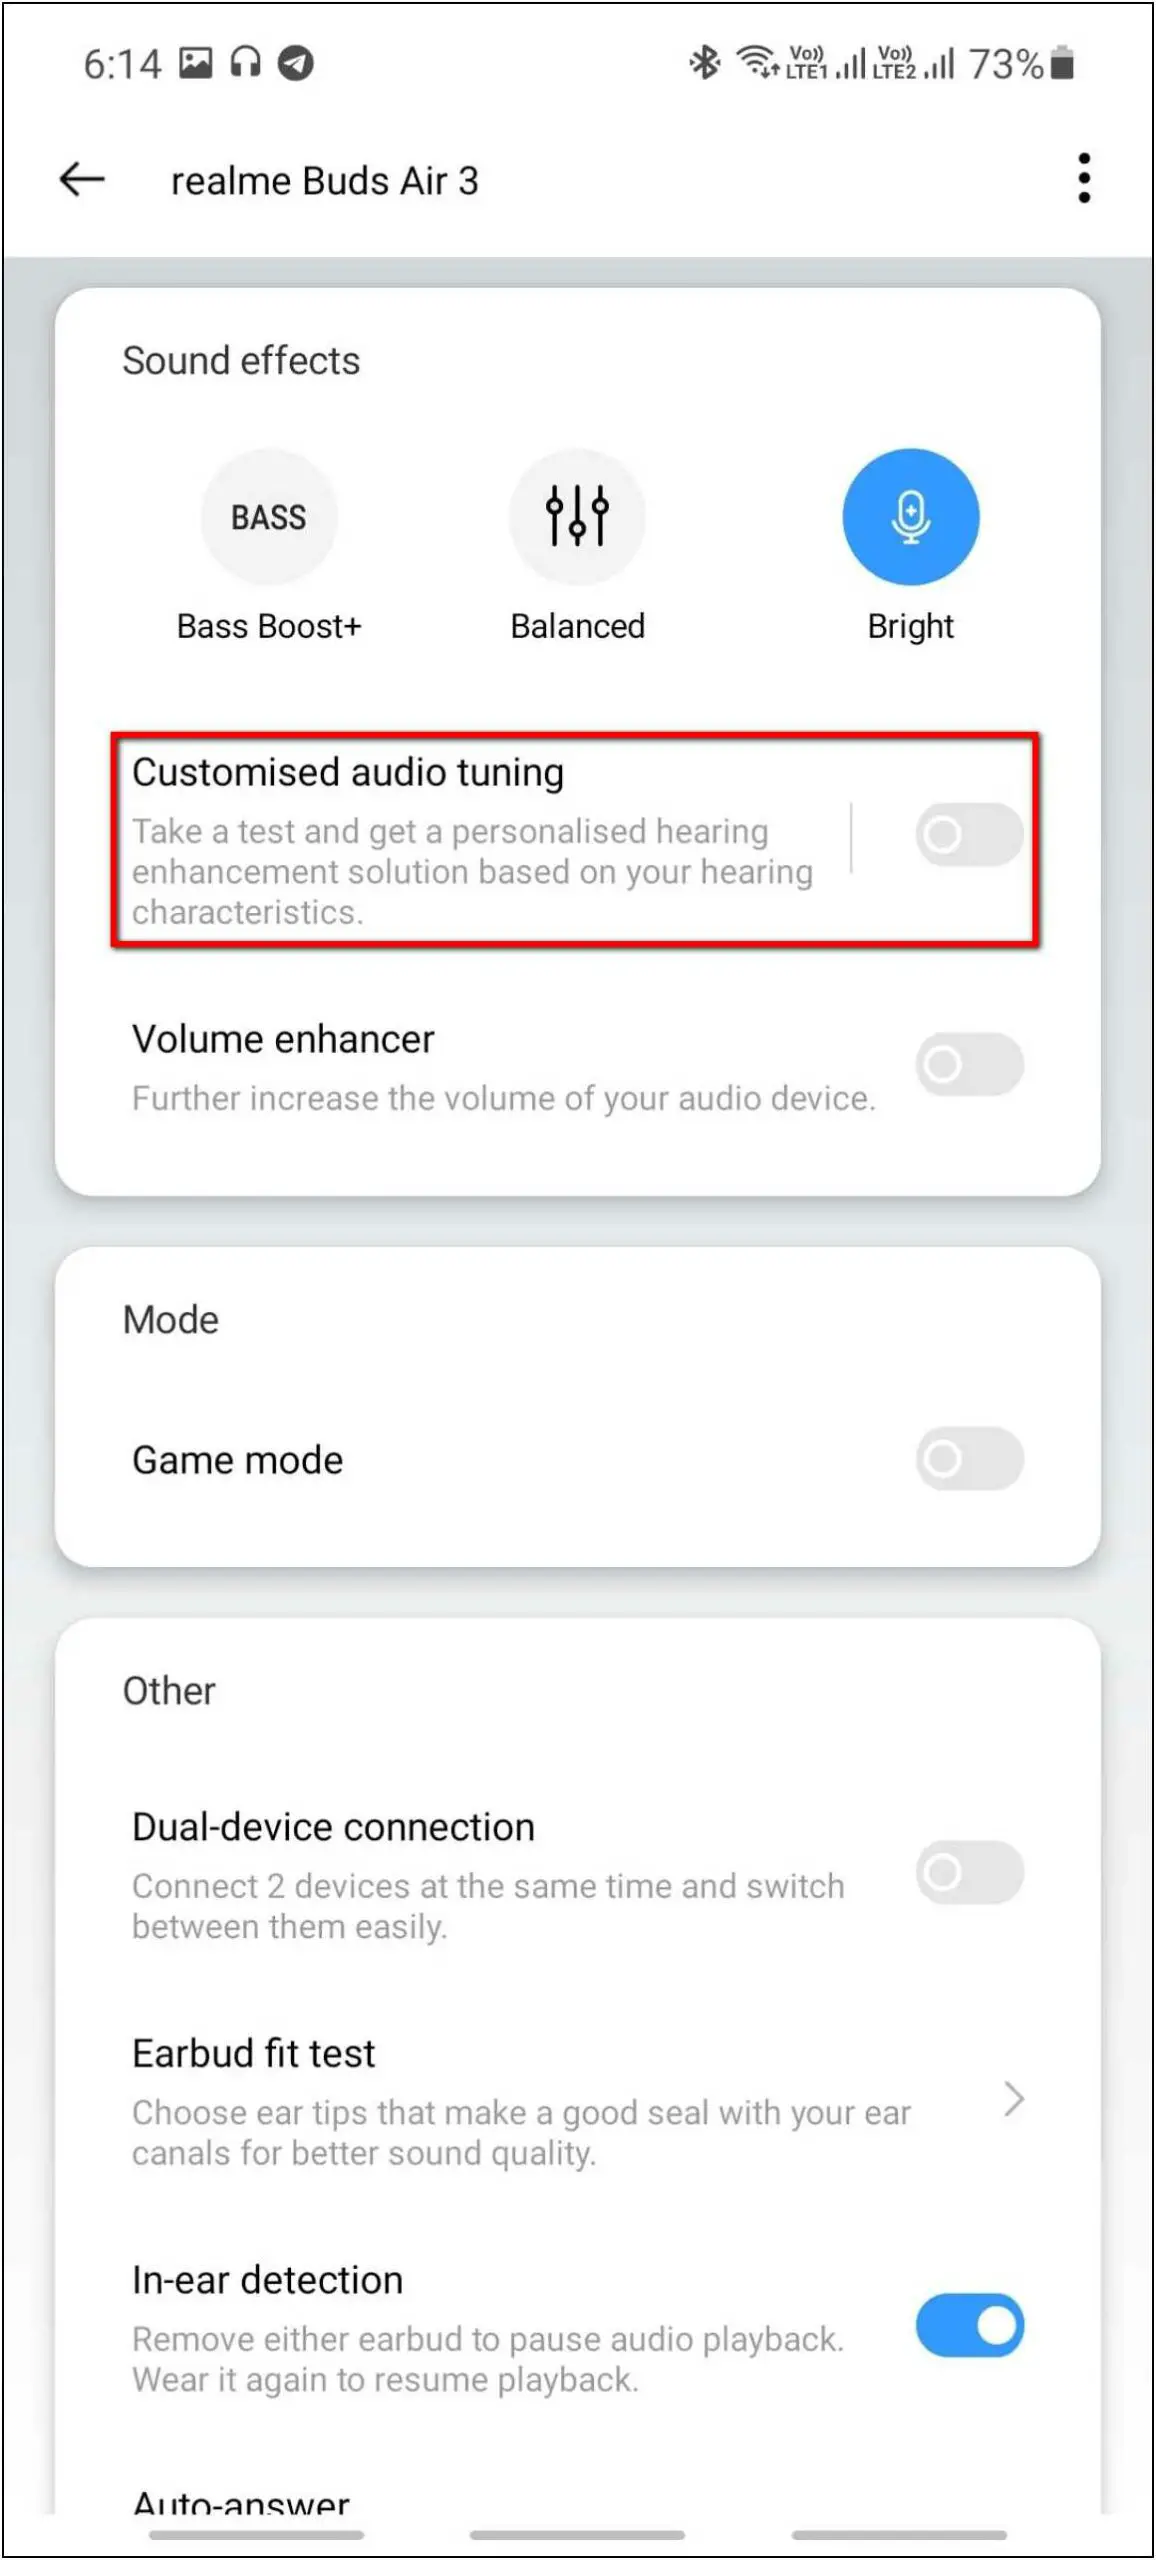
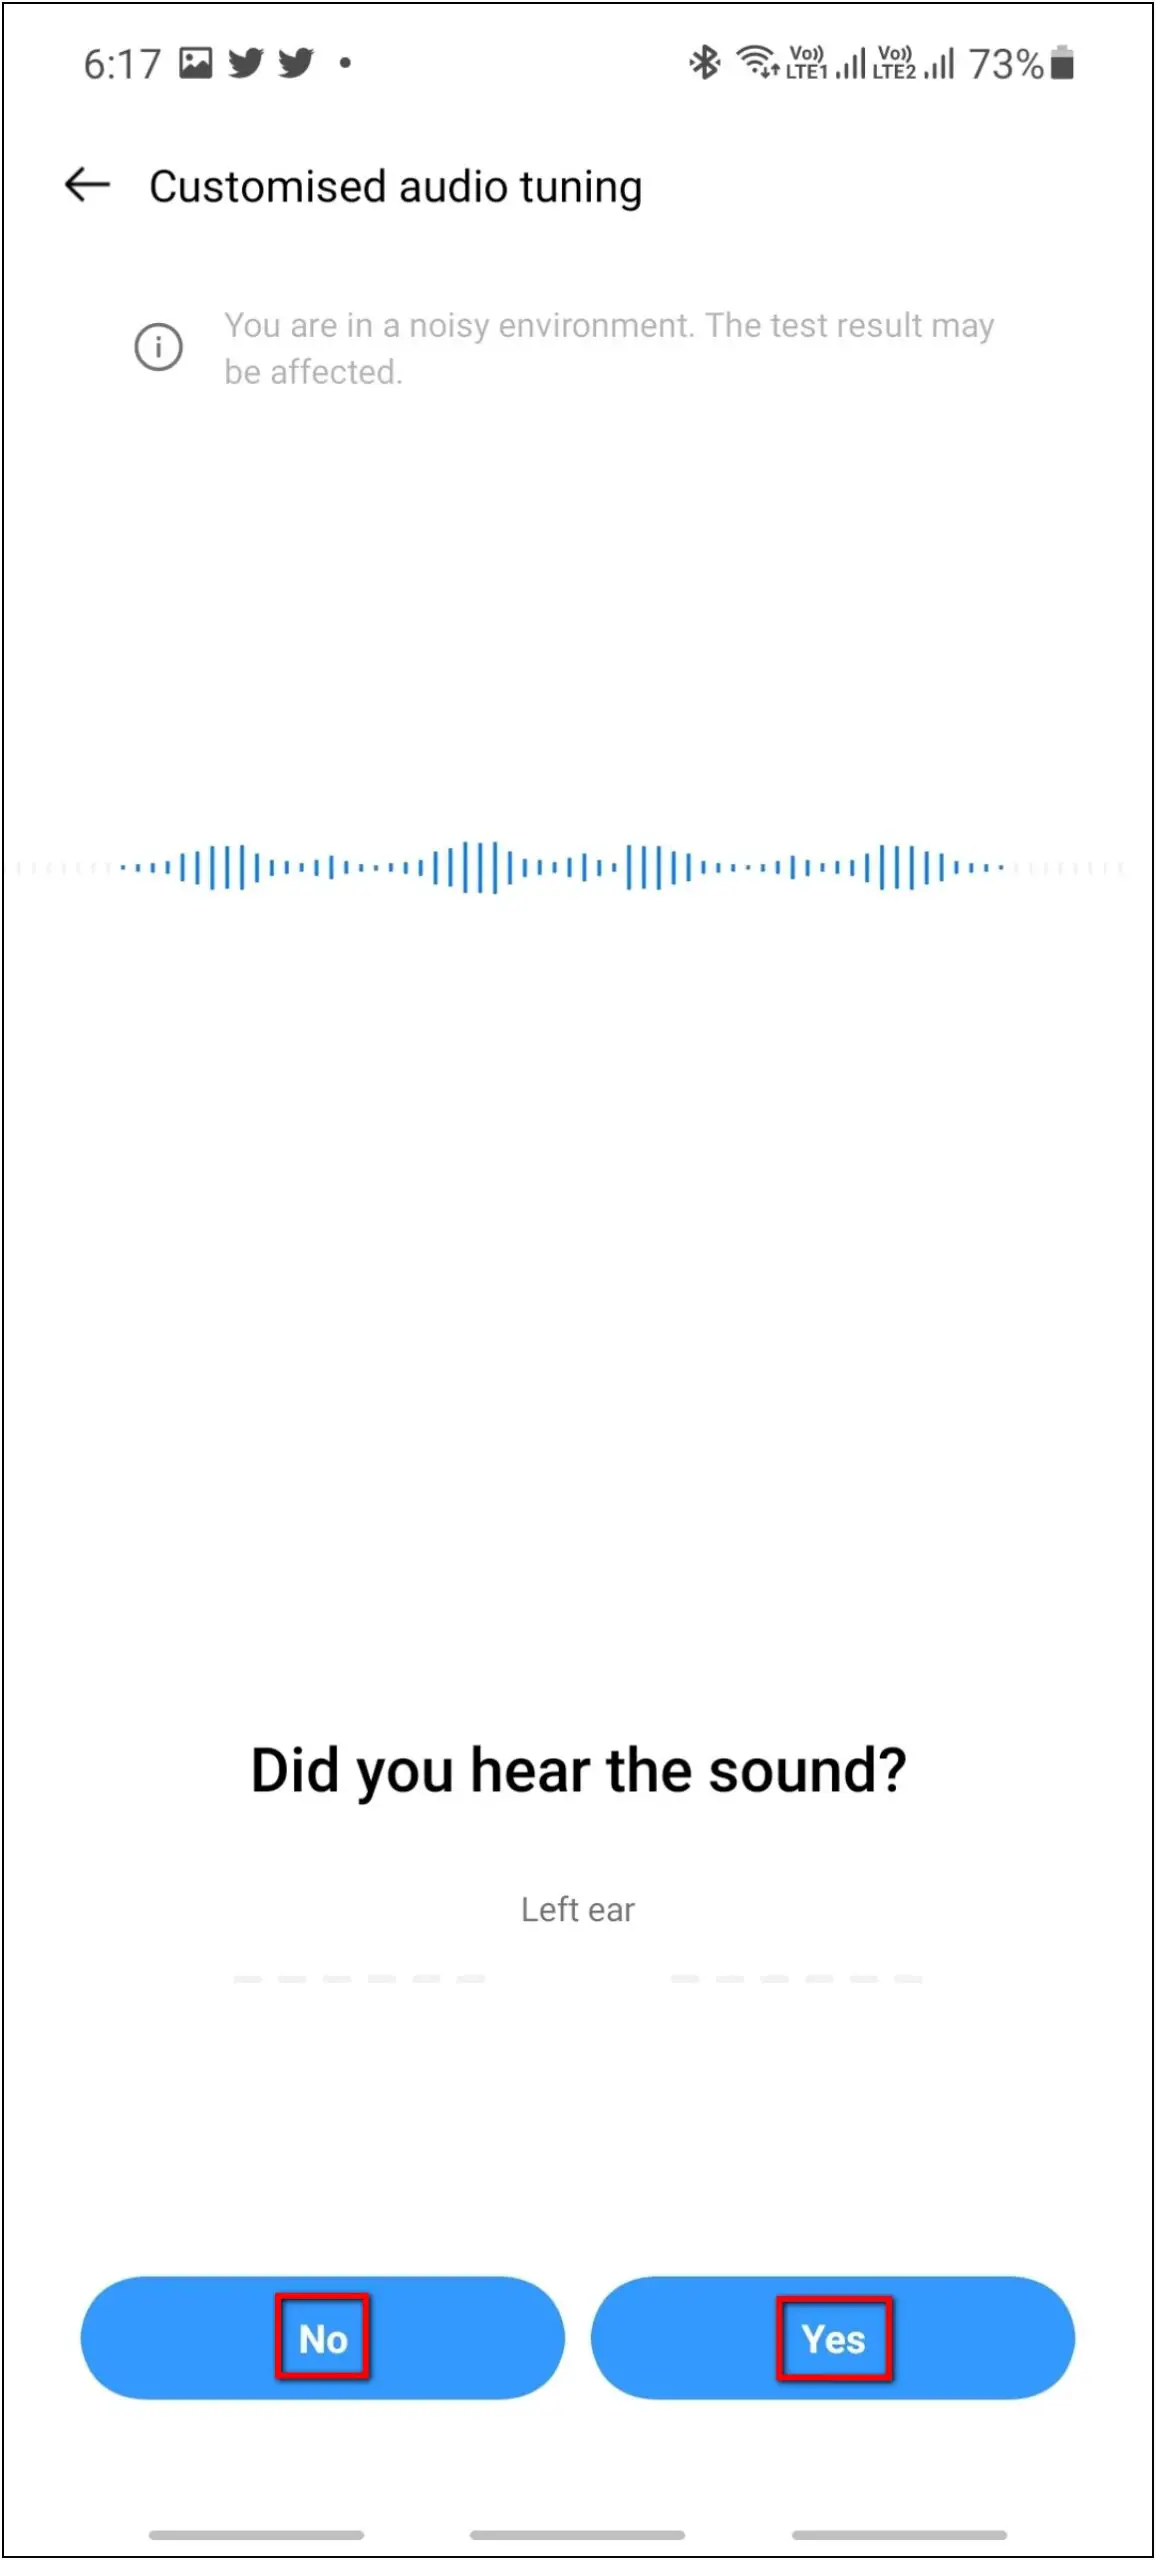
Sound Effects Tuning: You can change the sound effects between Bass Boost+, Balanced, and Bright as per your preference. We personally liked Bright for its broader range. You can also enable customized audio tuning by listening to some sounds and setting the tuning as you like.
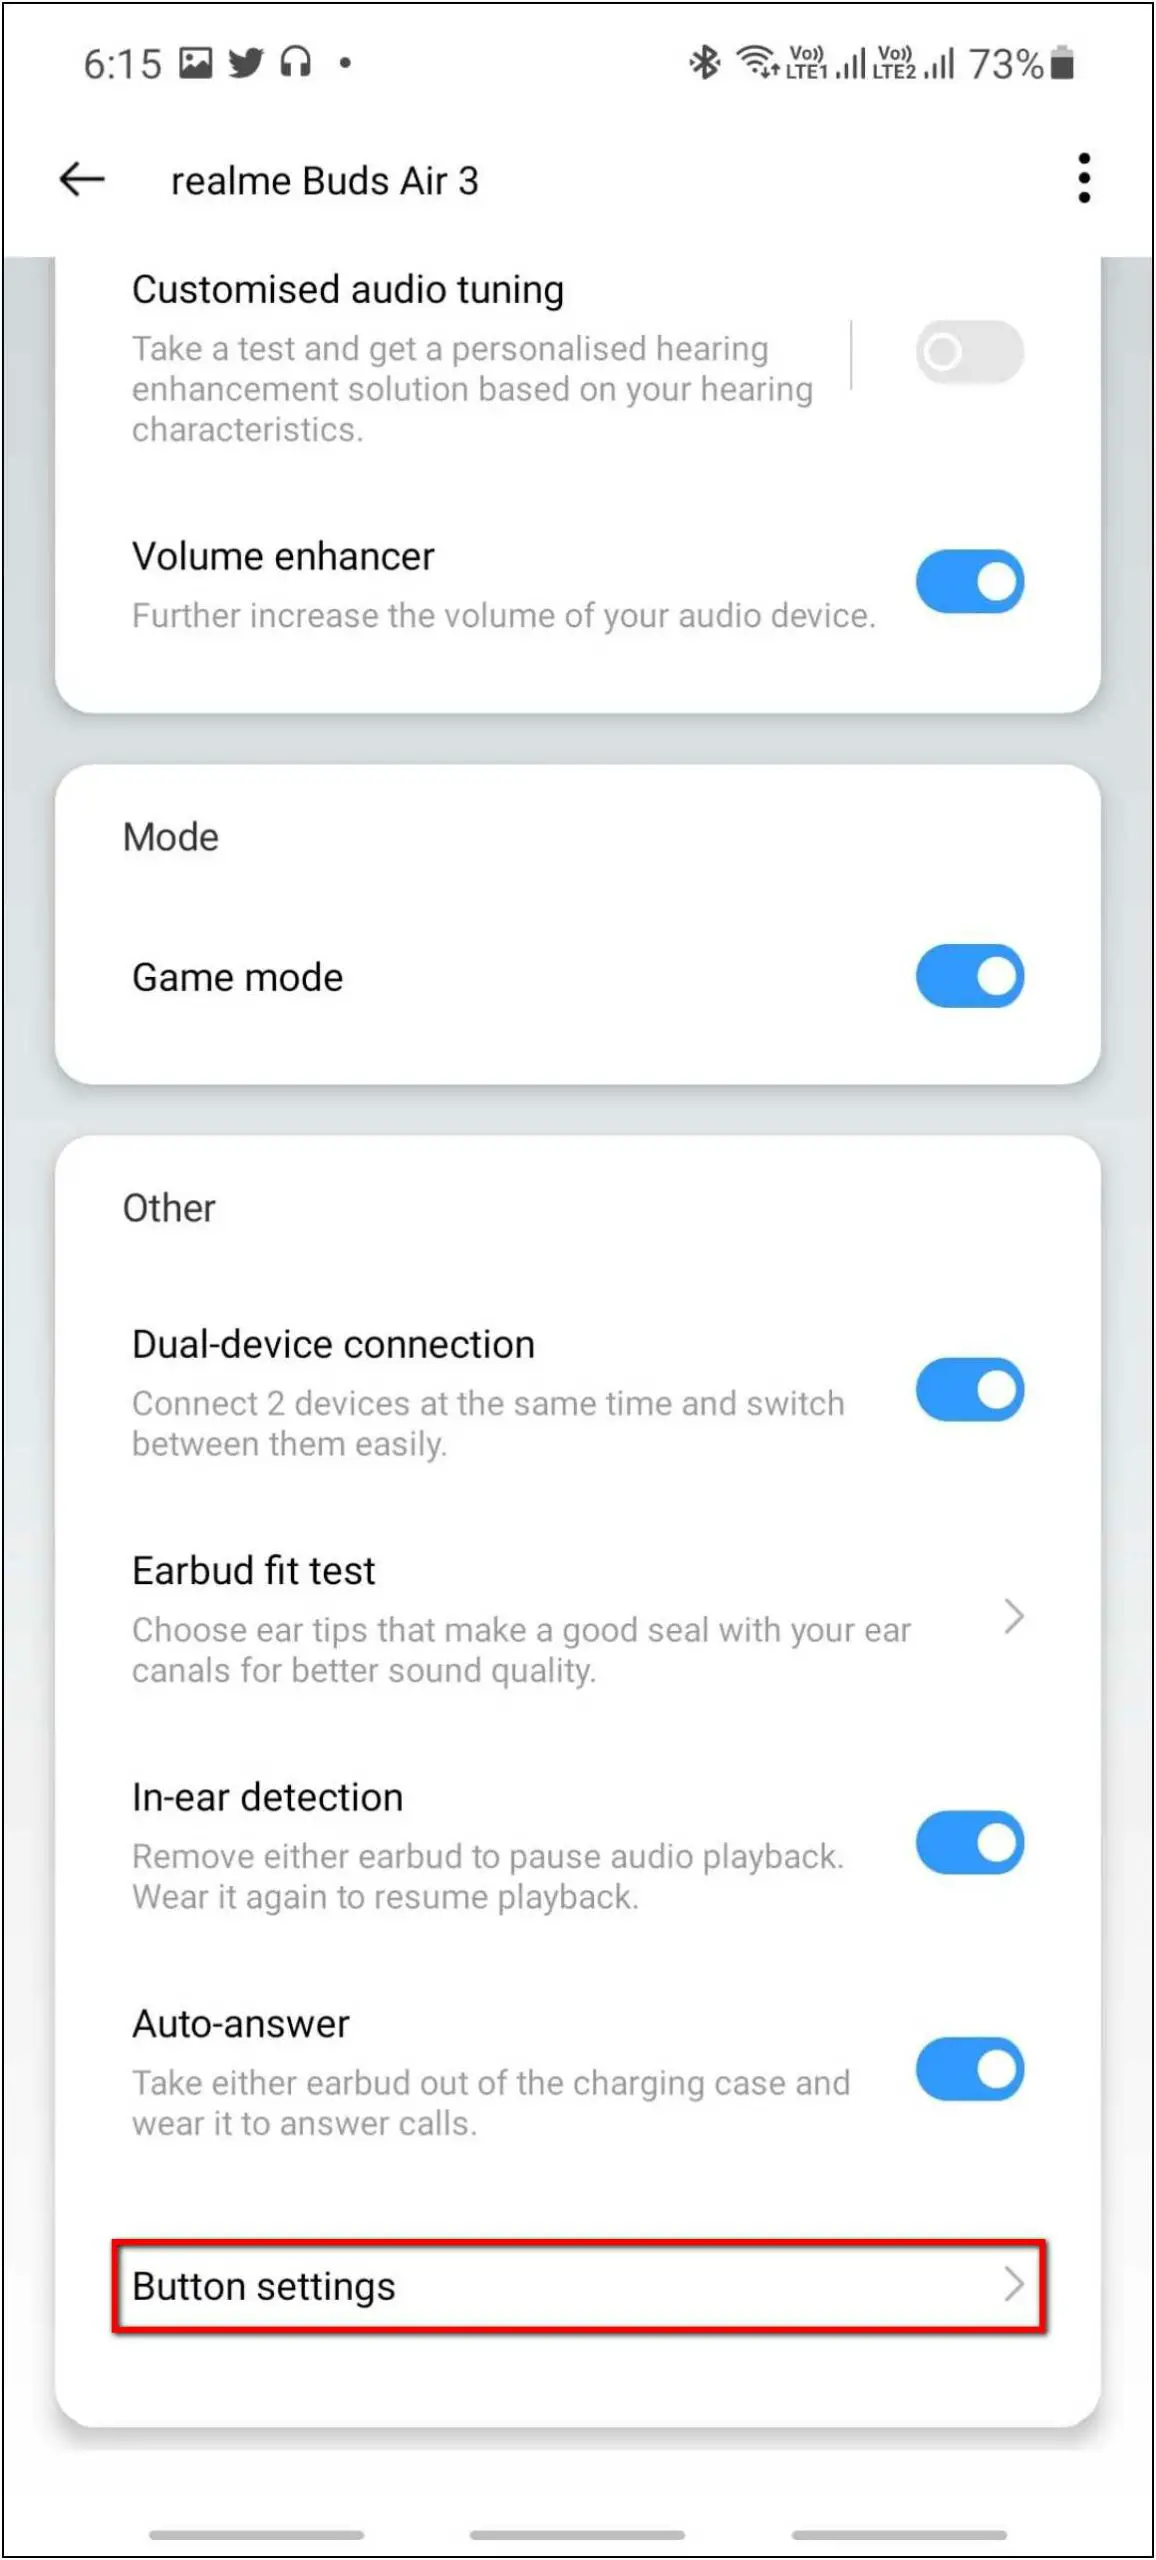
Volume Enhancer: One more thing you can do for sound effects is you can enable the volume enhancer which will slightly increase the volume of the buds.
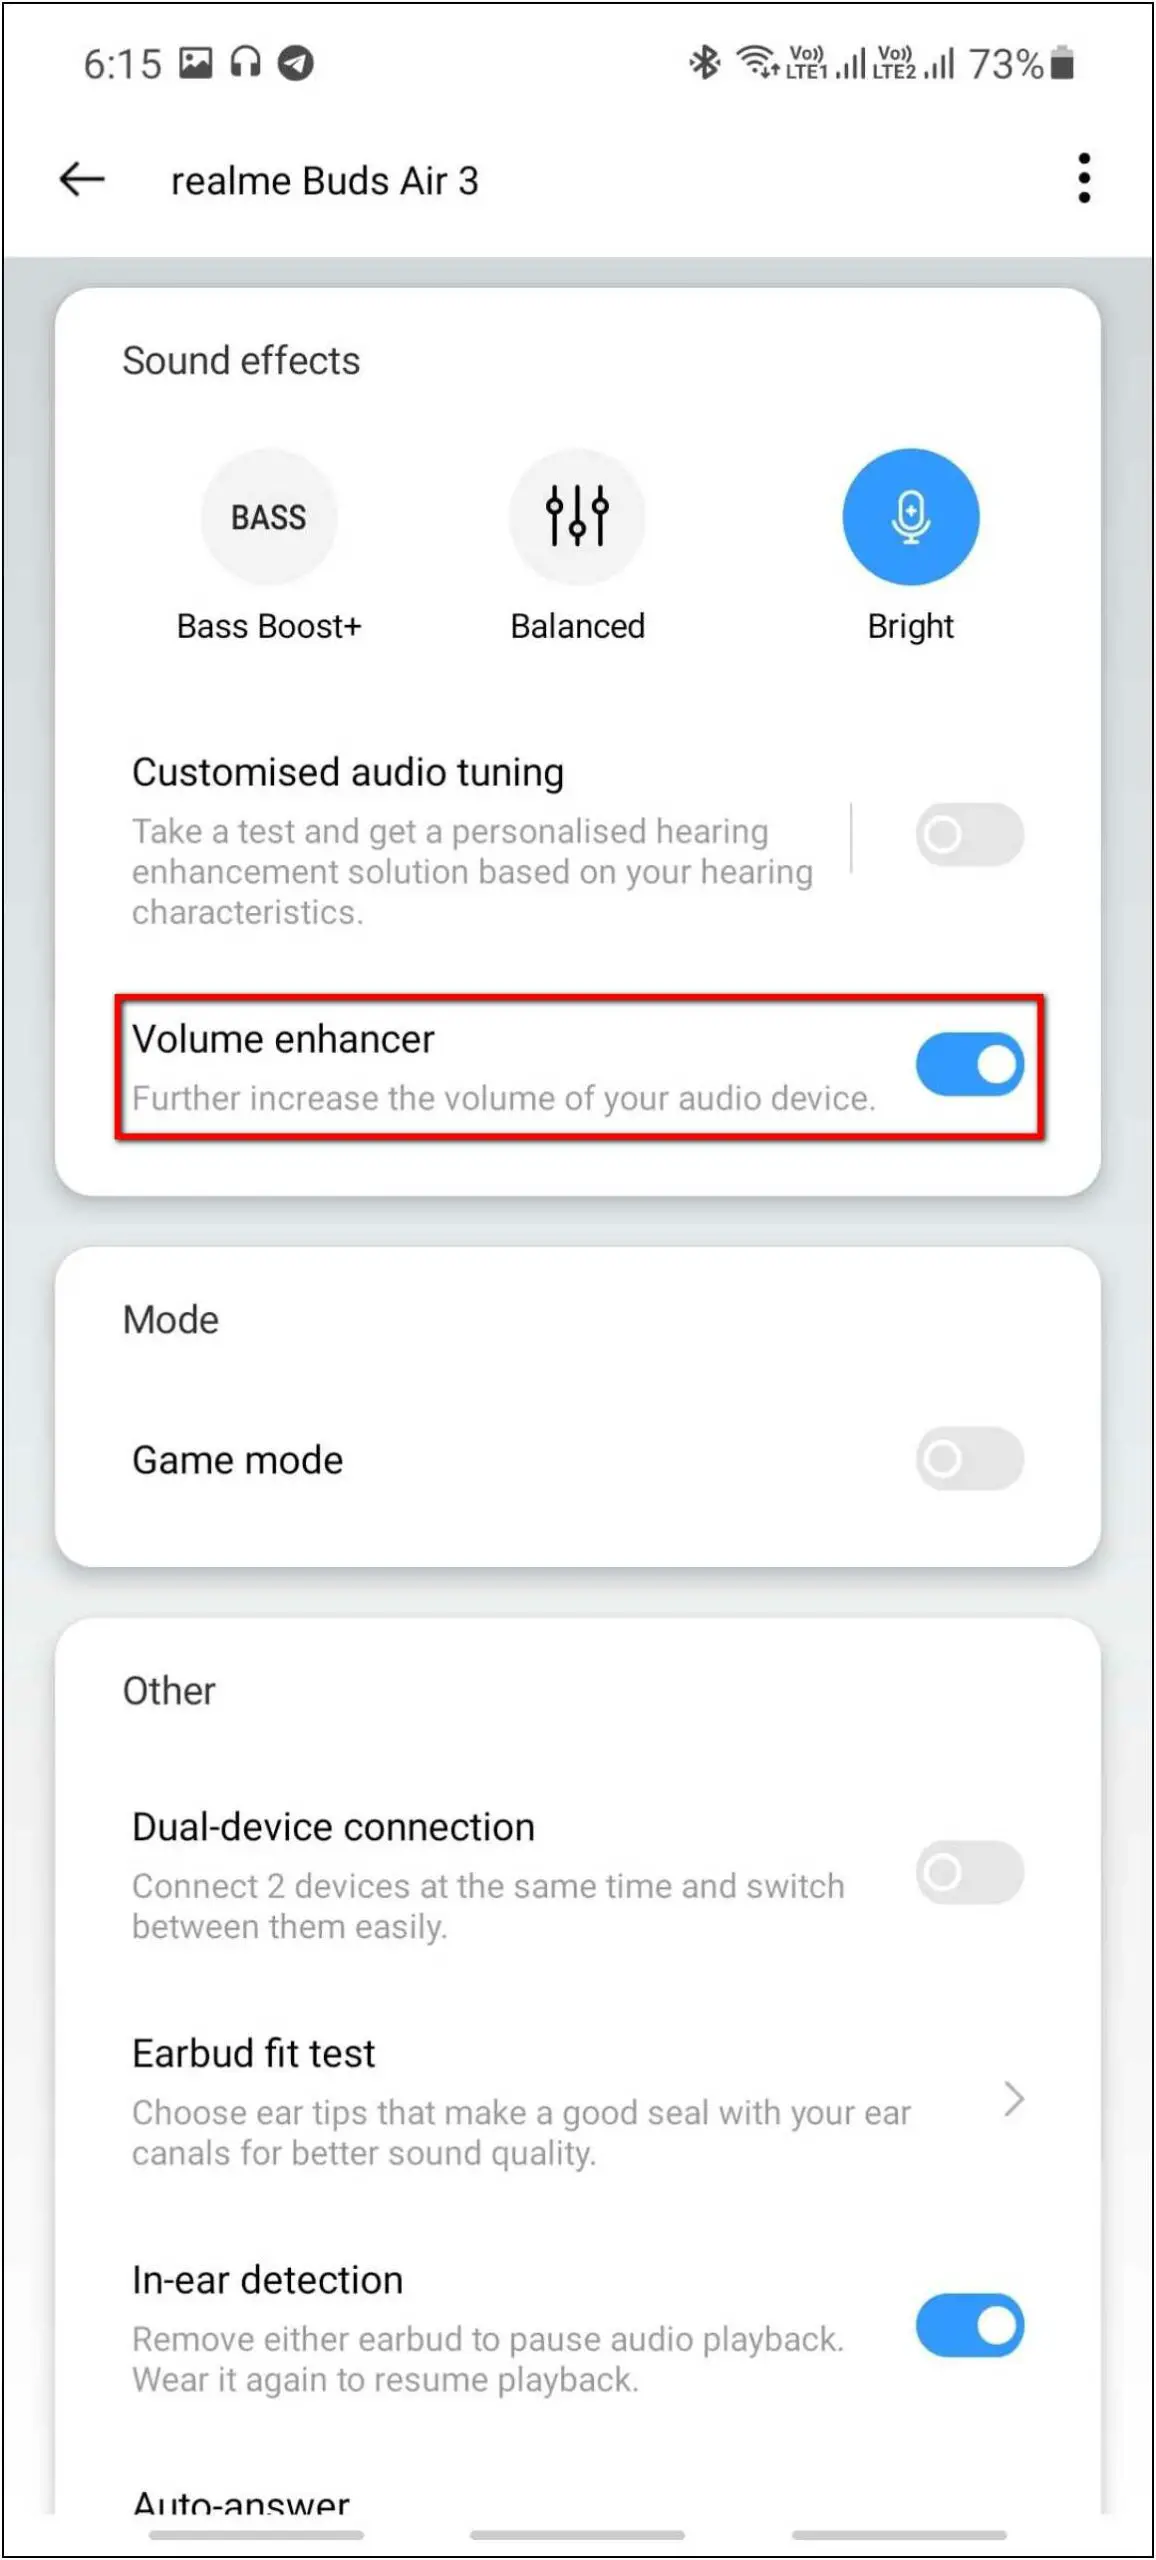
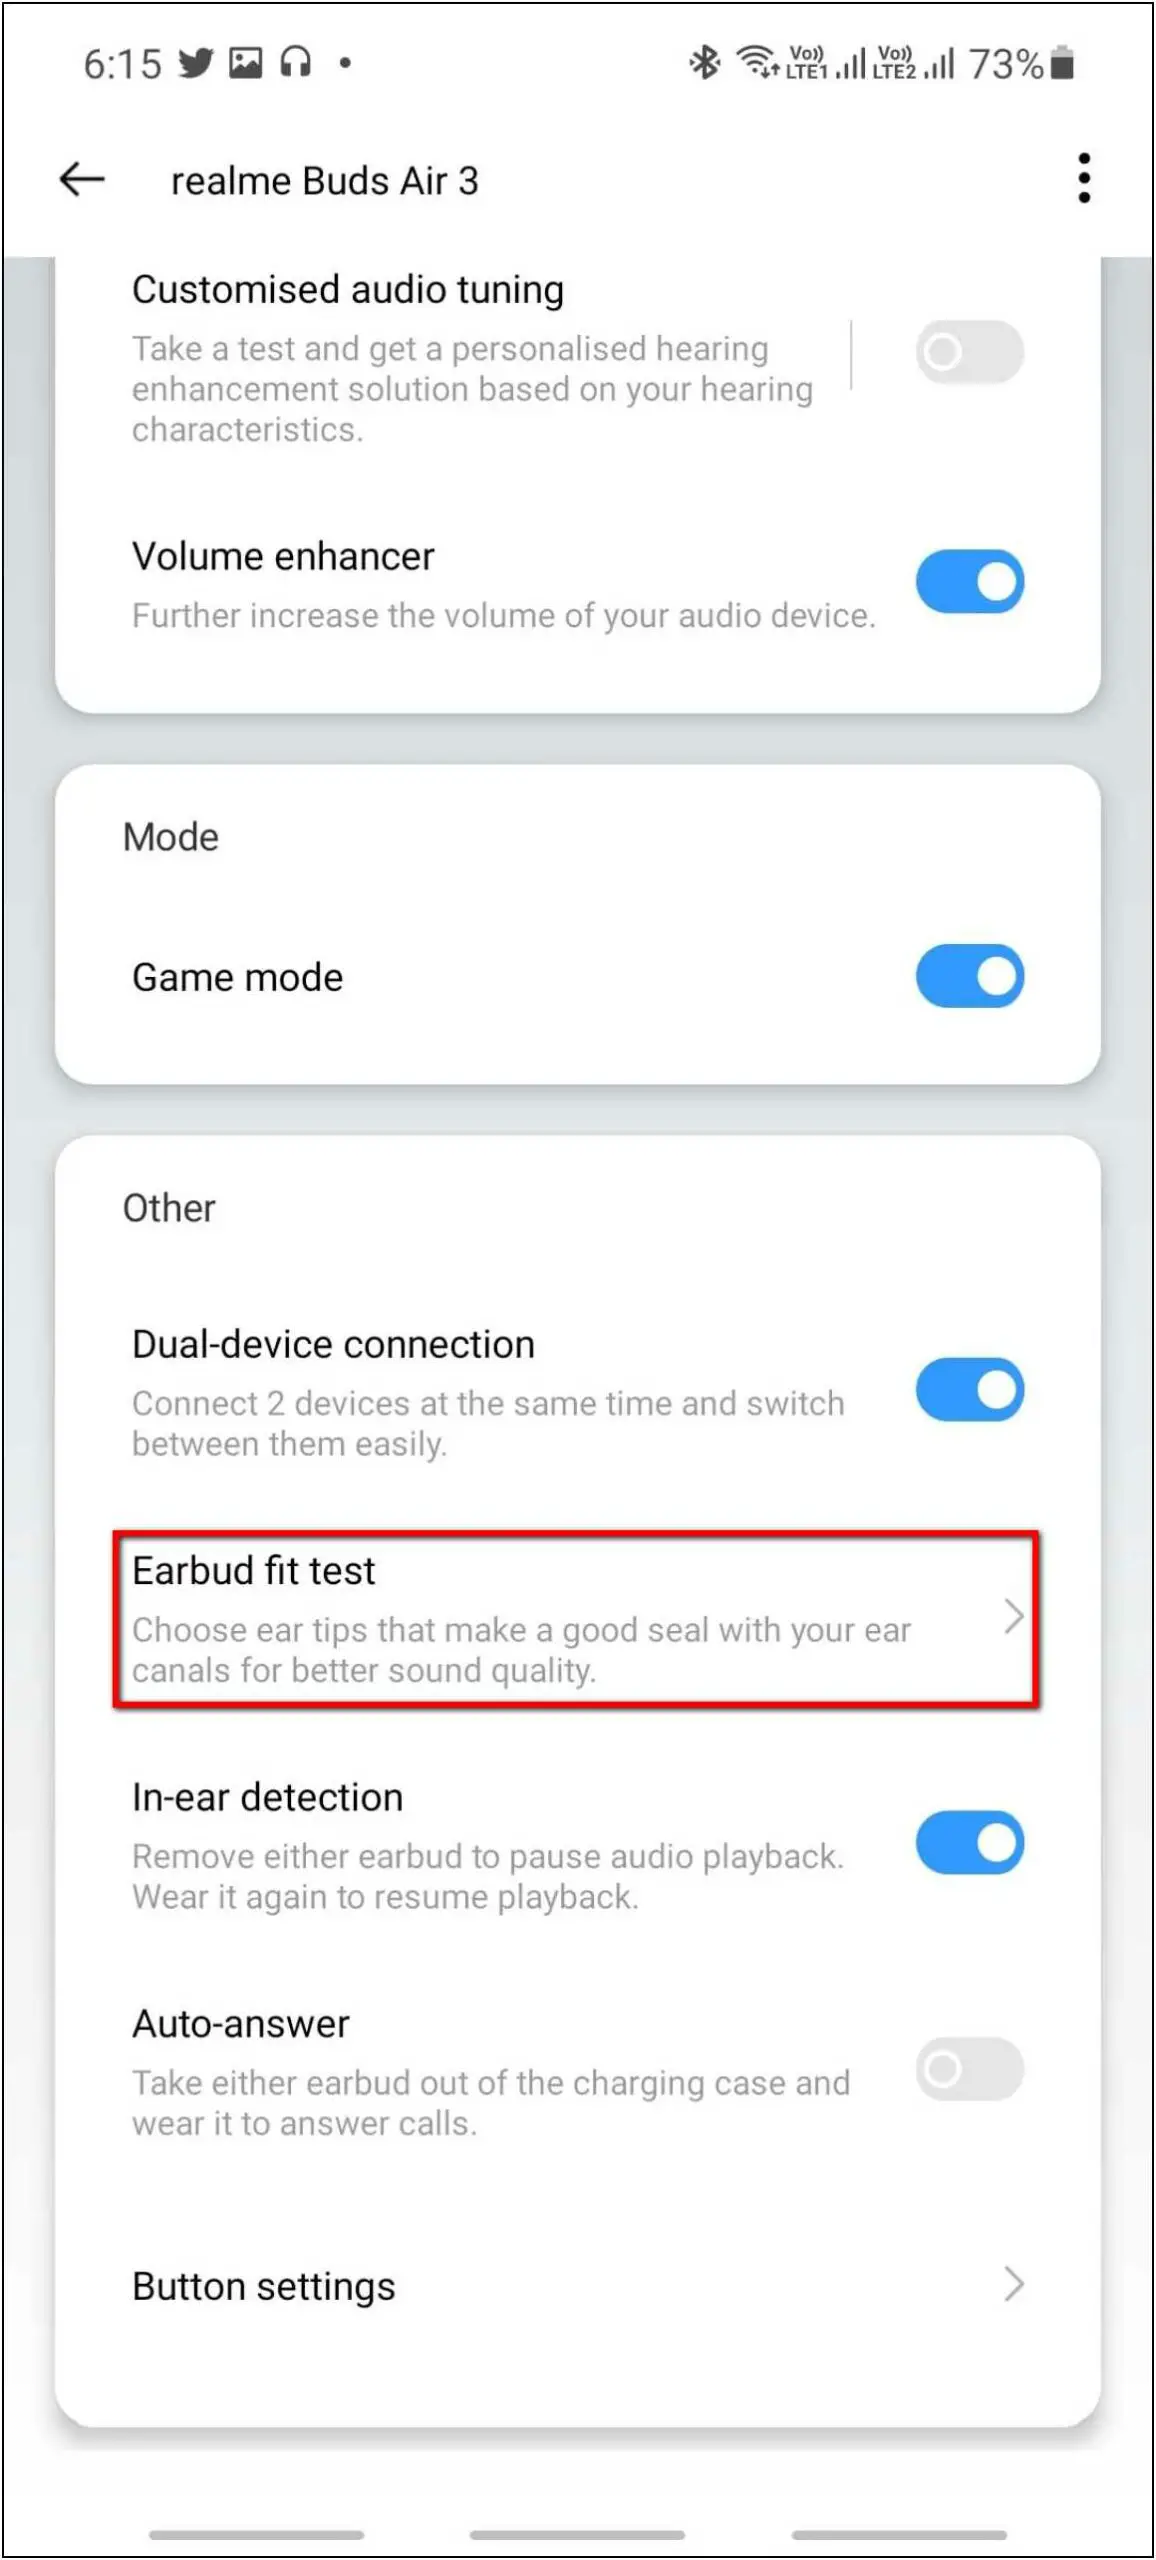
Game Mode: It also comes with a game mode that you can enable from the app. It reduces the latency of the buds to some extent so that you can do some normal gaming as well.
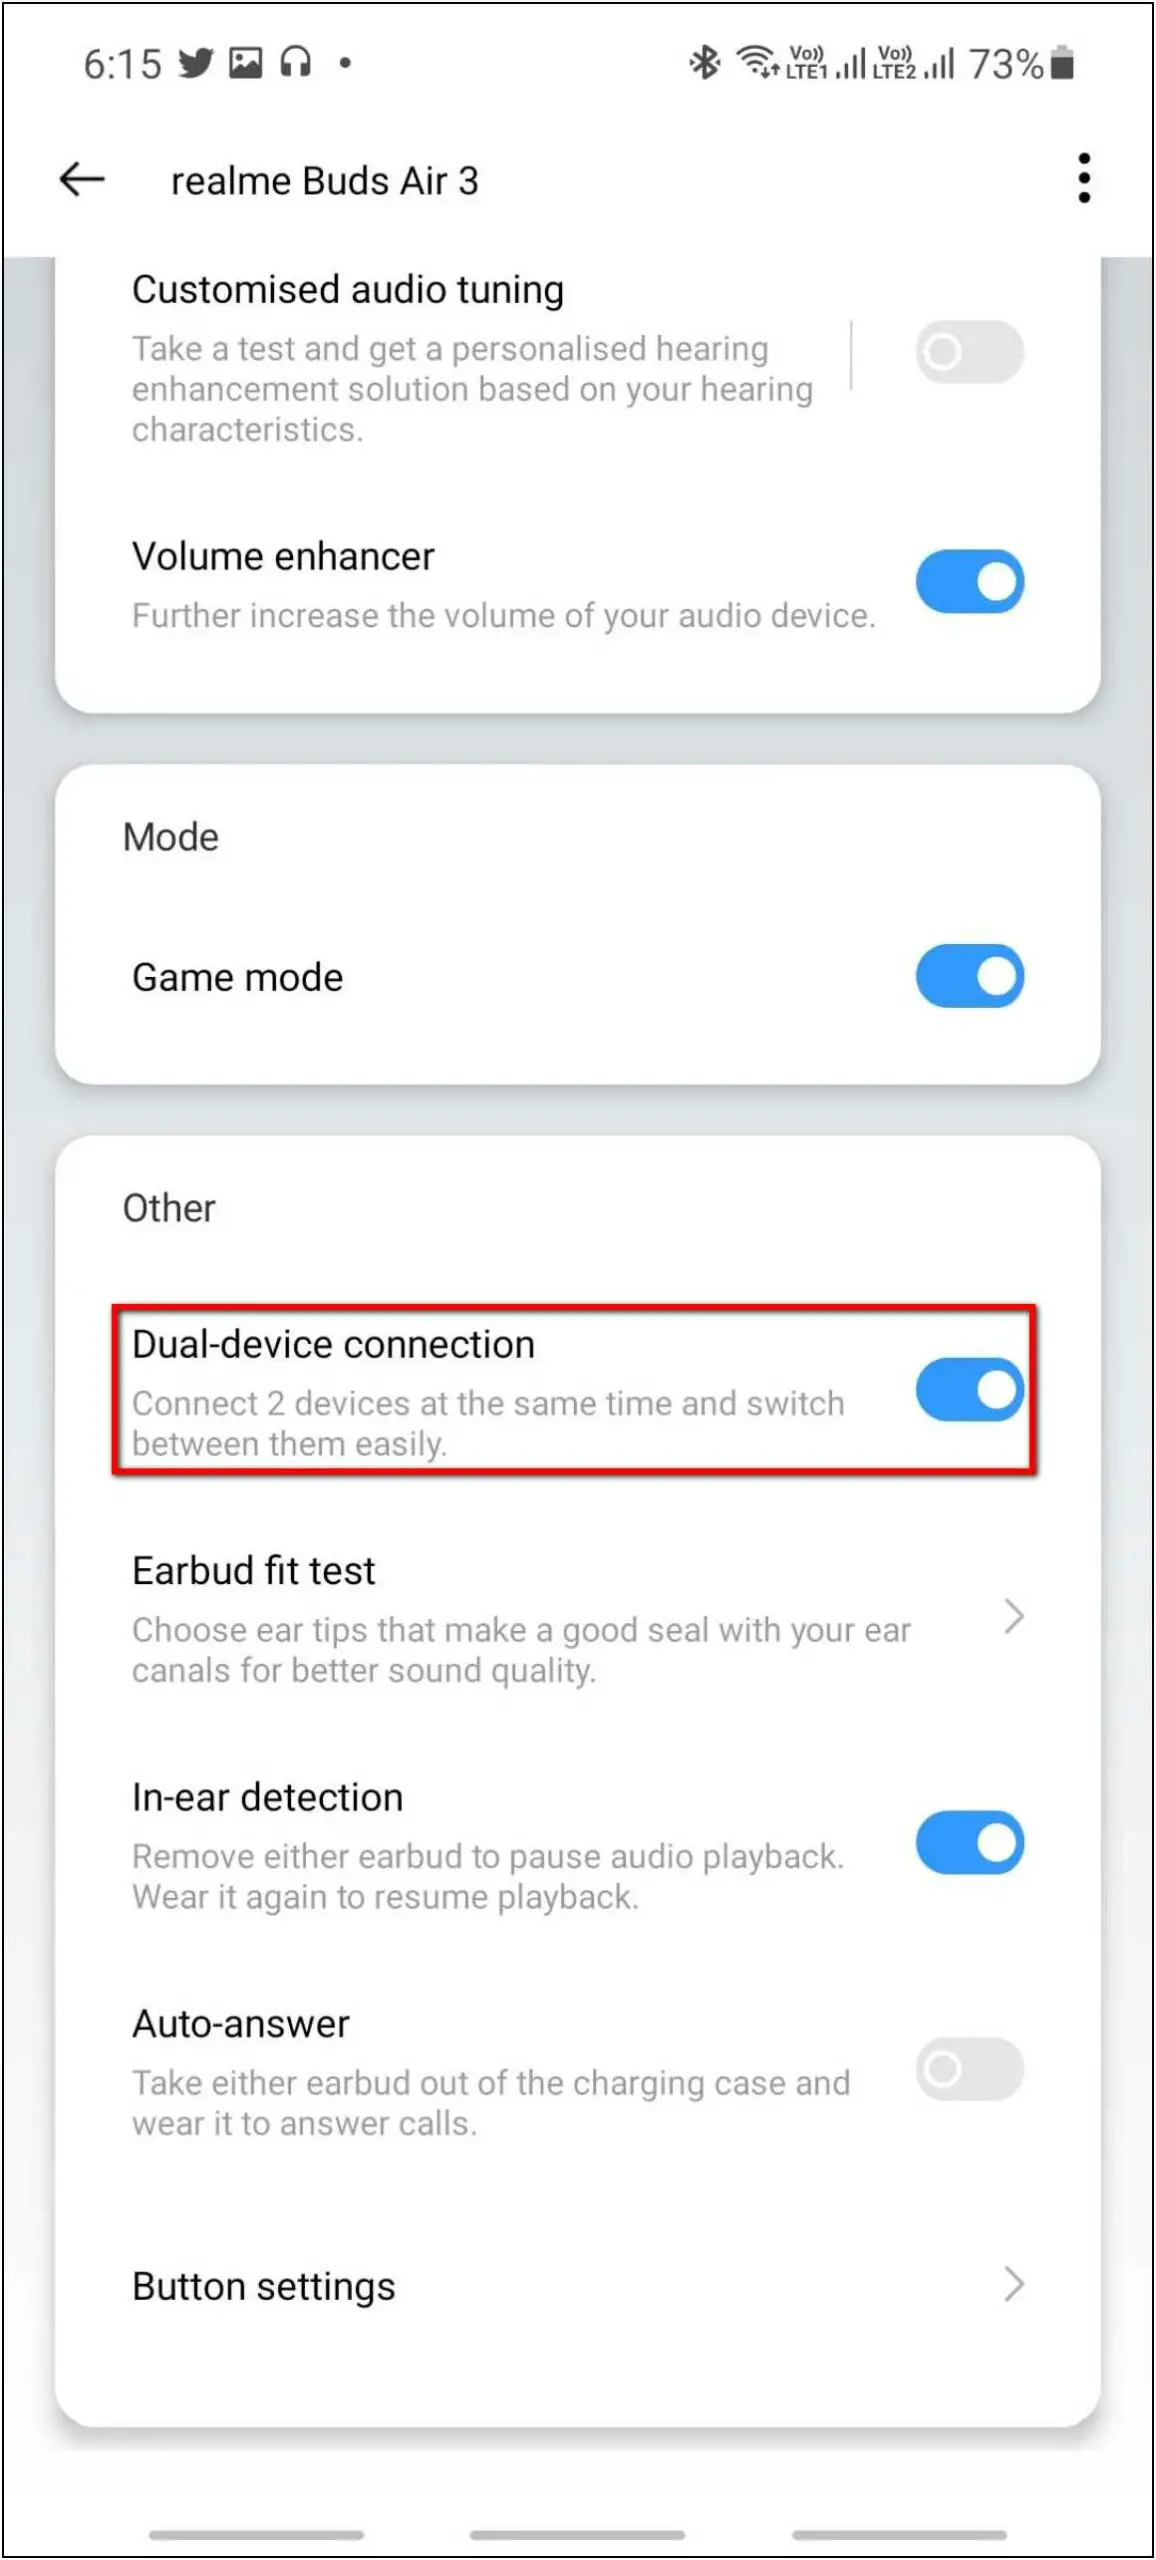
Dual-device Connection: You can connect the buds with two of your devices like a phone and a laptop simultaneously and you can switch between them easily via touch control.
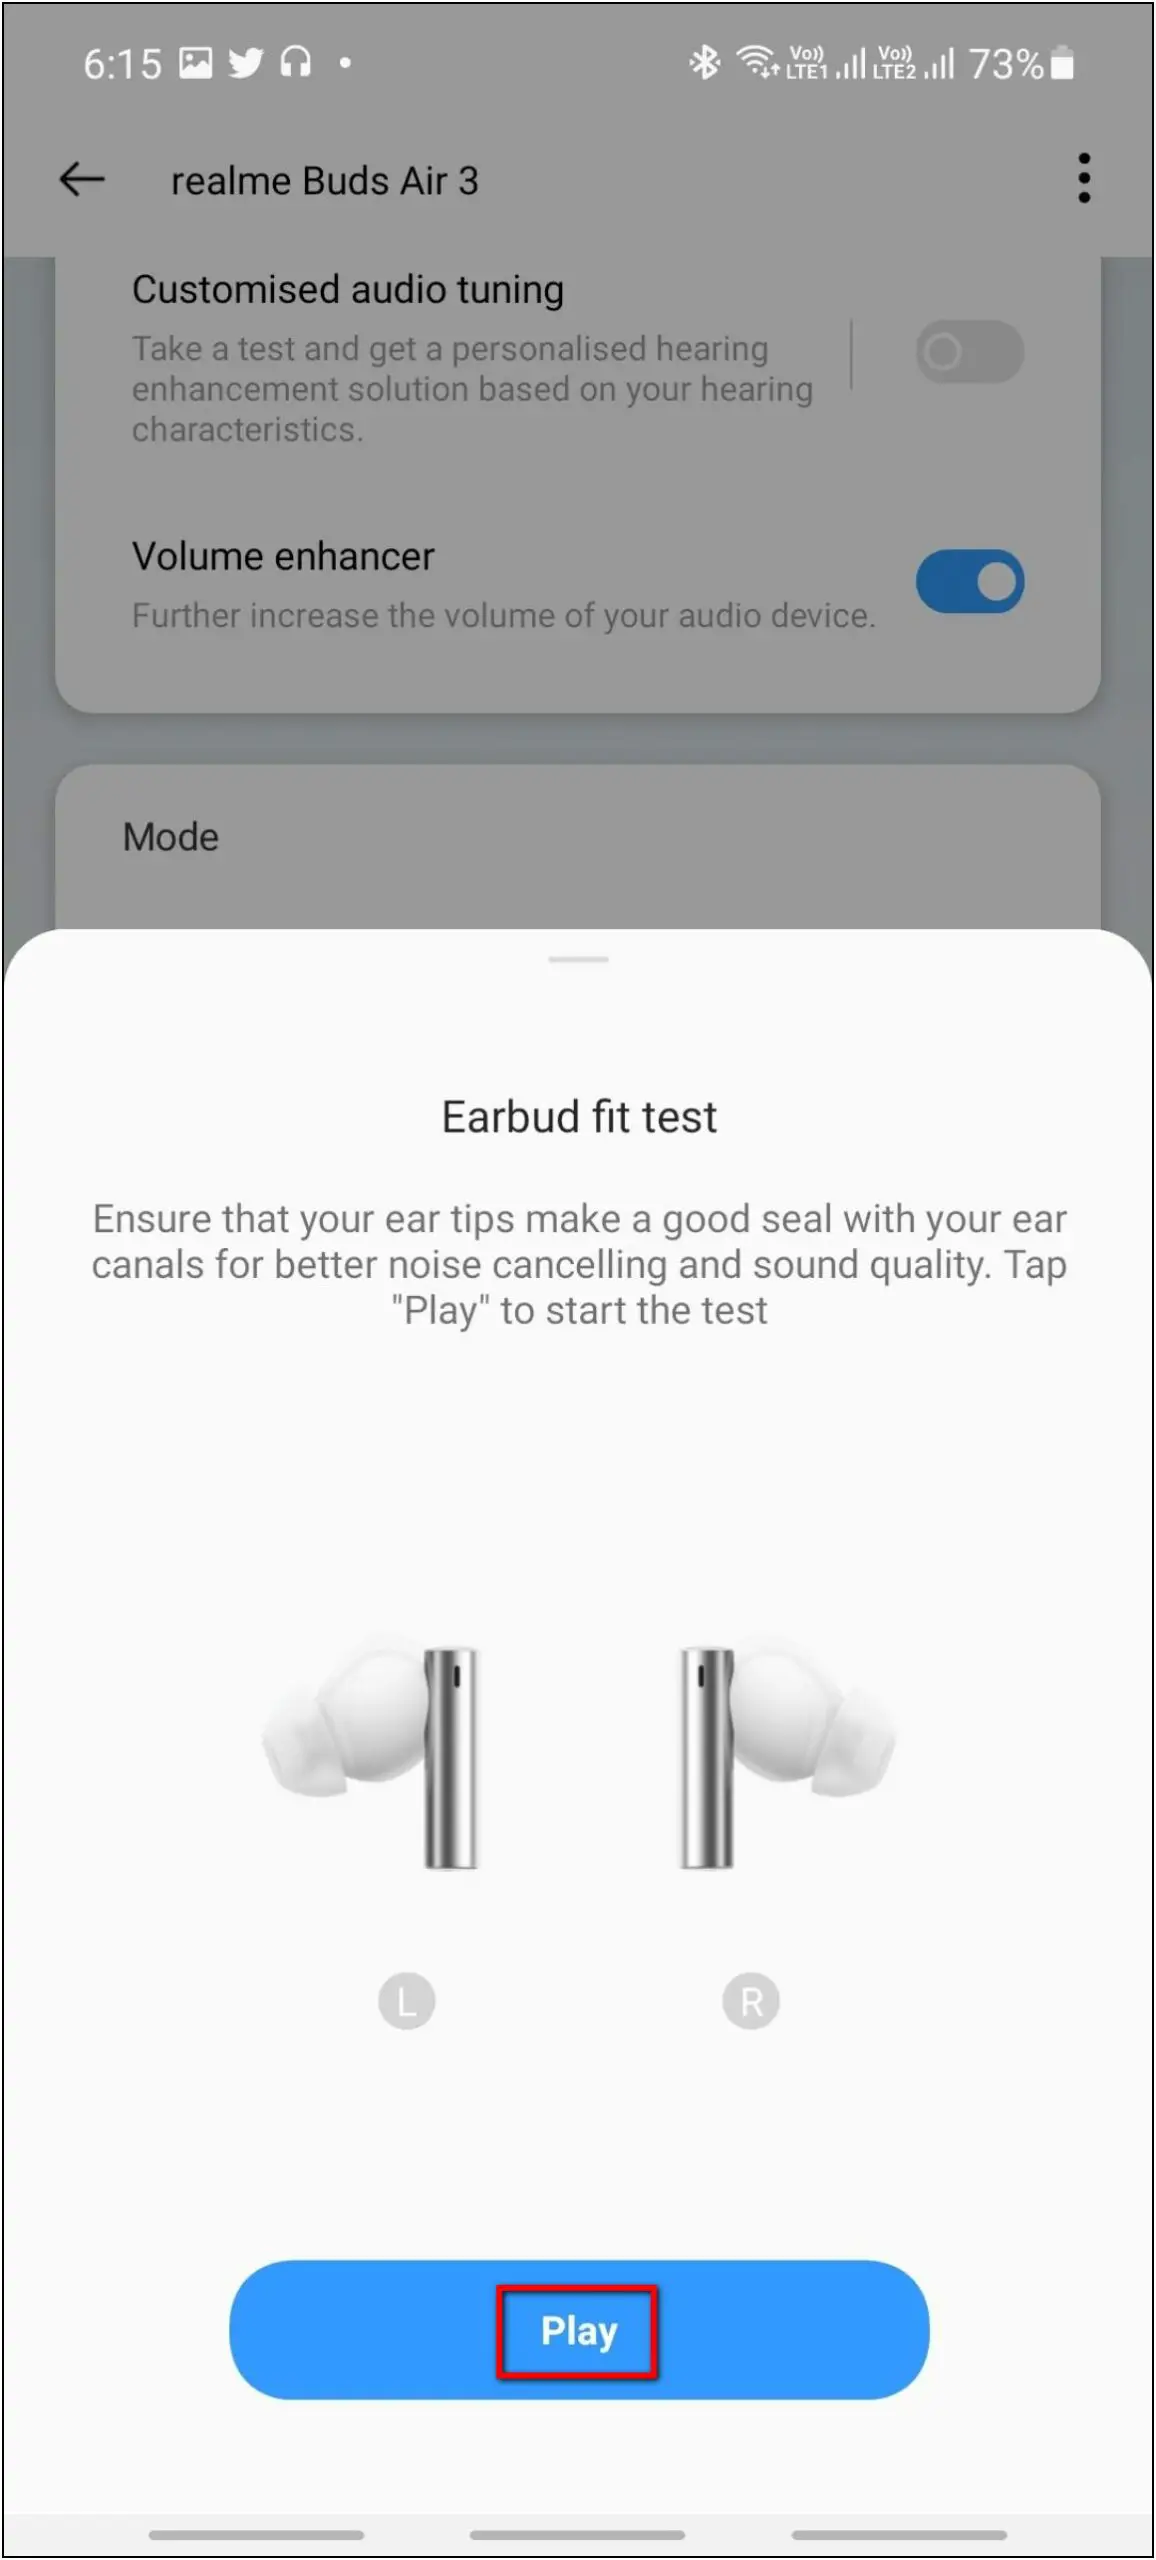
Earbud Fit Test: You can also do an earbud fit test to check the fit of earbuds in your ears. It will play some sounds and you’ll have to confirm whether they’re audible correctly or not. This will help you check if they fit perfectly in your ears. If not, you can always change the buds.
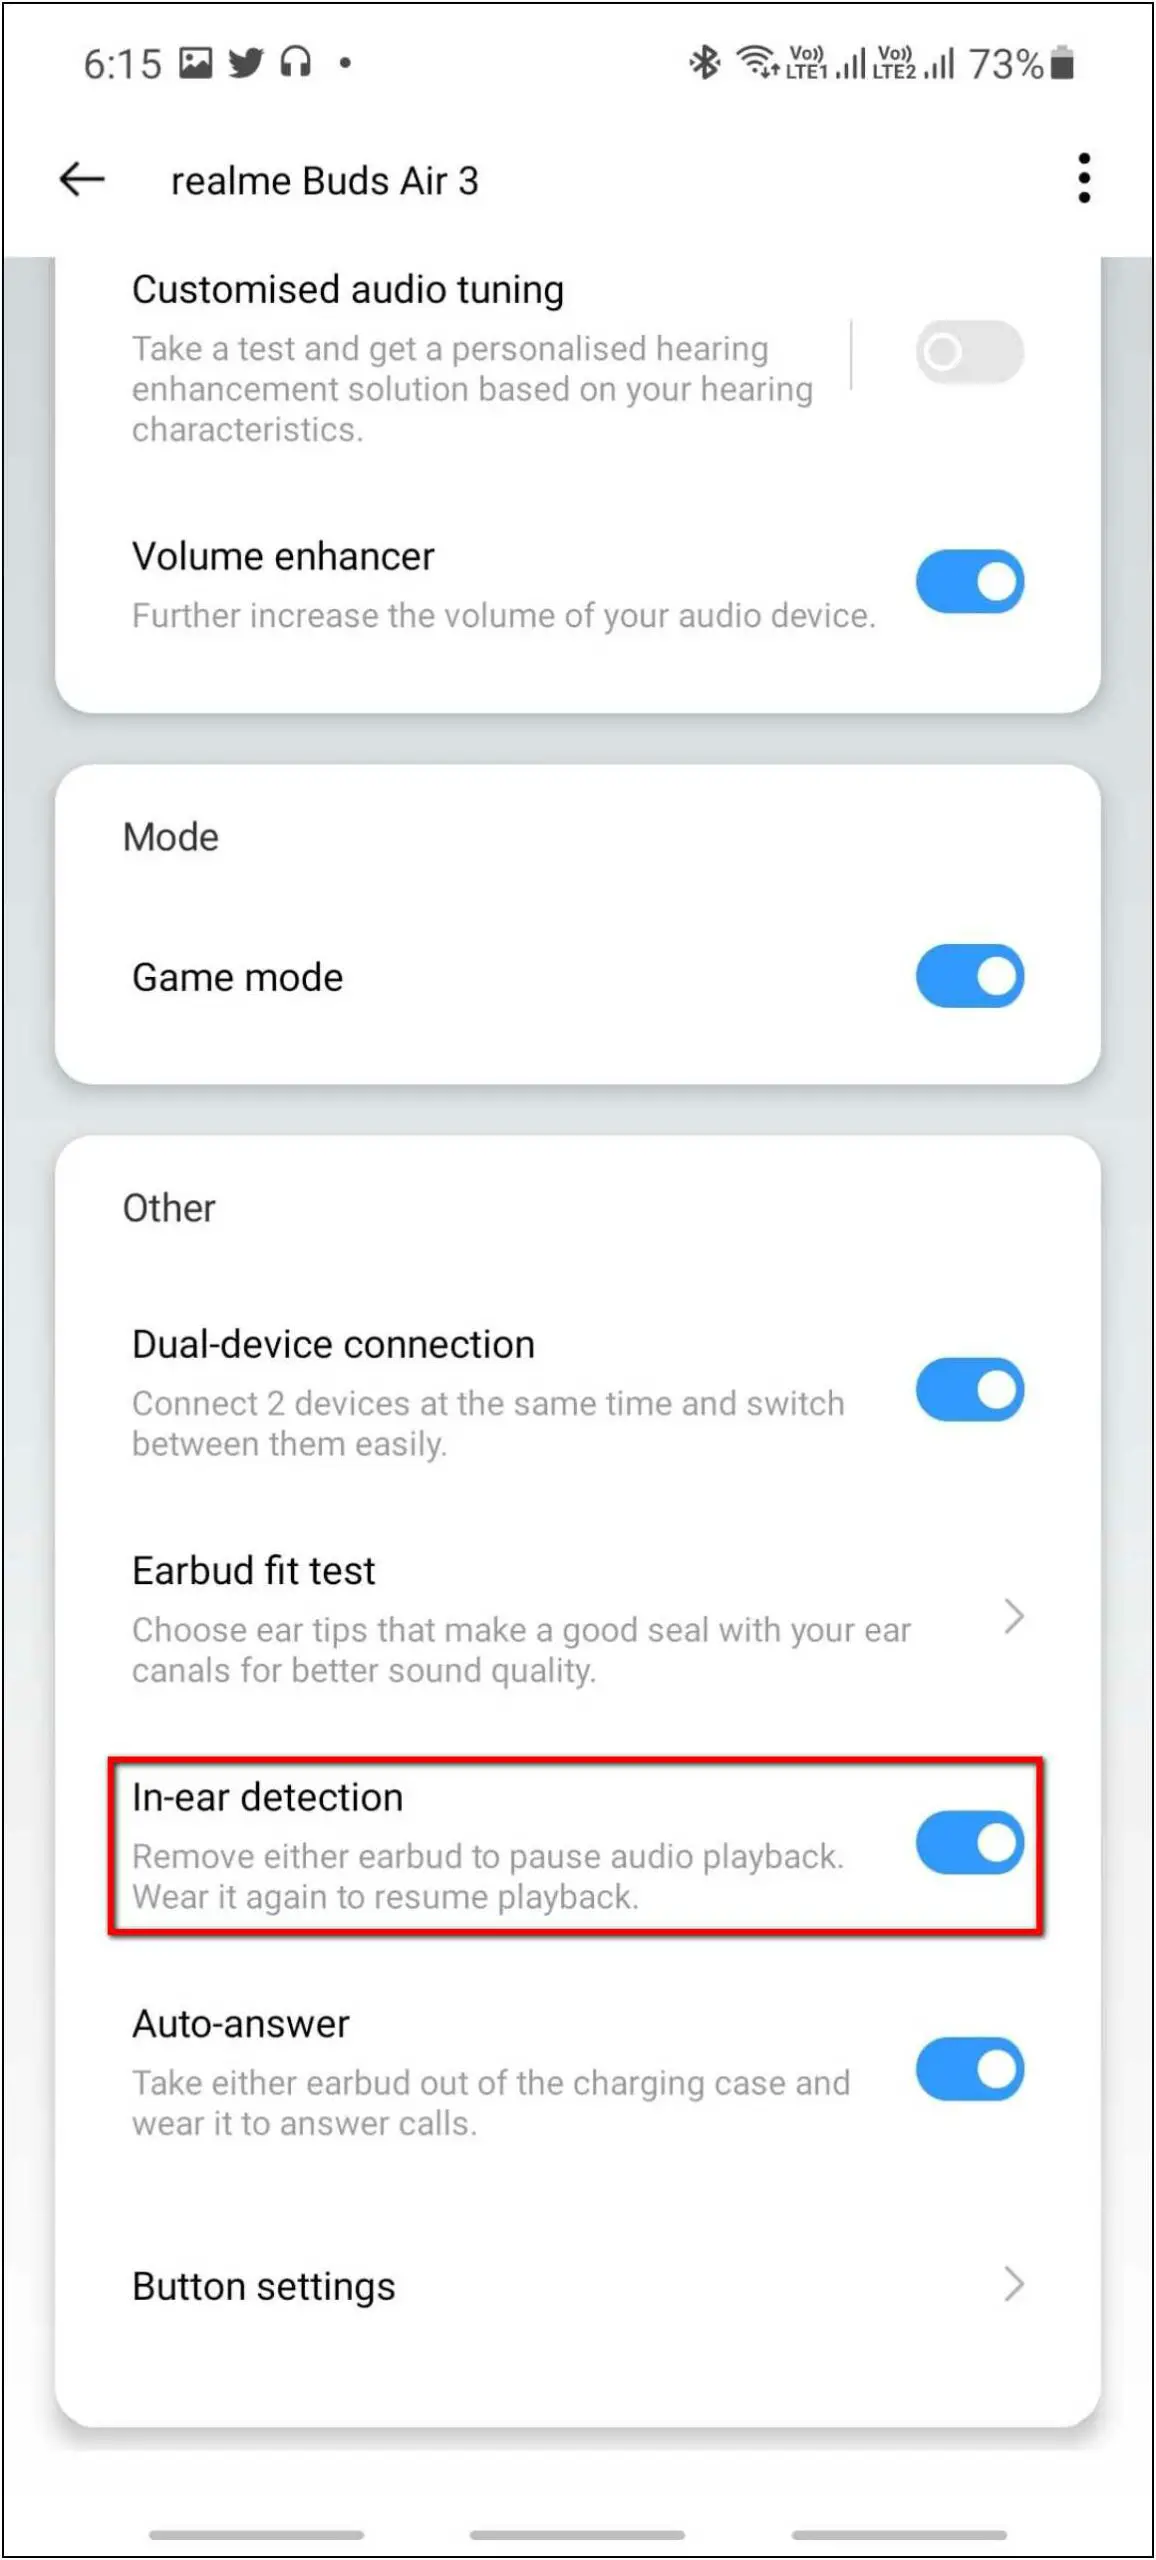
In-ear Detection: It also has the in-ear detection feature that you can enable from the app. This feature automatically stops playing music on the earbuds when you remove any of the buds from your ear. And it will start the music again when you wear the earbuds again.
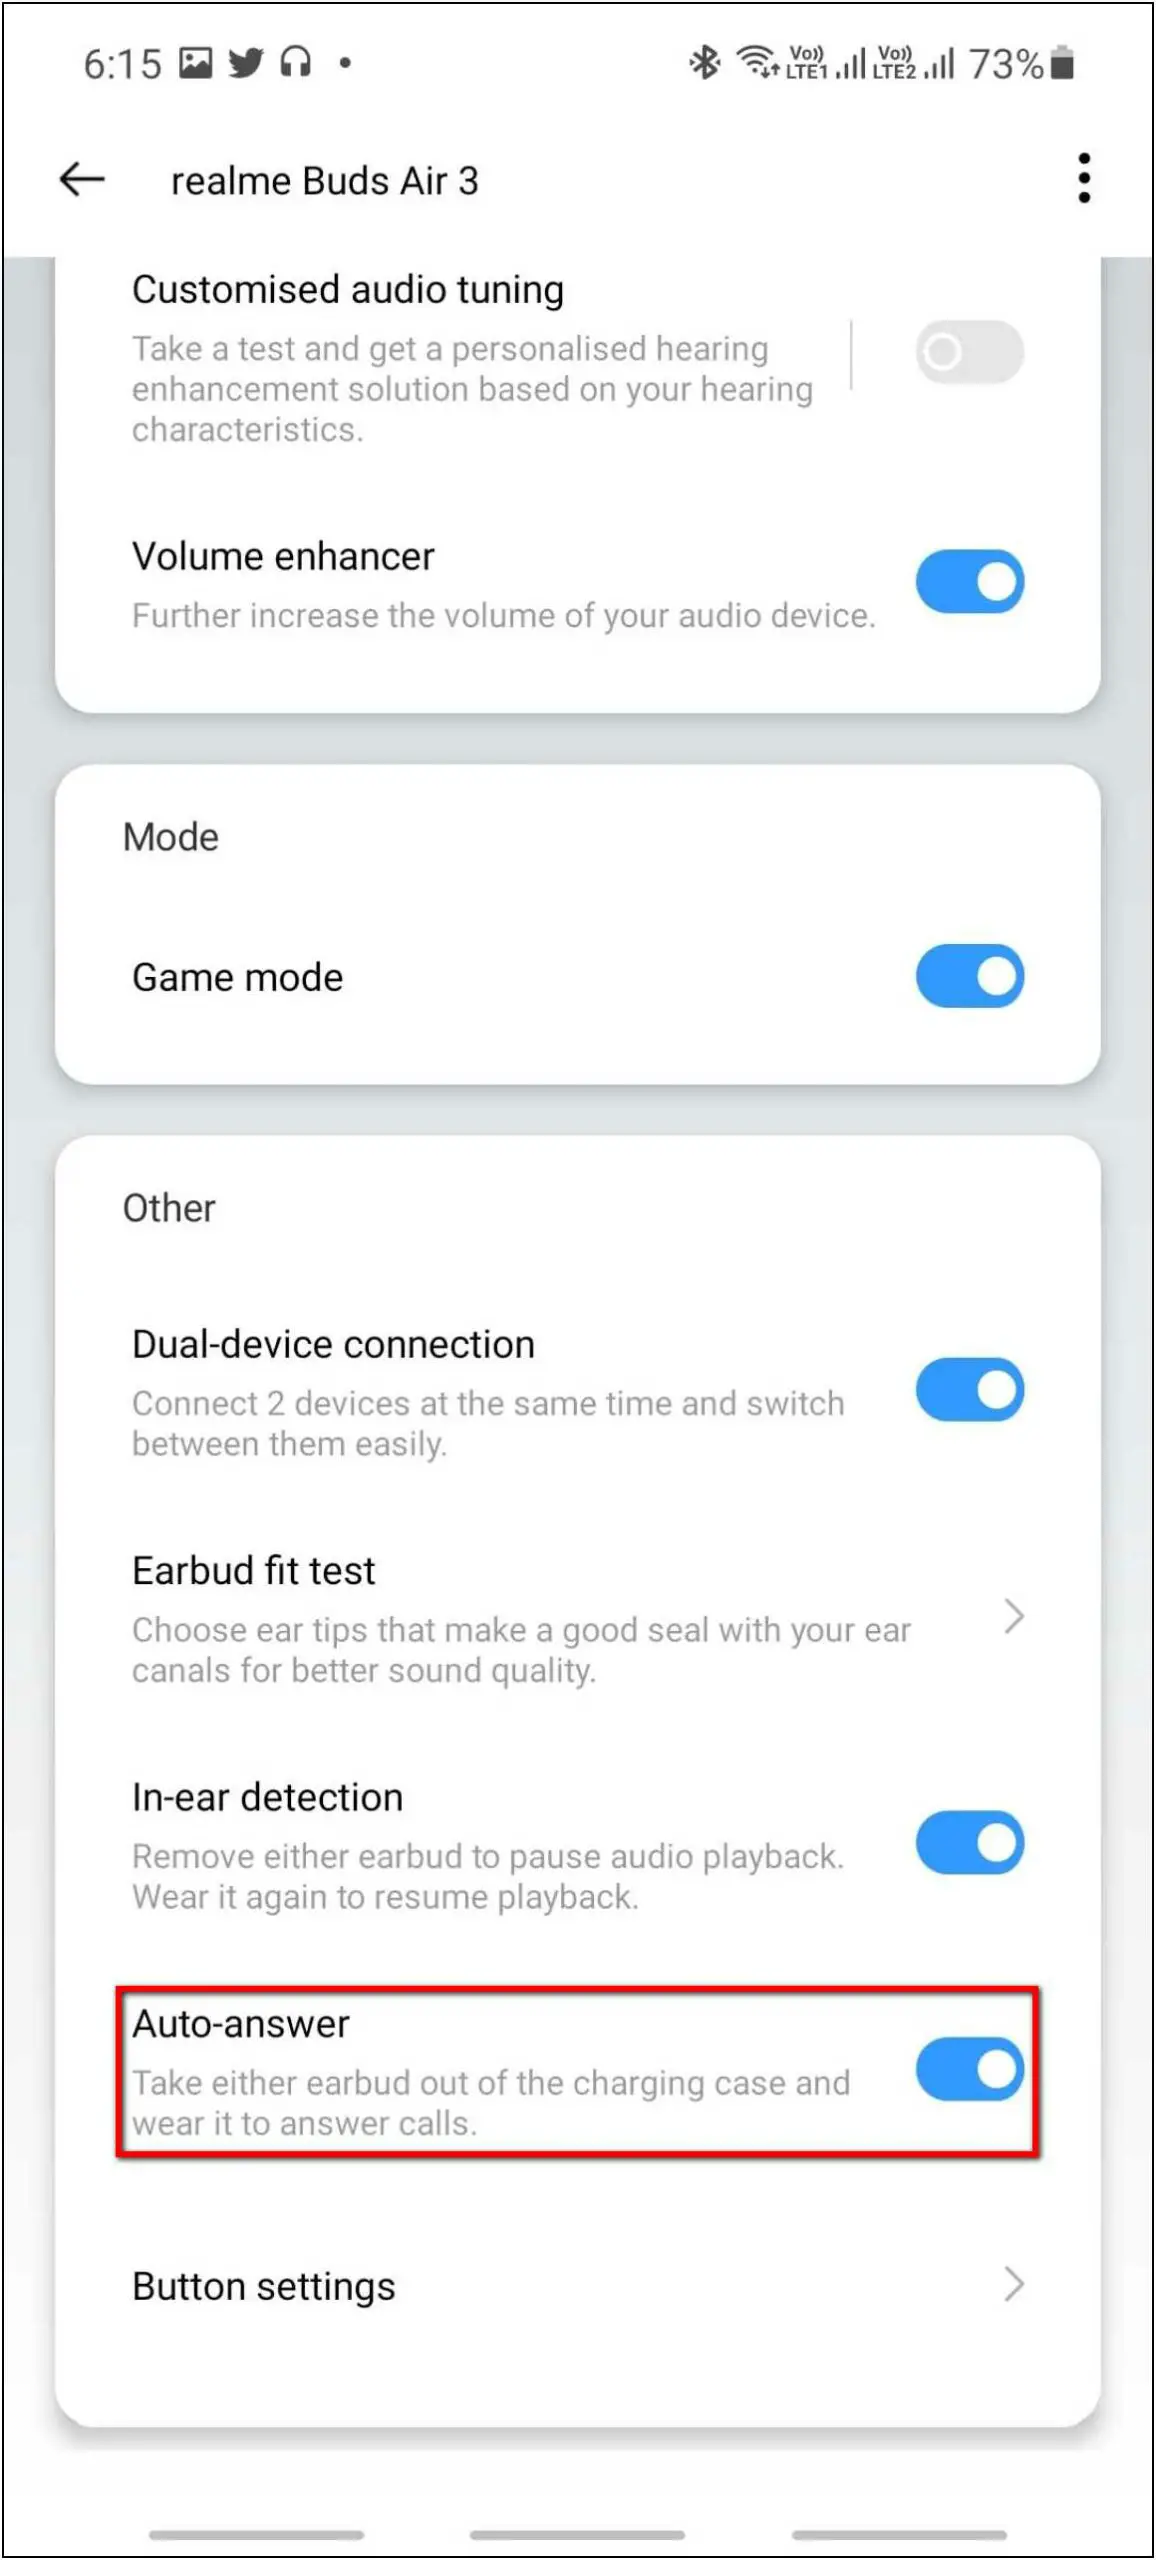
Auto-answer Calls: This feature will allow you to take calls automatically. After enabling this feature, whenever you receive a call on your phone, you can simply take either earbud out of the case and wear it. The call will be automatically accepted and you can answer the call directly.
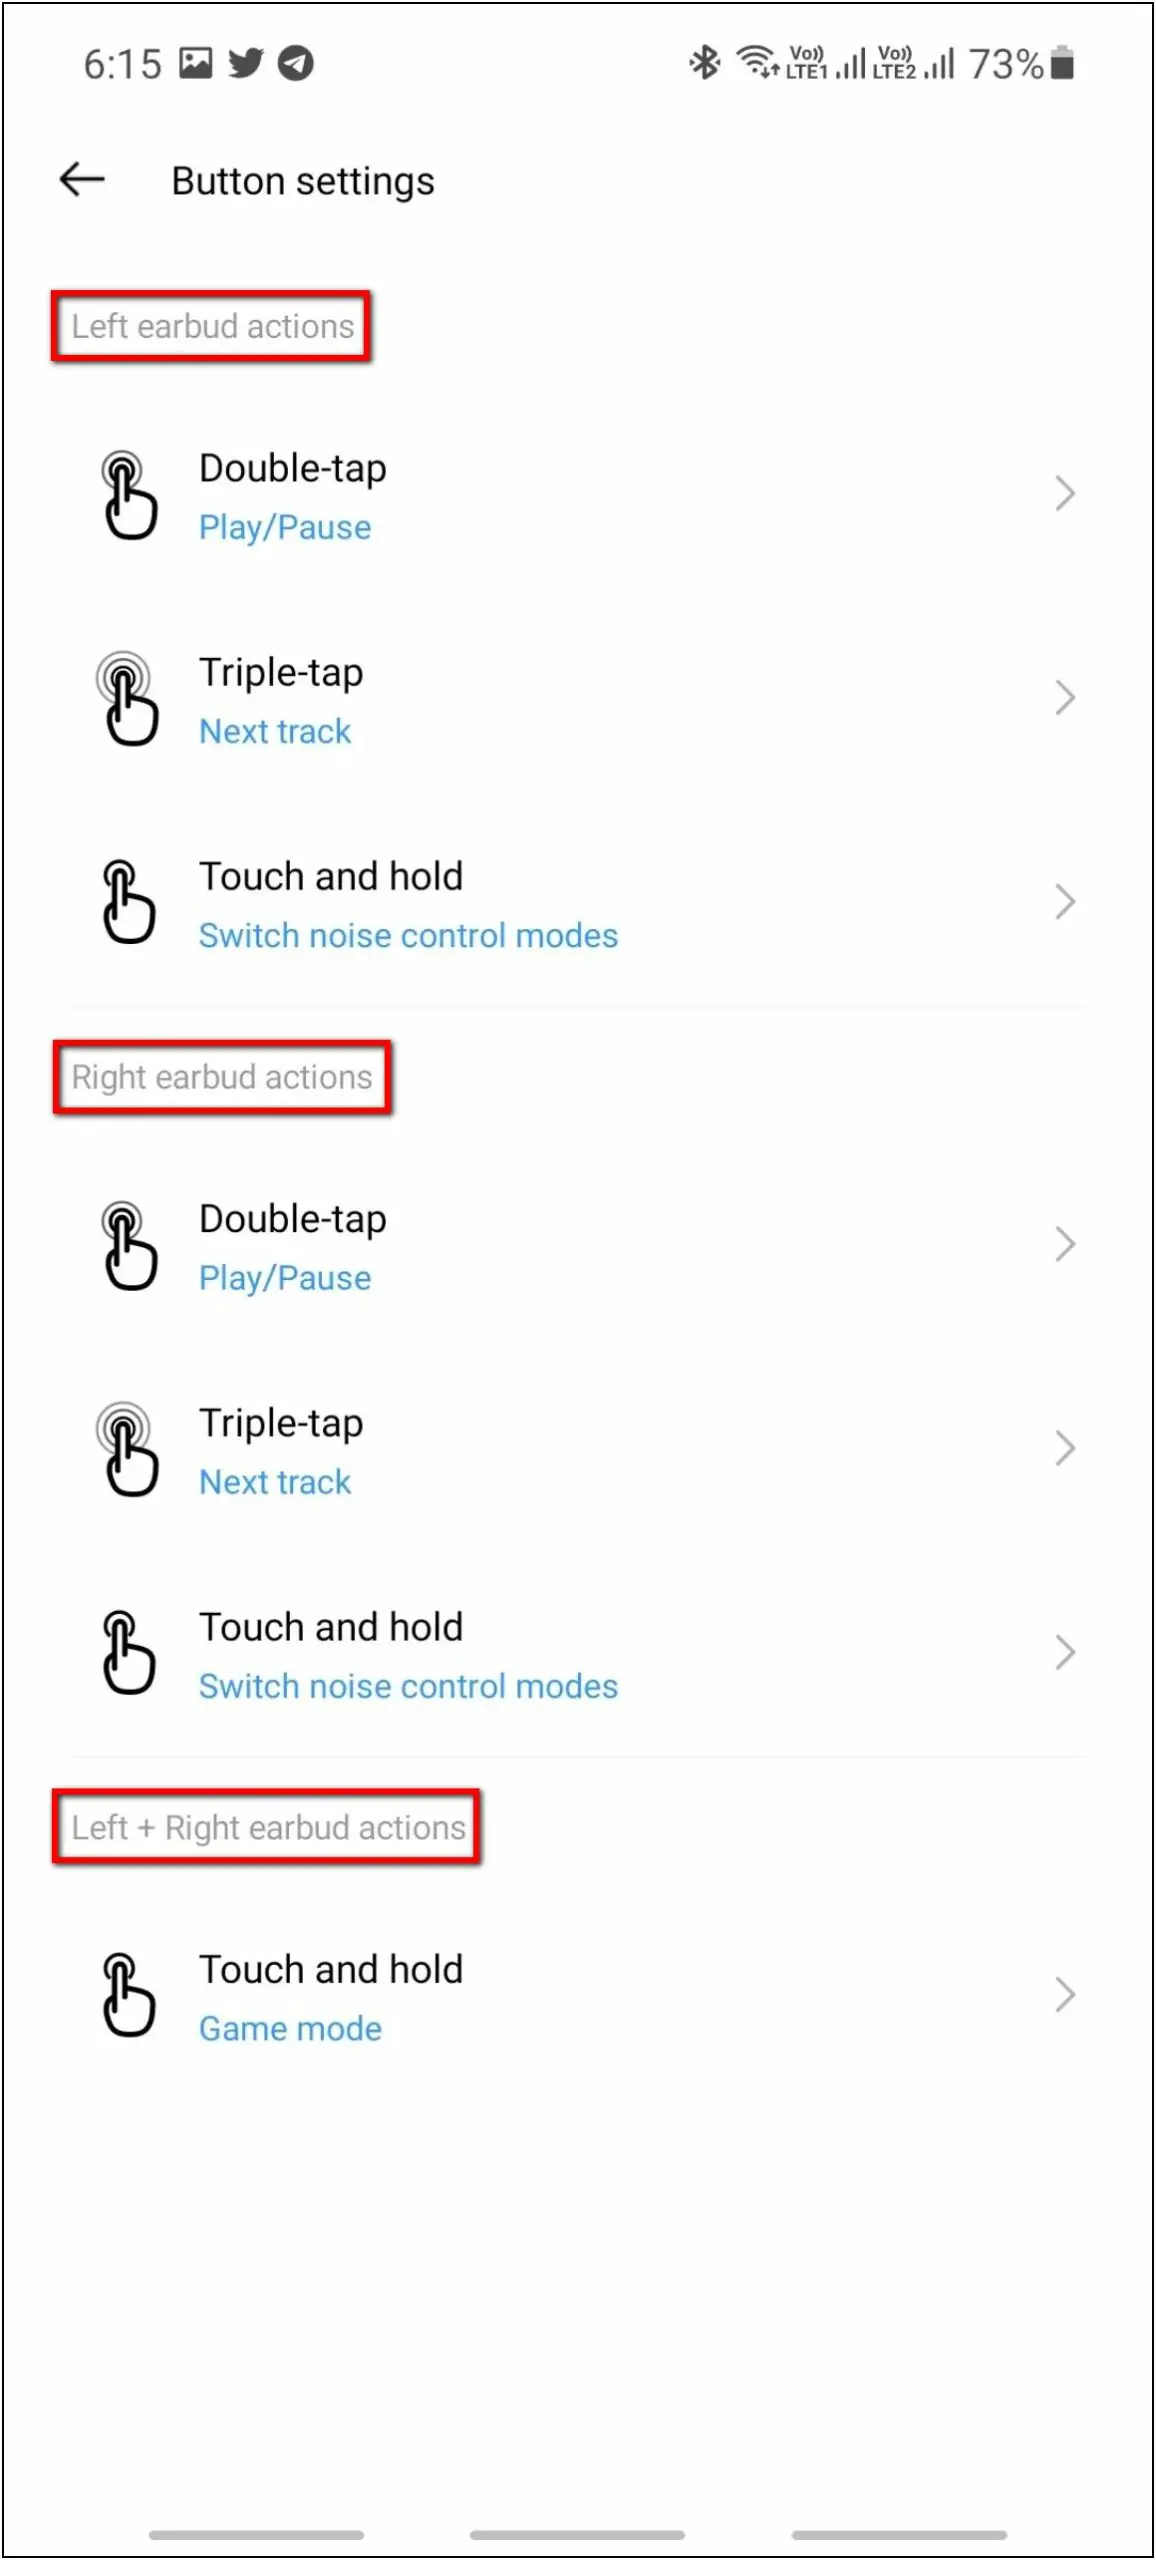
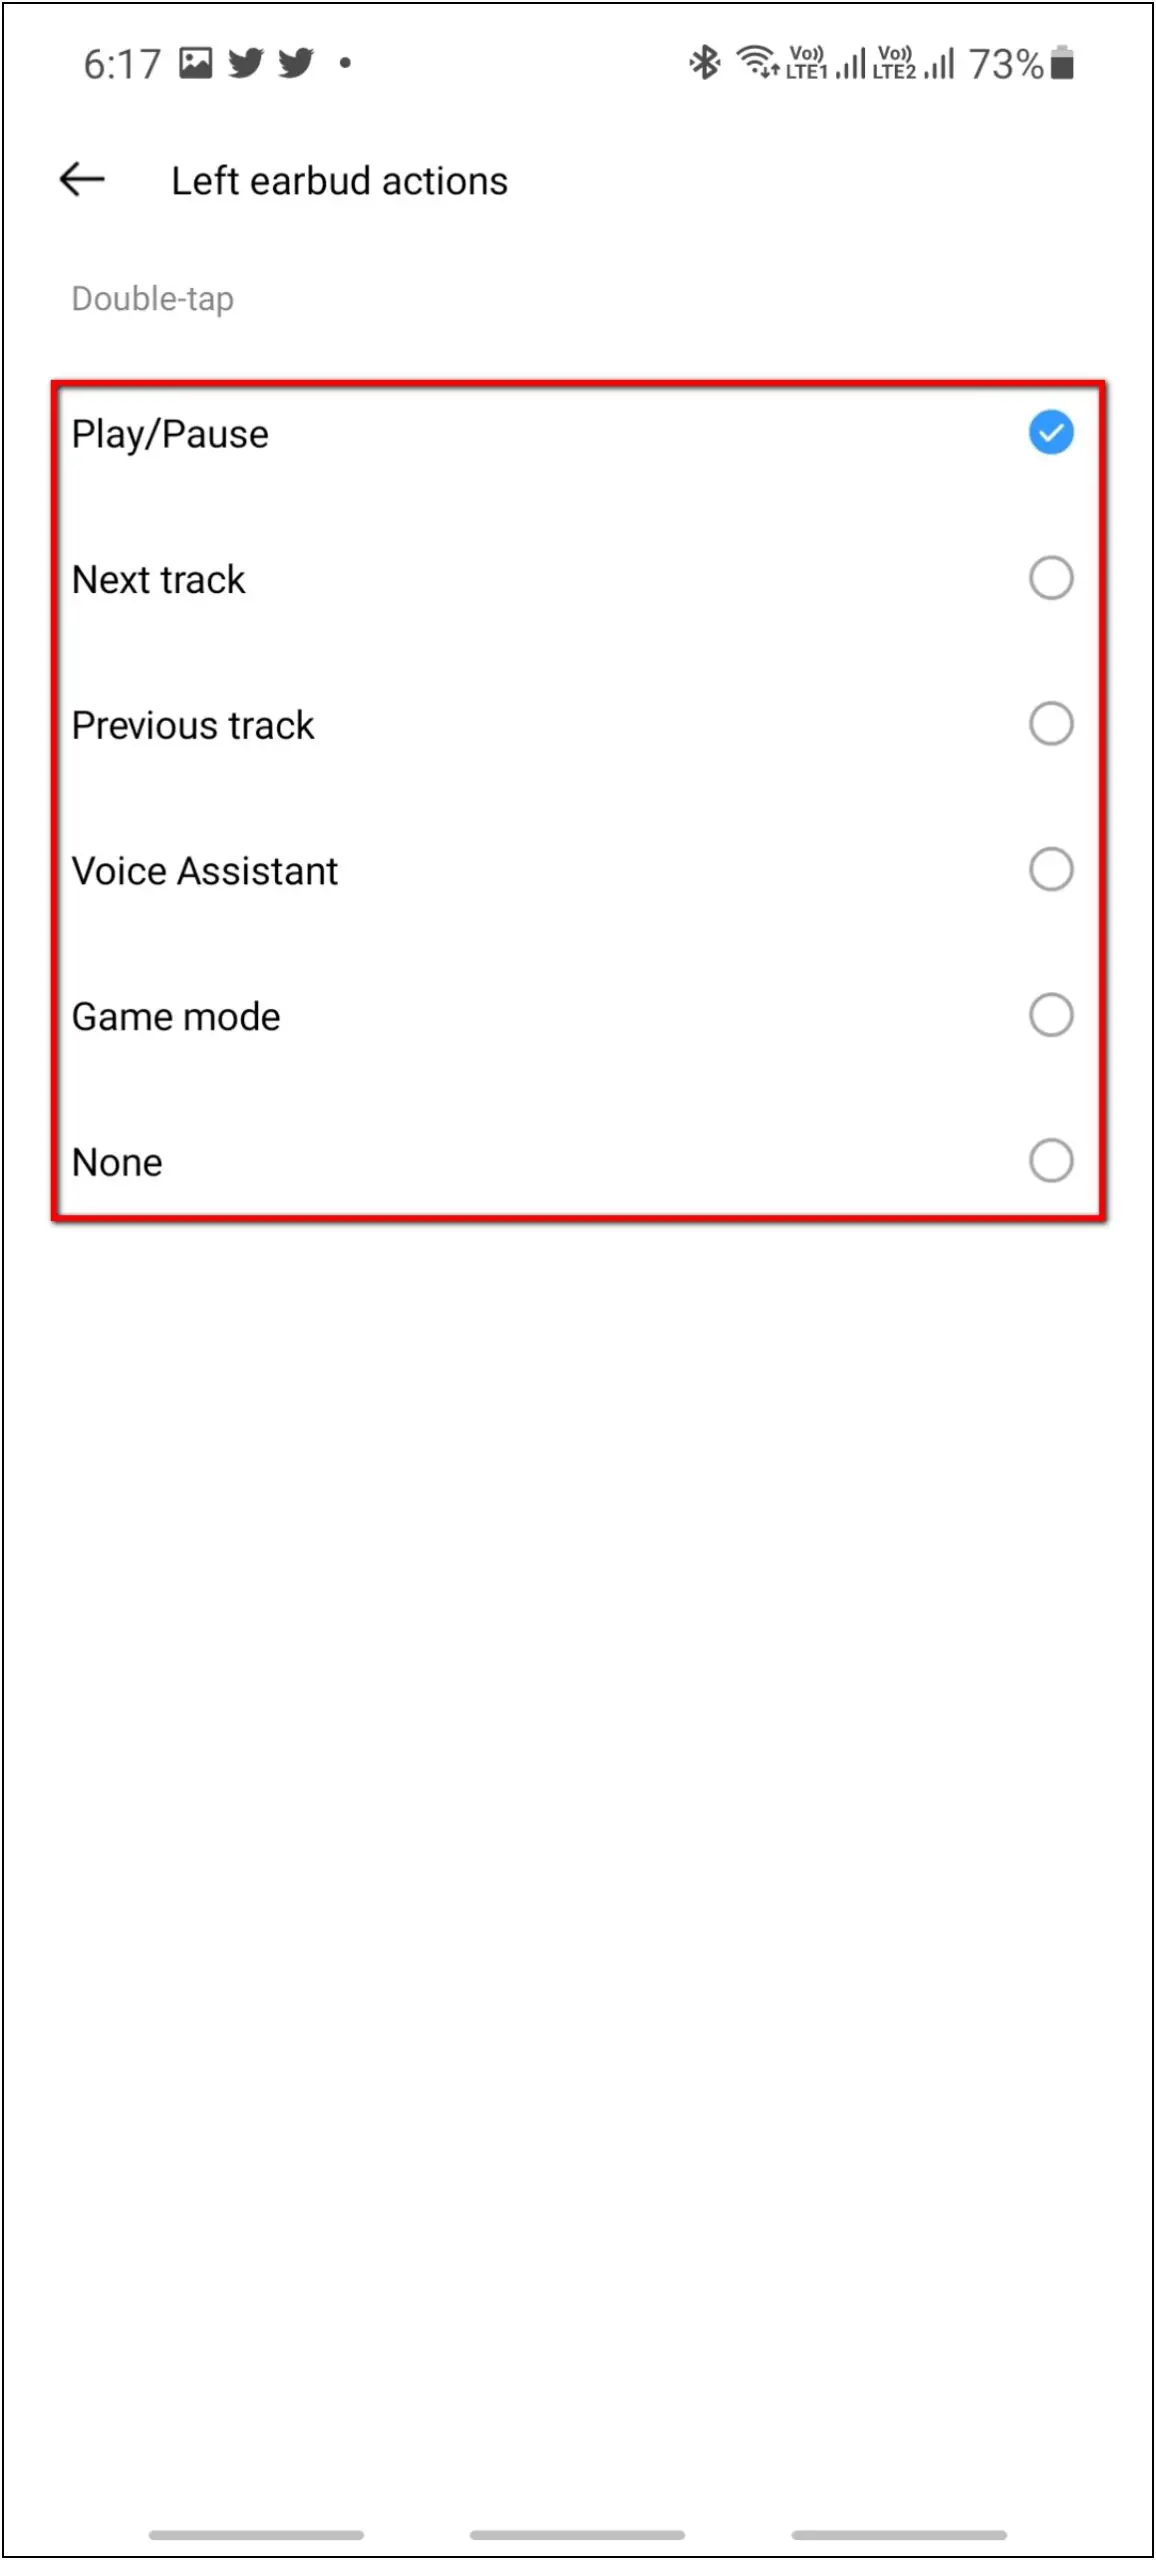
Button Settings: At last, you get to check and customize the touch control settings. You can choose the action to be done by using touch controls on the earbuds like what actions should be done by the left earbud or right earbud.
How to Update Realme Buds Air 3 Firmware
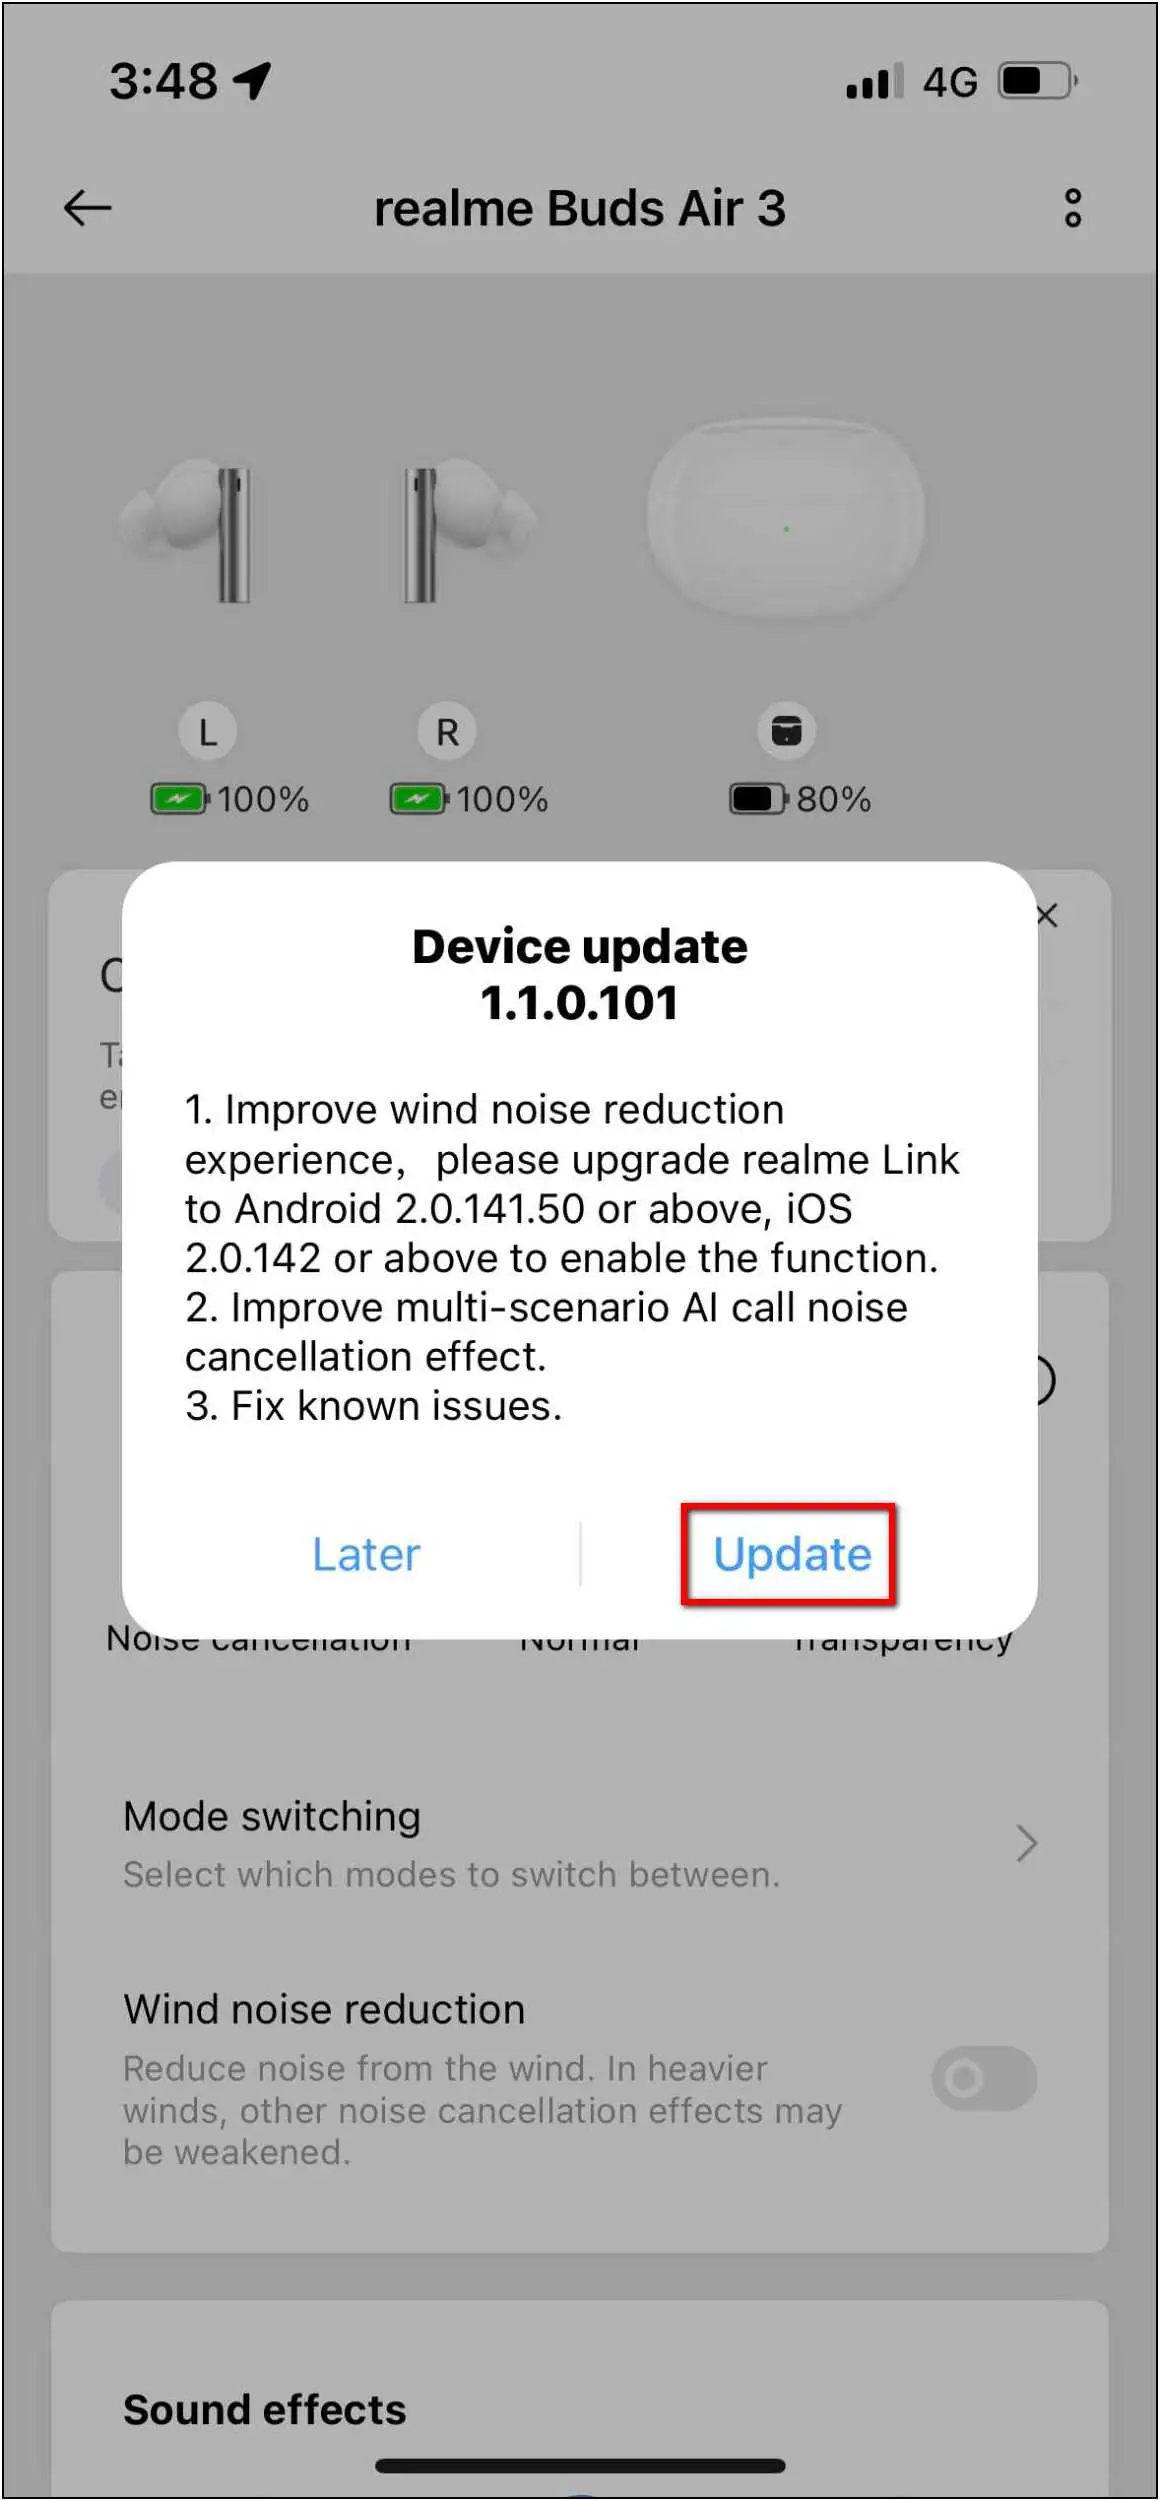
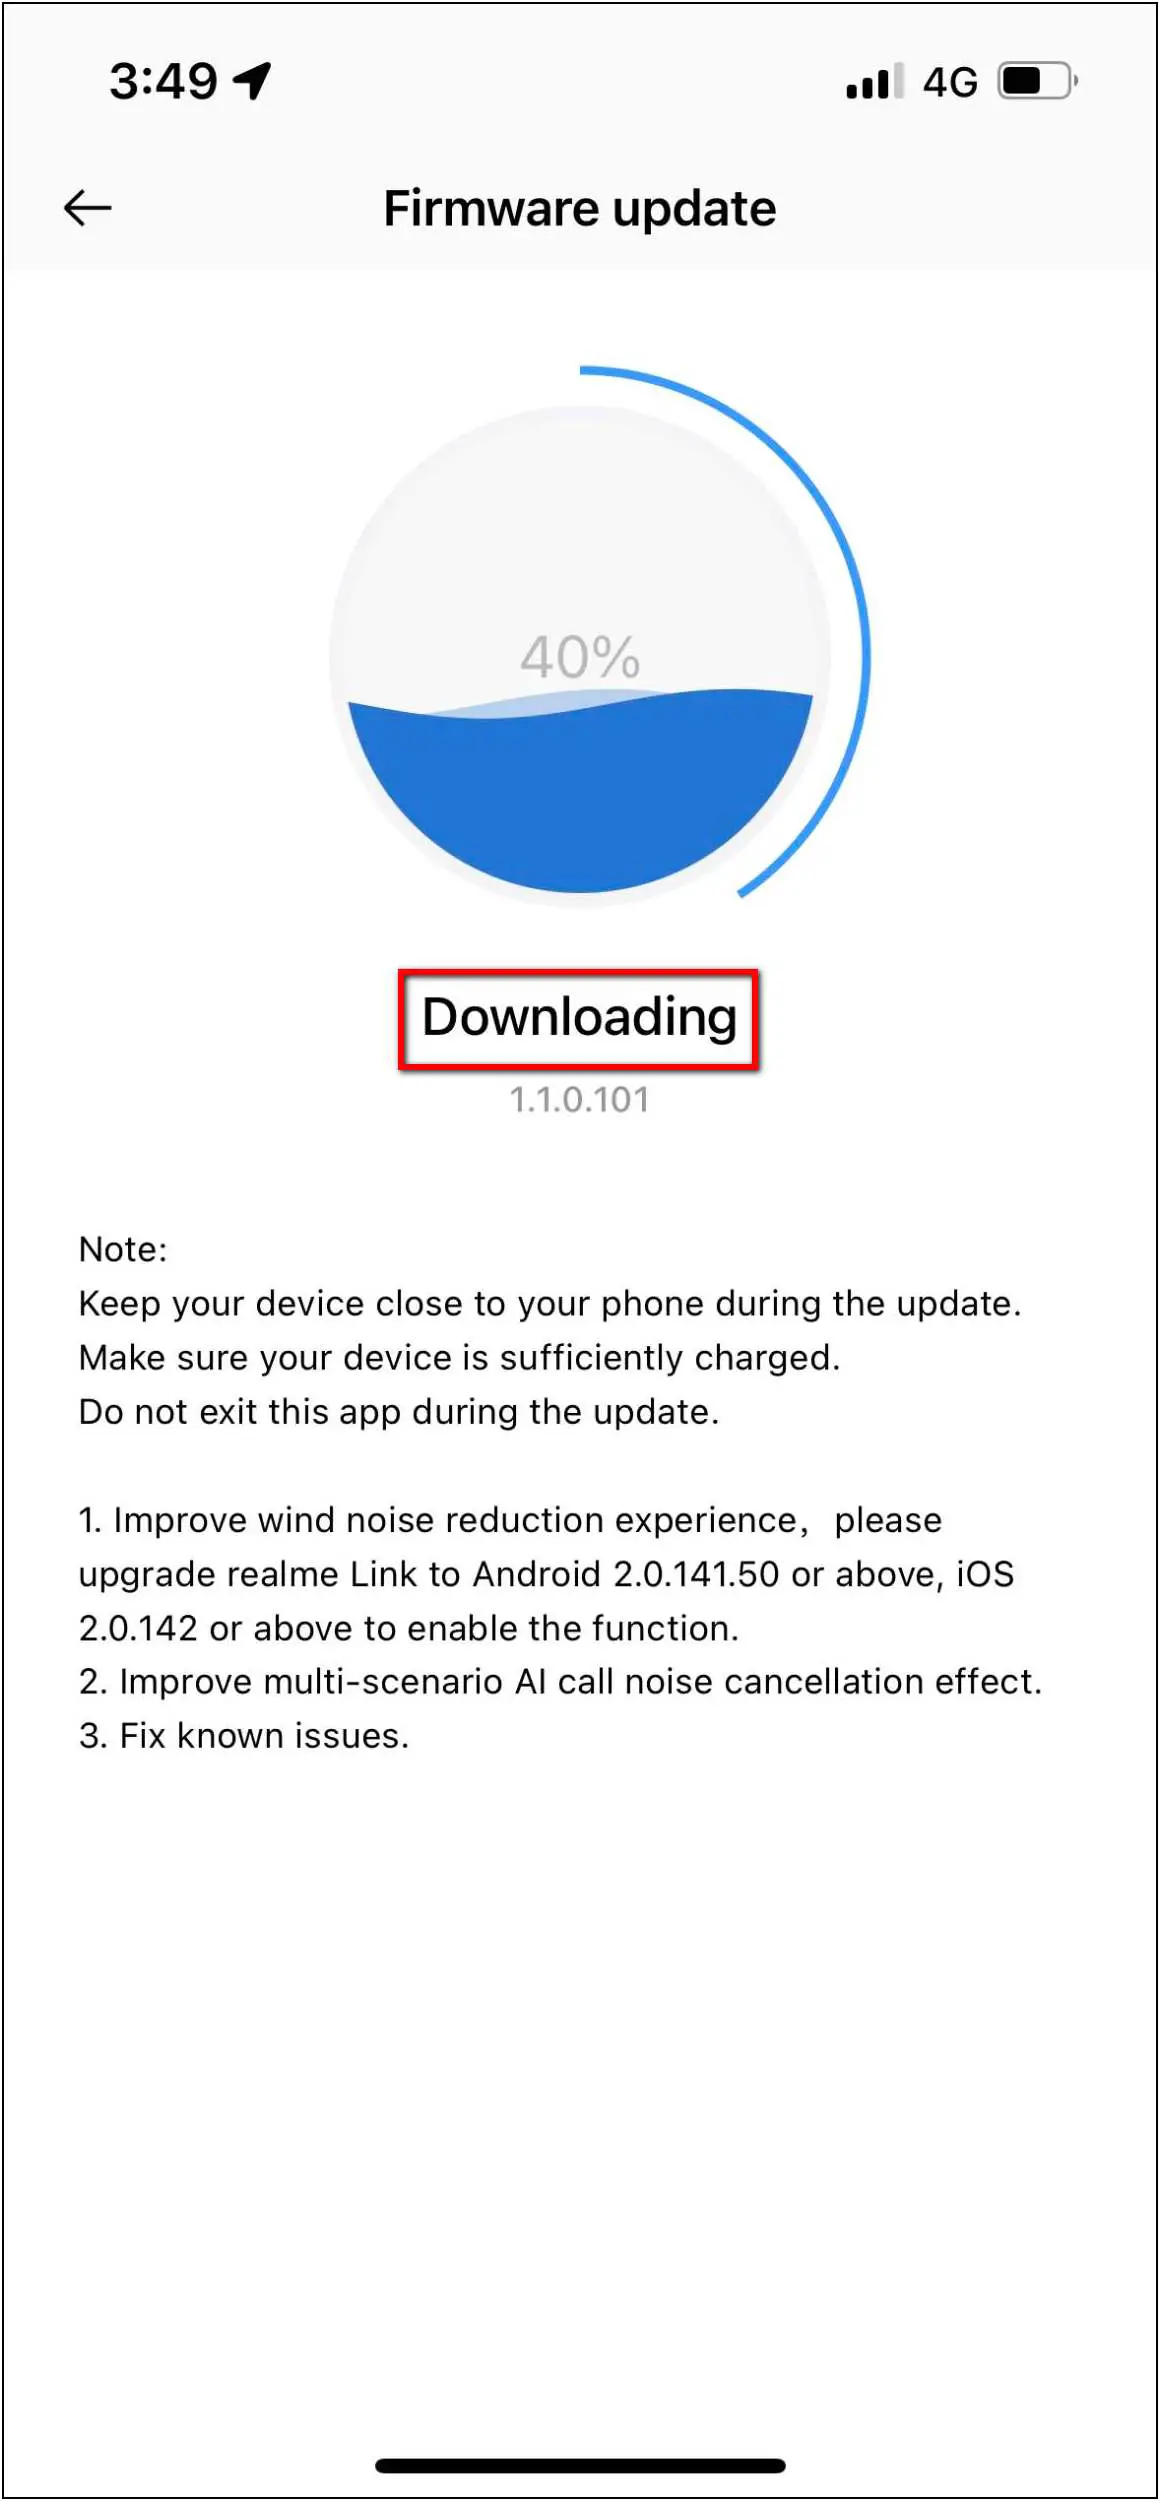
Since it is a connected AIoT product, so it will receive regular updates for fixes and new features. When the Realme Buds Air 3 gets an update, it will show the update pop-up in the Realme Link app itself. Follow the further steps to update the earbuds:
Step 1: When the update banner prompts in the app, click on the Update button.
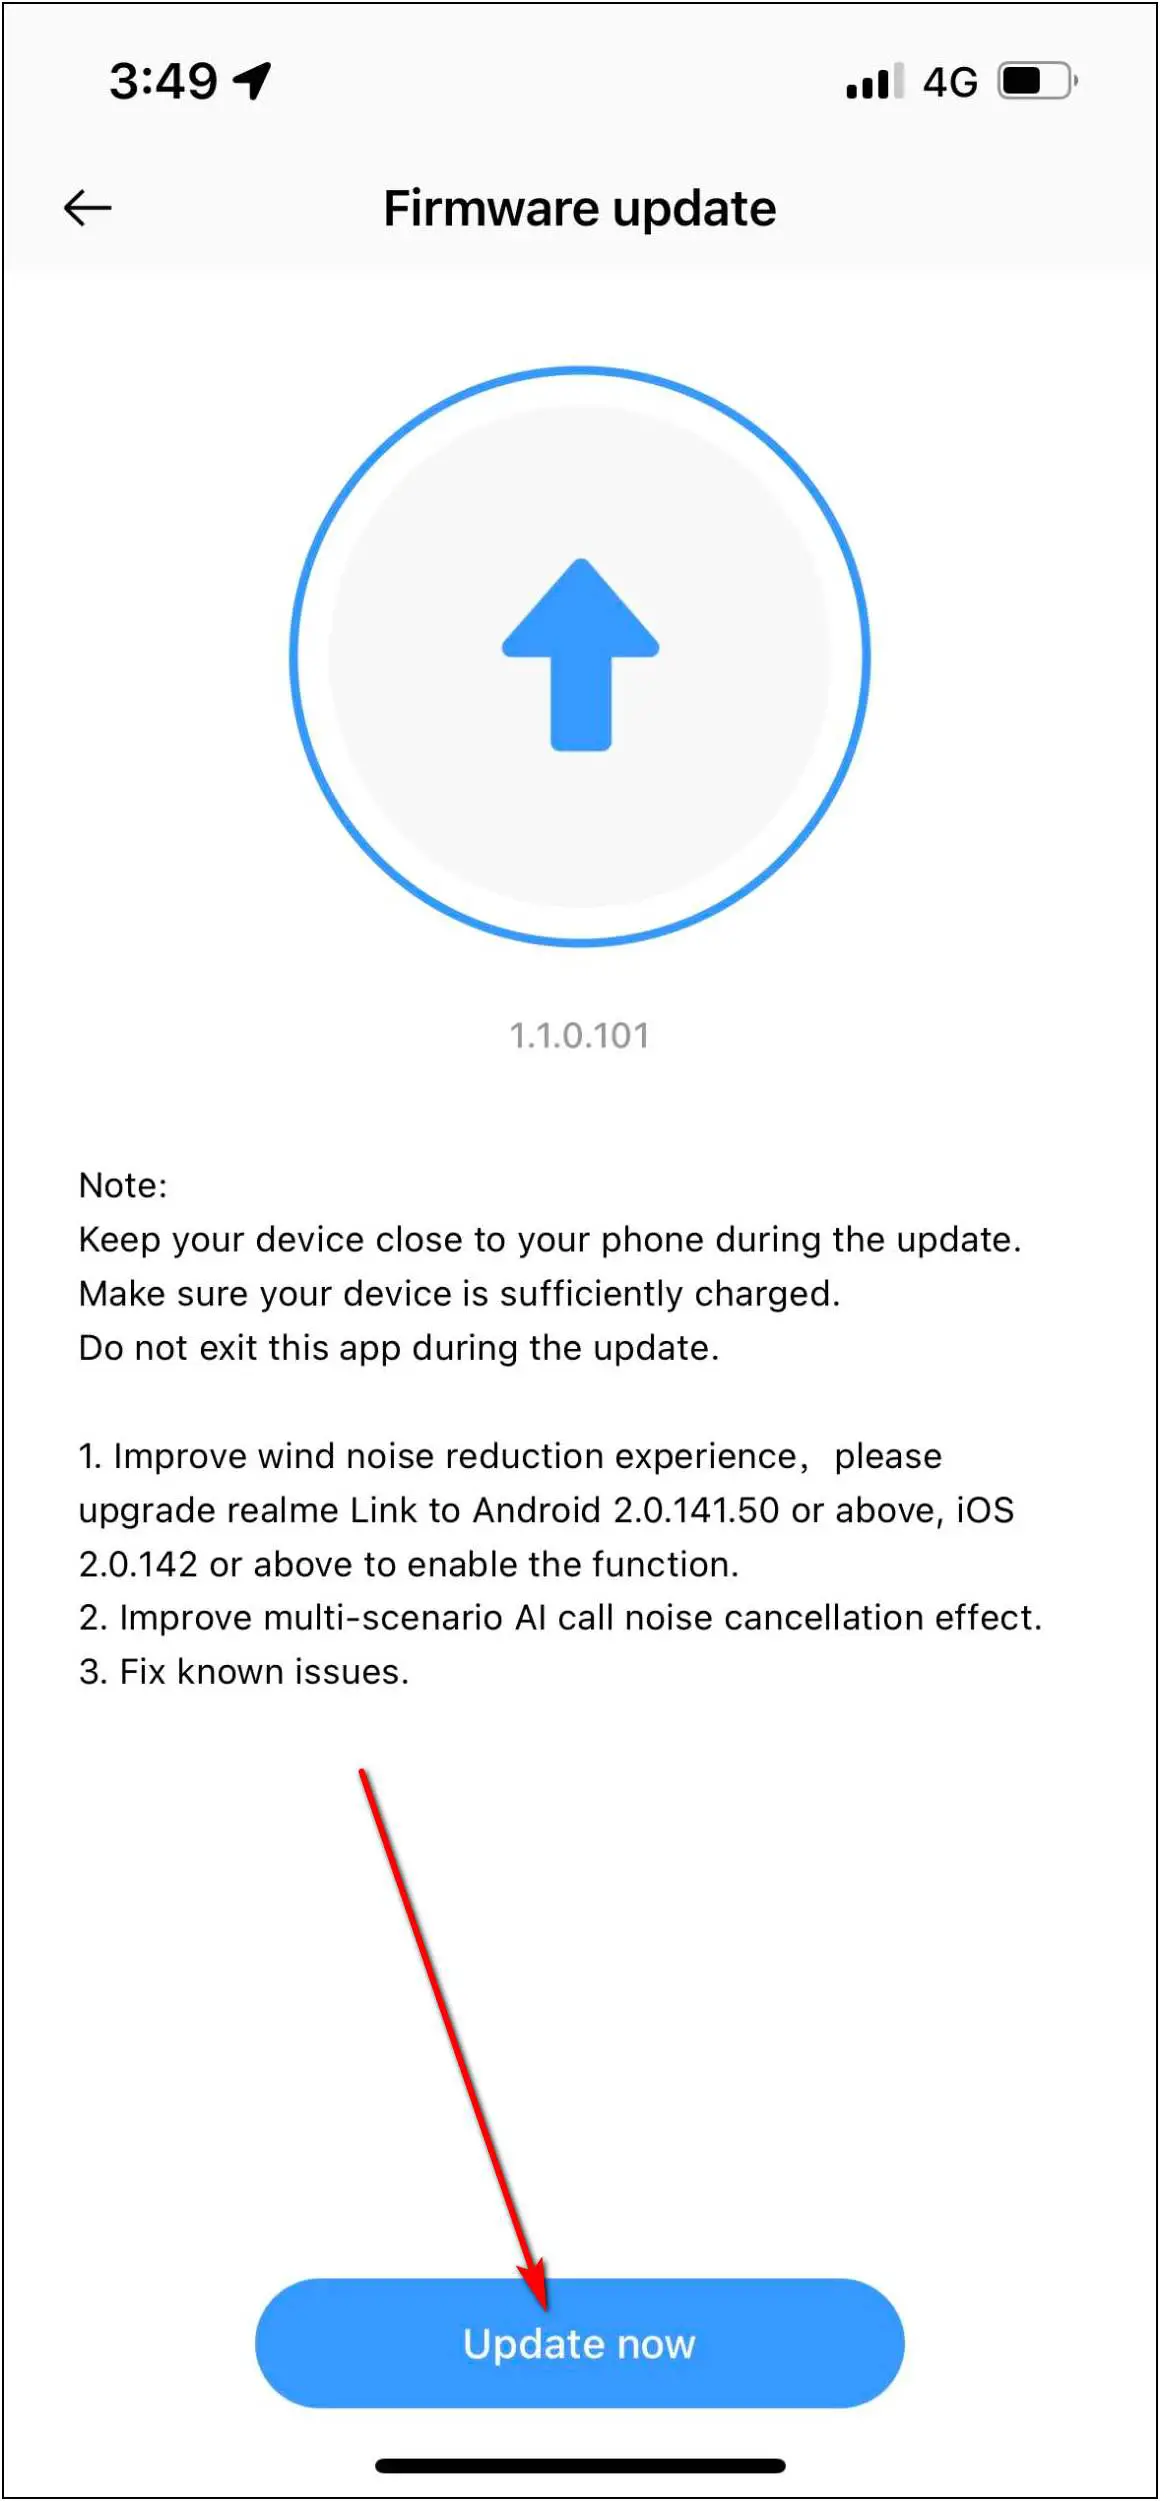
Step 2: After that, click on Update now.
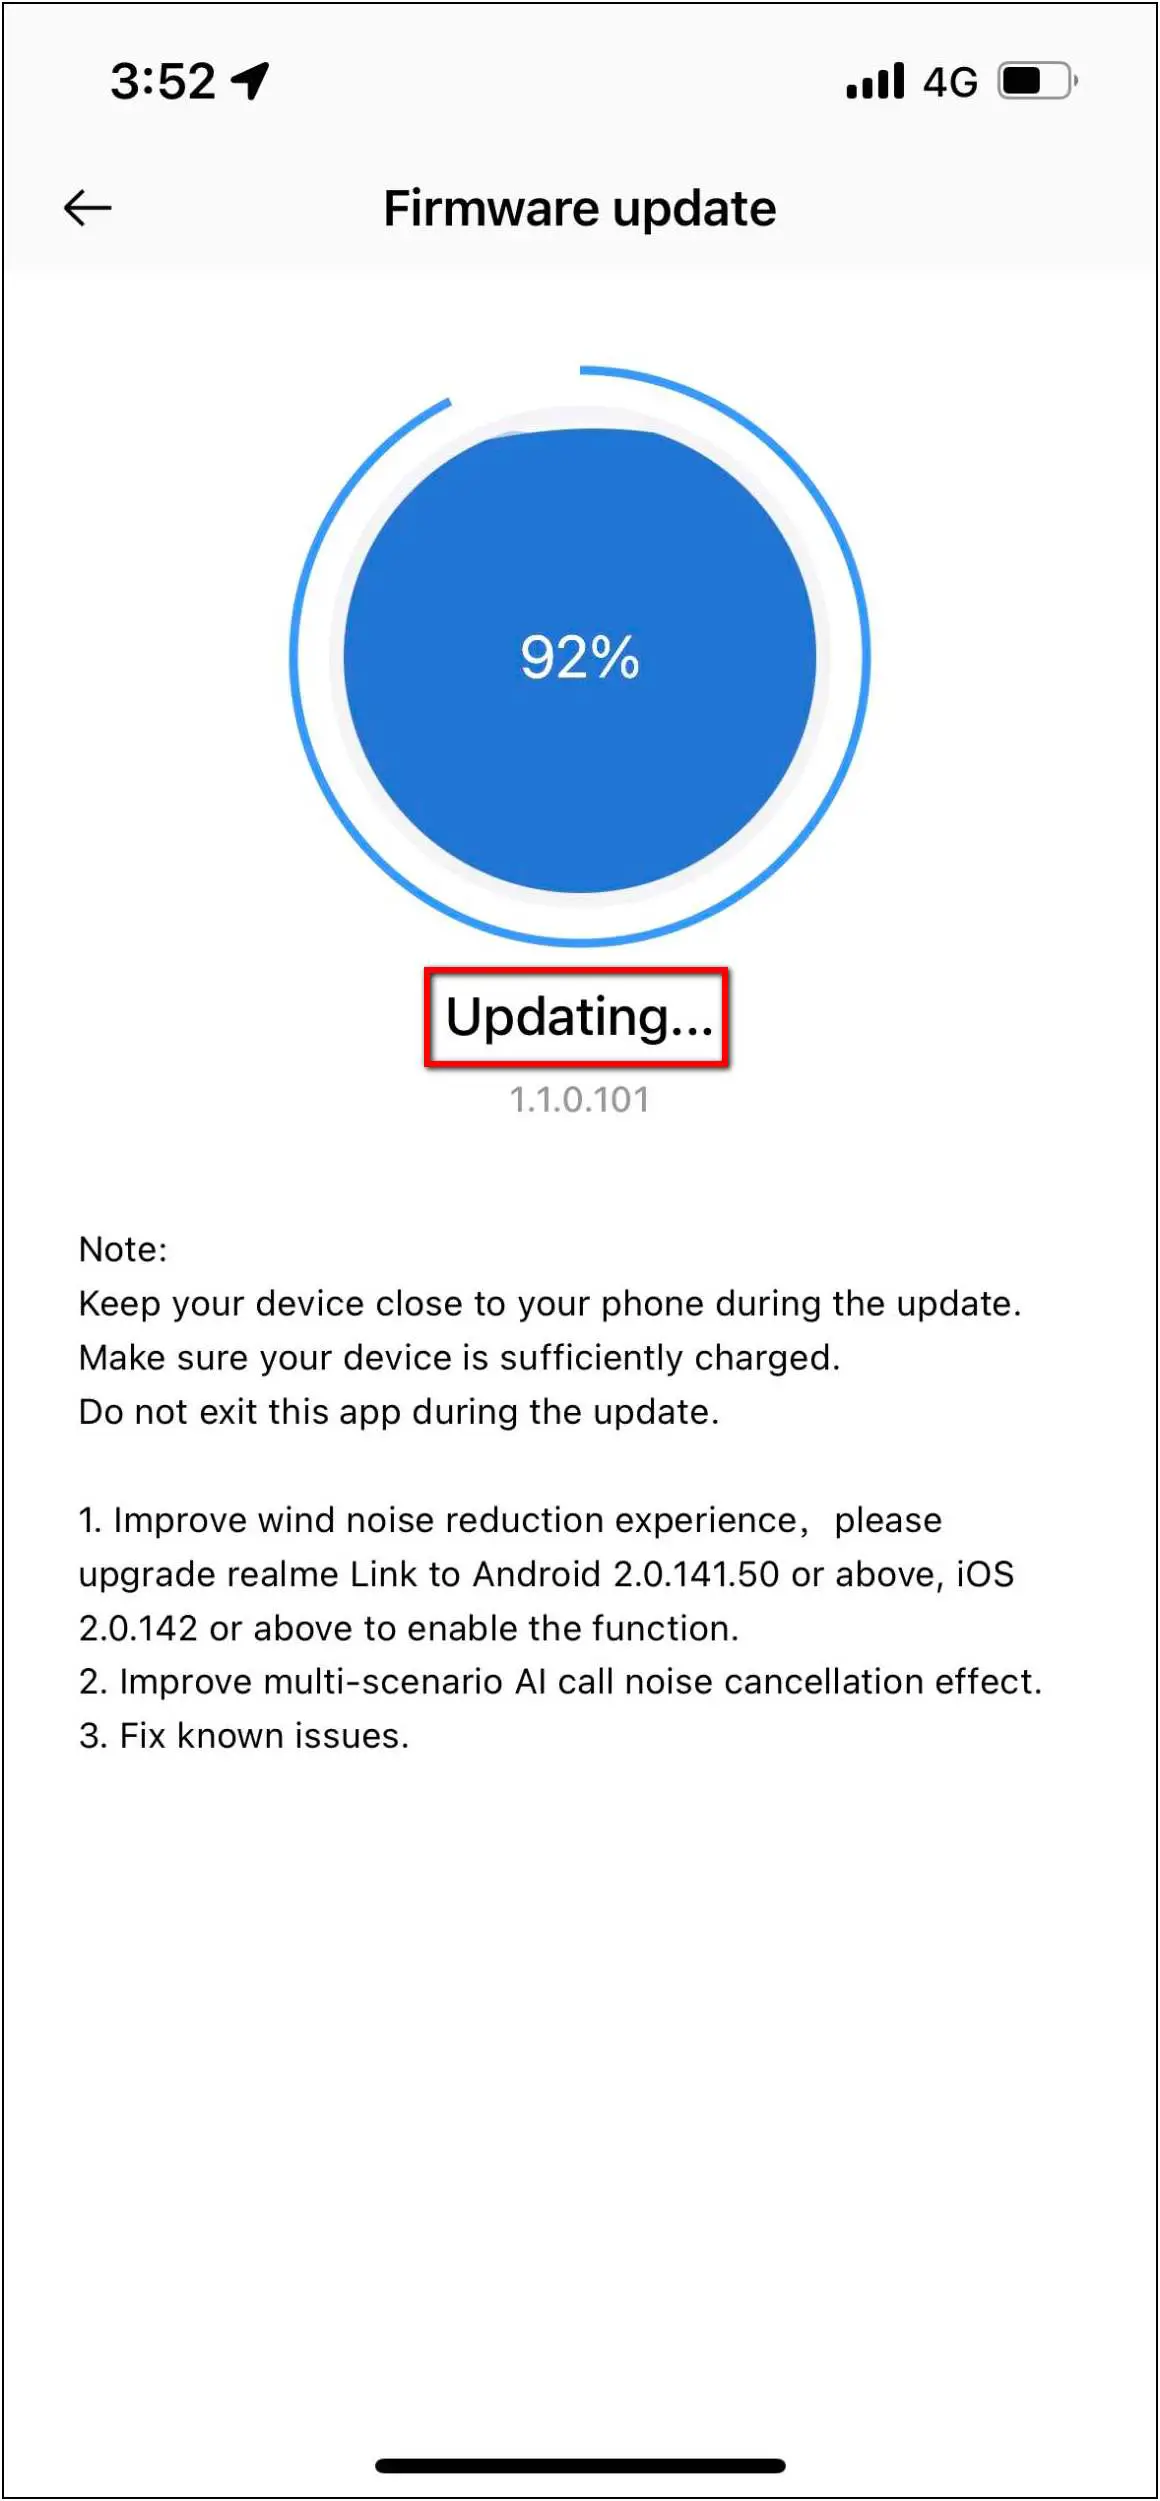
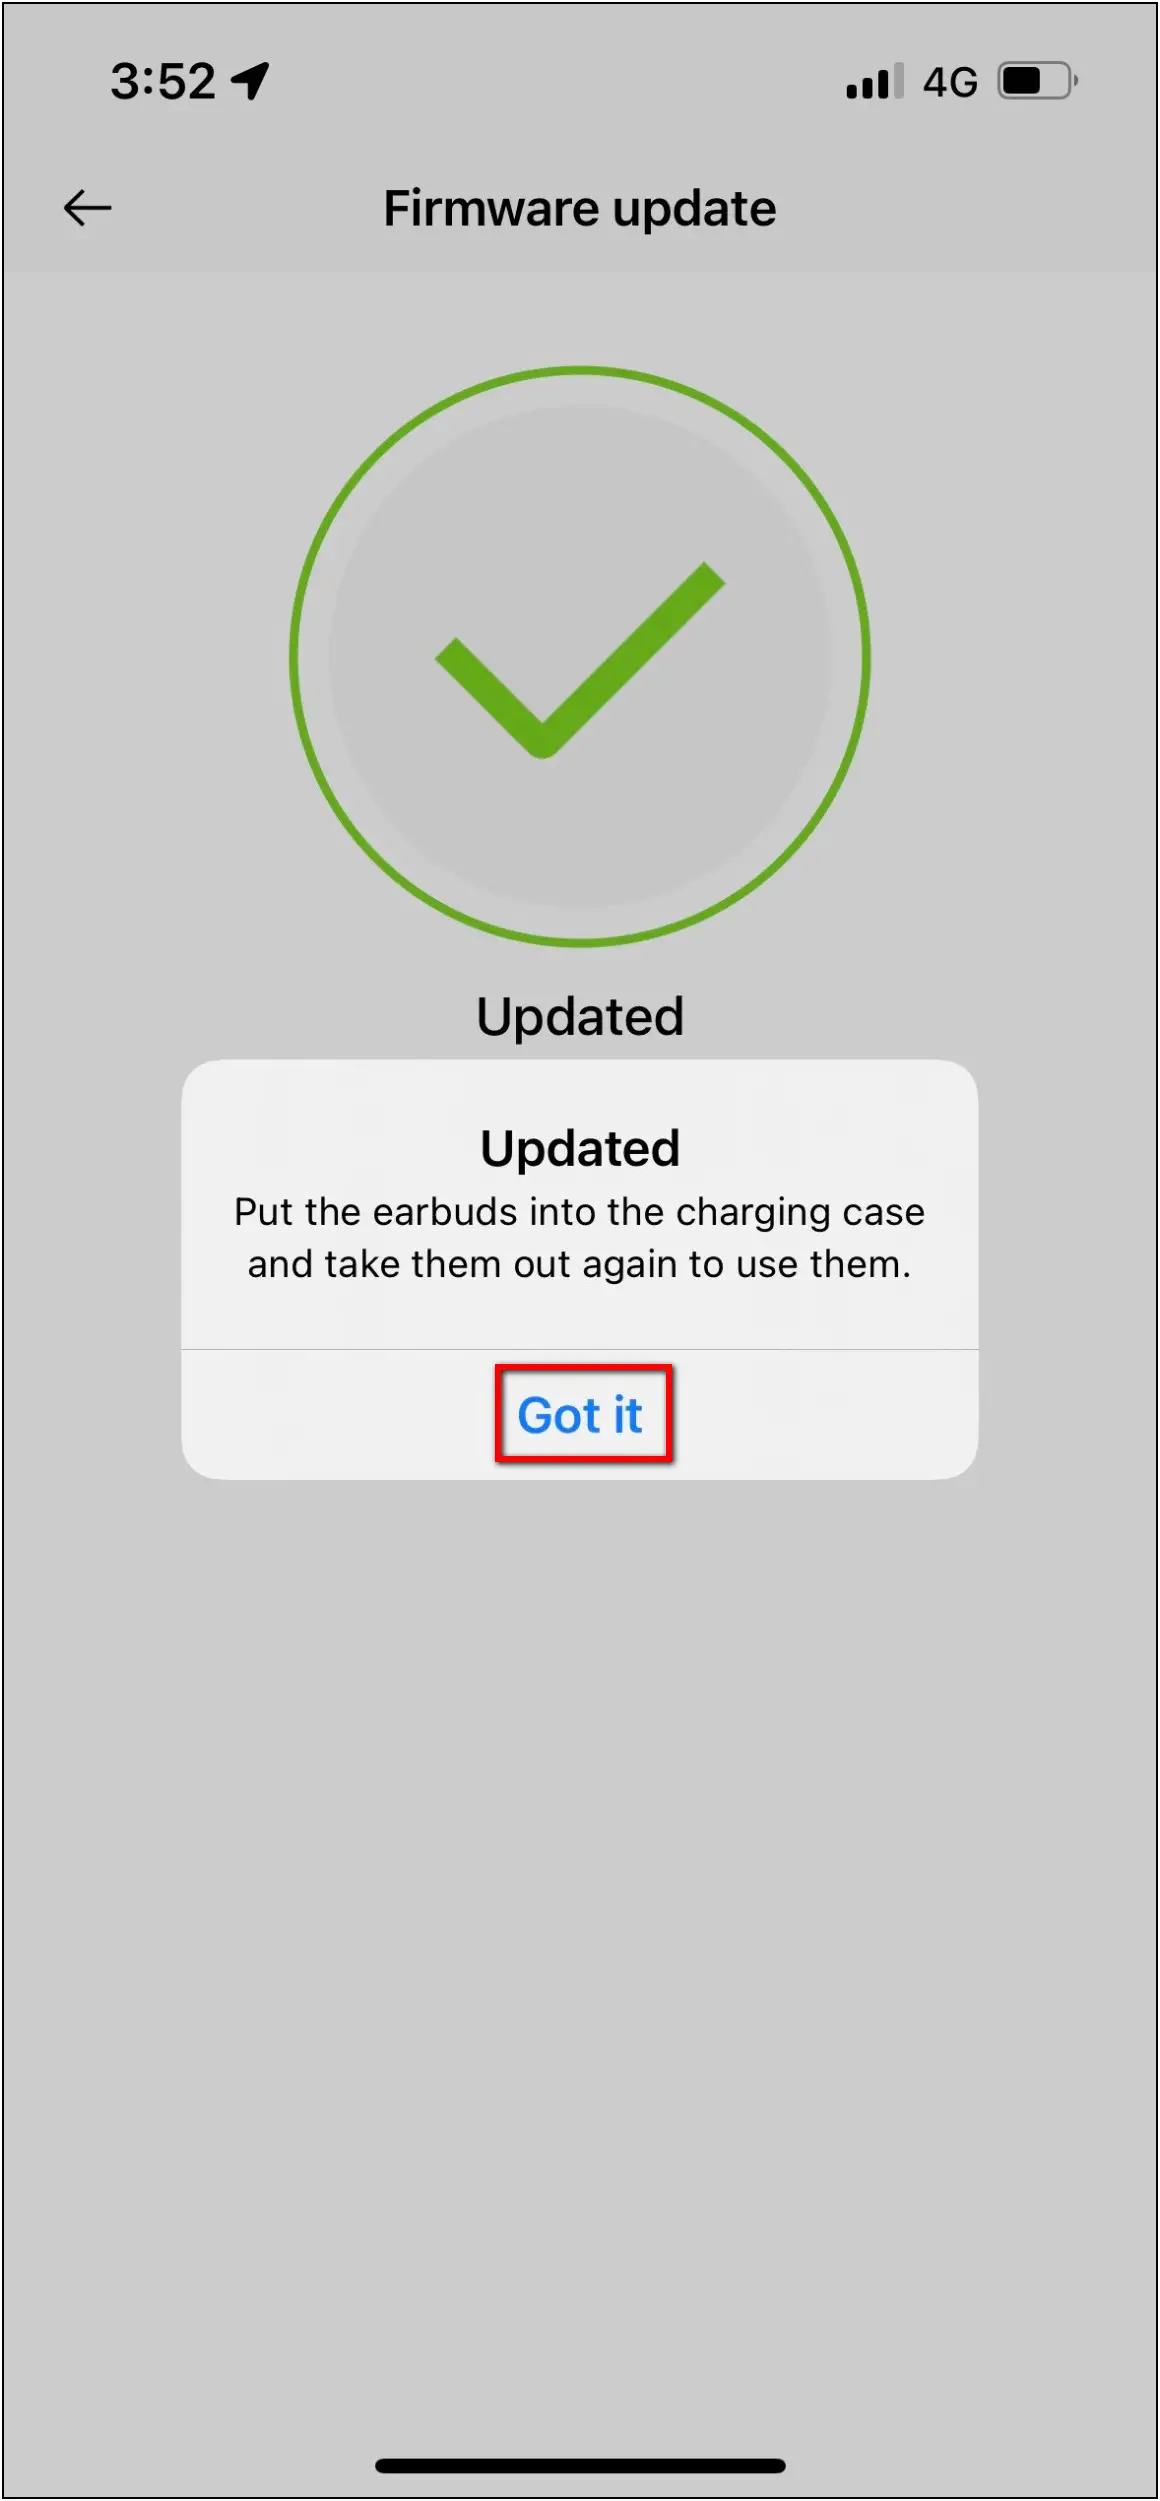
The update will start downloading and the buds will be updated in a few minutes. Once done, you have to put the earbuds in the case and take them out again to start using them.
During the update process, make sure to keep the buds close to your phone and that they have sufficient charge. Also, do not close the app during the update.
Wrapping Up
This was the full beginner’s guide for the Realme Buds Air 3 setup and everything we have discussed its features. It has so many features that will make your experience better than using normal earbuds. What do you think about the Realme Buds Air 3, tell us in the comments below. Stay tuned with WearablesToUse for more articles like this!
